| PHOTOS and Step | 您所在的位置:网站首页 › keephandsclear › PHOTOS and Step |
PHOTOS and Step
|
PHOTOS and Step-By-Step Instructions! Recipe for Disney World’s ‘Ohana Bread Pudding!
By Sara McOmber 7 Comments ‘Ohana at Disney’s Polynesian Resort is famous for delicious noodles, tender meat, and — oh yeah — the amazing bread pudding! 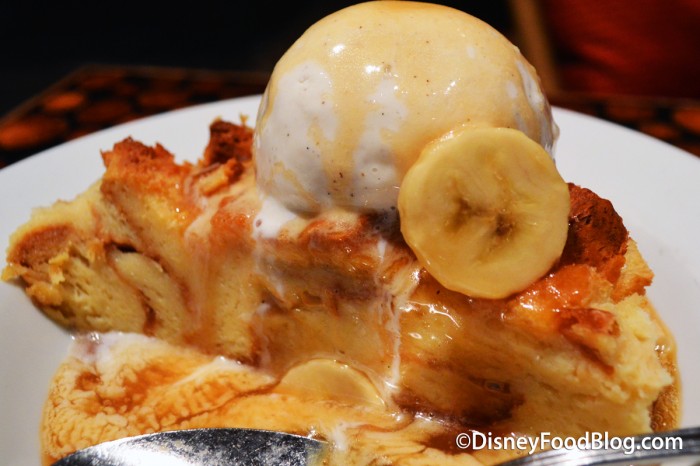 ‘Ohana Bread Pudding It’s one of our truly favorite foods in all of Disney World for good reason — warm, soft bread pudding, cool vanilla ice cream and that sweet, buttery banana rum sauce! YUM. We’re gonna take you through the recipe step by step so you can enjoy this amazing creation without having to travel to Disney for it! (Although we must note: traveling to Disney is still highly encouraged, just as a general principle.) First we think you should know a little about what you’re getting yourself into here! To make the whole bread pudding from scratch, you’ll actually need to make TWO recipes. (Sorry.) The first is the Pineapple Breakfast Bread from breakfast at ‘Ohana then you turn THAT into bread pudding. You have to make that yummy sauce too(it’s REALLY all about the sauce on this one. After making this we were seriously tempted to stick a straw in the pitcher-full we were left with!!). The sauce can be a little tricky, but we’ll walk you through it! But first, some motivation. THIS is what we’re doing this for, friends. SO. WORTH. IT. We’re making the iconic ‘Ohana Bread Pudding at home today! 🤤 pic.twitter.com/hGsQYN3sVk — AJ Wolfe (@DisneyFoodBlog) June 21, 2021 To begin, we’ll need some bread! The very best kind to use is this recipe for the ‘Ohana breakfast bread, but if you’re in a rush and just need some bread pudding right now, you could use regular French bread (but just know it’s probably better — and more authentic — with the breakfast bread). First let’s tackle that bread! It makes sense: what to do with stale bread left over from breakfast? Make bread pudding! (That’s kinda the point of bread pudding — to use up stale leftover bread!) If you weren’t planning to bake up bread when you started this epic quest, keep scrolling til you hit the bread pudding recipe below! ‘Ohana Pineapple Breakfast Bread:Yield 1 – 9″ x 13″ cake pan Ingredients: Dough: 1 3/4 C. Water 1 Egg Yolk 2 Tbsp Shortening 1/2 tsp. Kosher Salt 1/3 C Sugar 1 Tbsp Instant Yeast 4 1/2 C. High Gluten Flour (Bread flour works perfect here. This is different from your standard All Purpose flour, so be sure to get the right one. AP flour won’t ruin the recipe, but the texture might be slightly softer.)Coconut Mixture: 1 C. Crushed pineapple 1 C. Unsweetened coconut (make sure not to grab the sugary sweetened kind!) 1 C. Sugar 2 Tbsp Cornstarch Making the Coconut MixtureYou’ll want to start with this mixture because it needs time to chill in the fridge! Grab all your ingredients, and let’s get started! Start out by combining the pineapple and coconut in a bowl. Combine the sugar and cornstarch into a separate bowl. 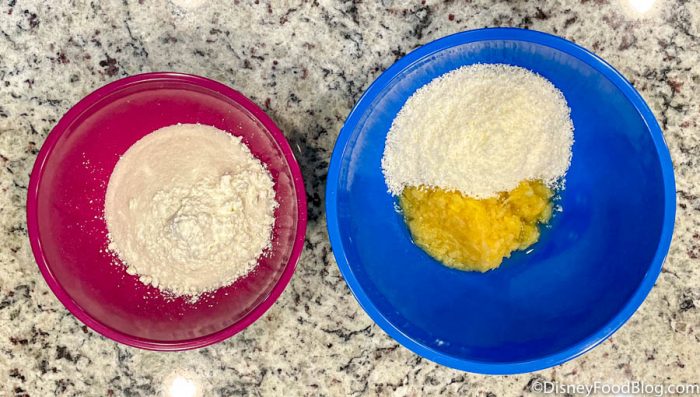 Filling Mix the sugar and cornstarch well. Make sure to really break up any lumps of cornstarch! Once cornstarch is heated, it basically turns into thick “food glue.” This will keep your filling from turning into a soupy wet mess and ruining your otherwise fabulous bread. 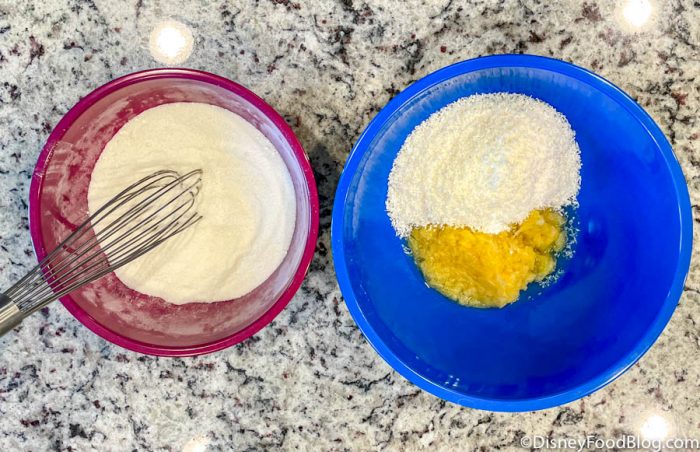 Filling Add the sugar and cornstarch mixture into the pineapple and coconut mixture. 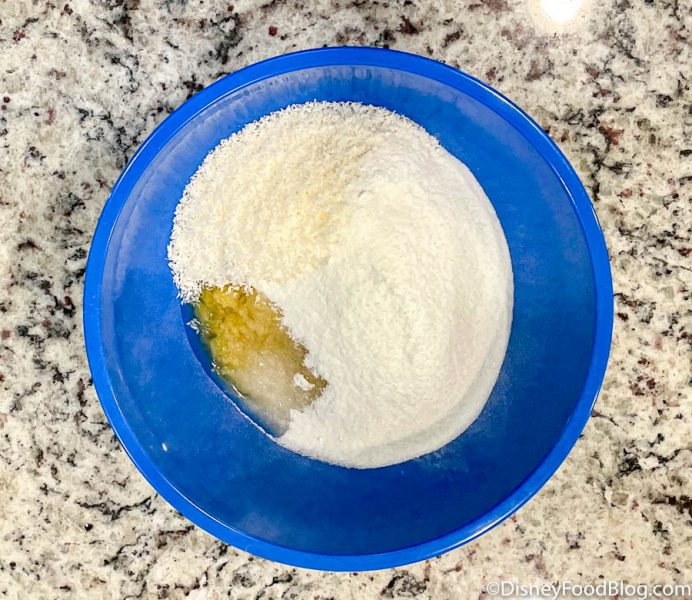 Filling Mix it all together well! 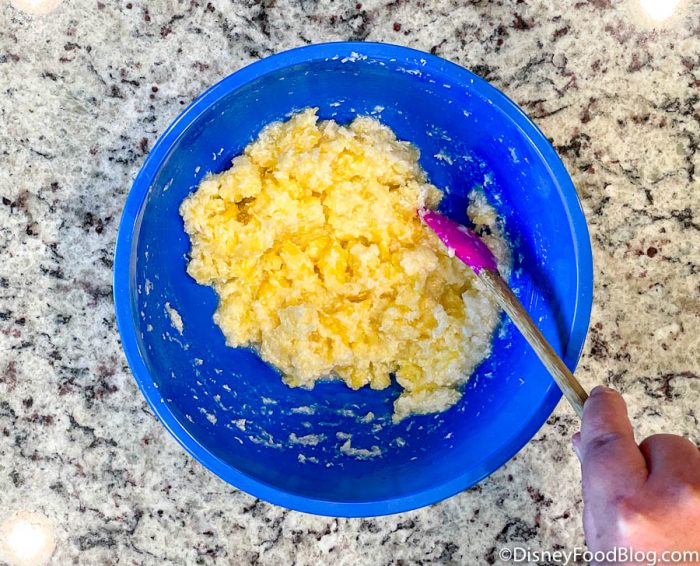 Filling Refrigerate this mixture for one hour before you use it in the bread! Making the BreadFirst, combine all the ingredients in a stand mixer bowl, in order of the ingredients list. Start with the egg yolk and water… 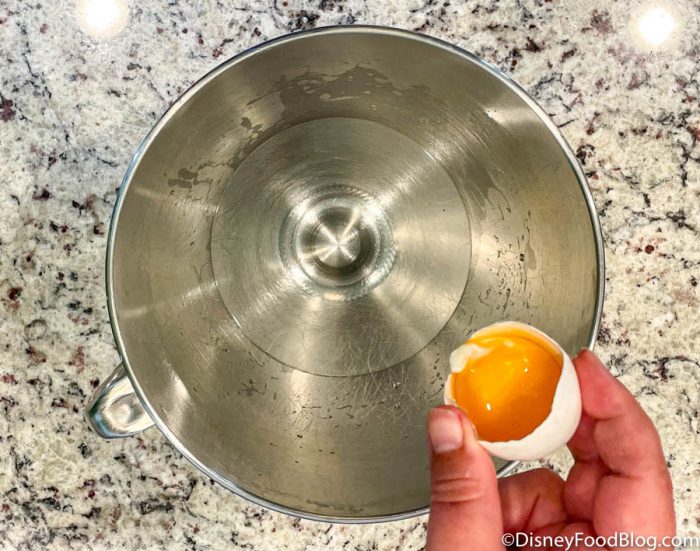 Egg and water …and add in the shortening! 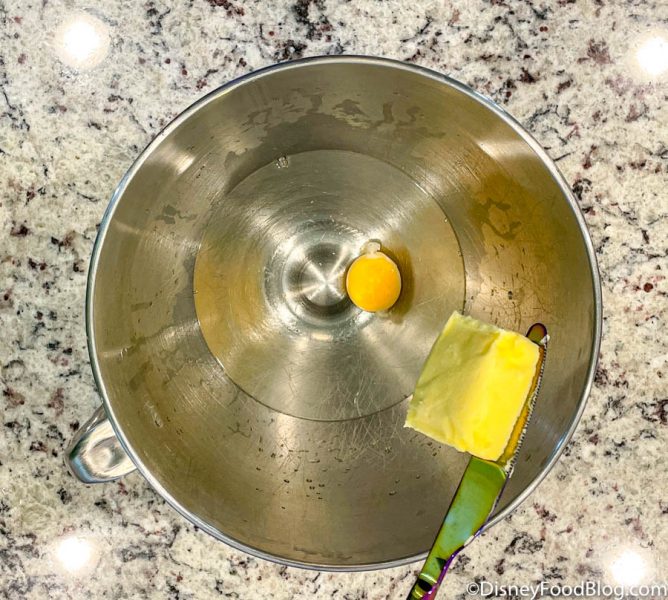 Shortening Add your kosher salt… 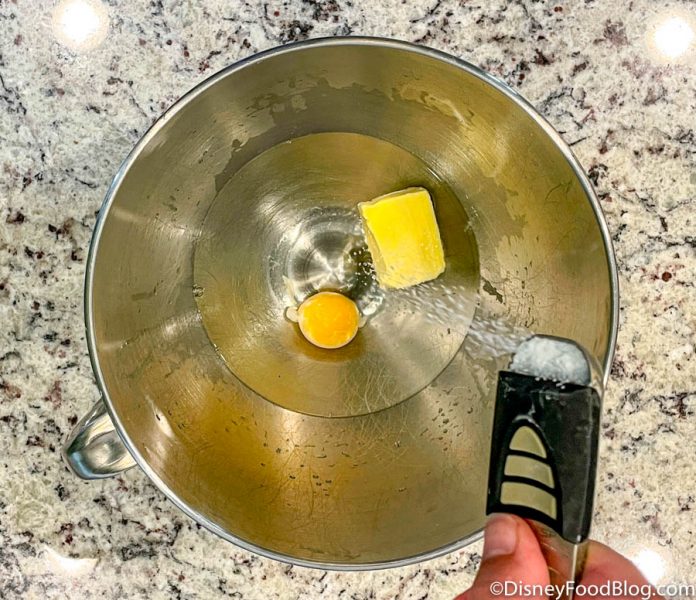 Salt …sugar… 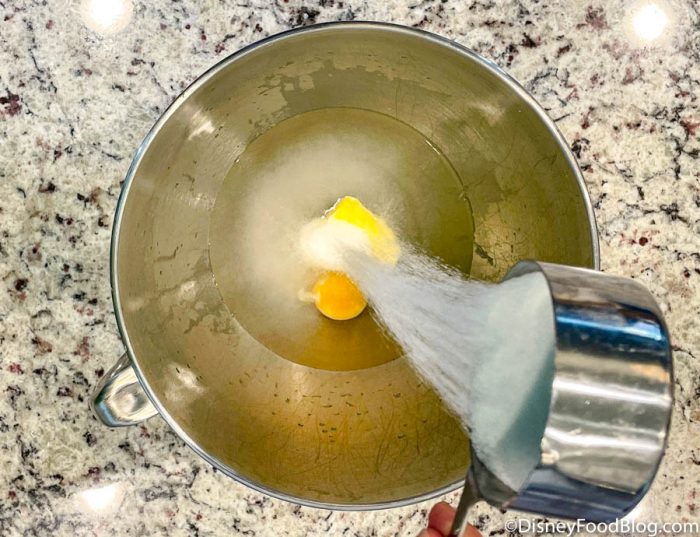 Sugar …and yeast! 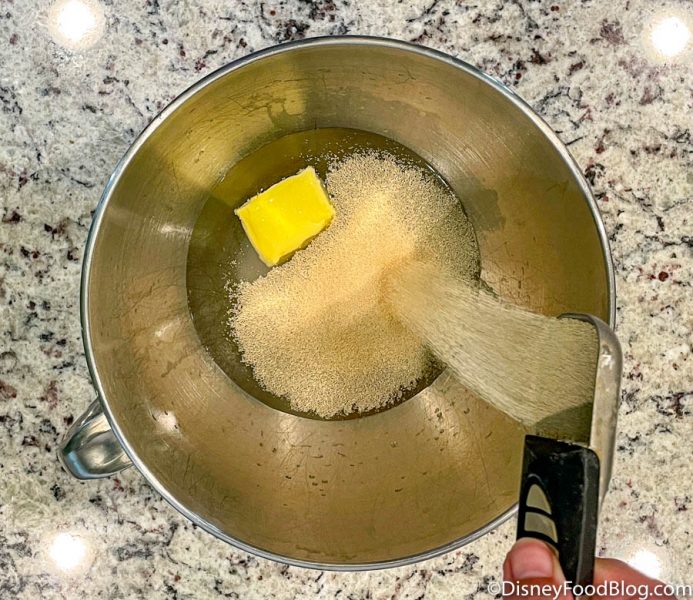 Yeast Next up, dump in that high-gluten (AKA bread) flour. 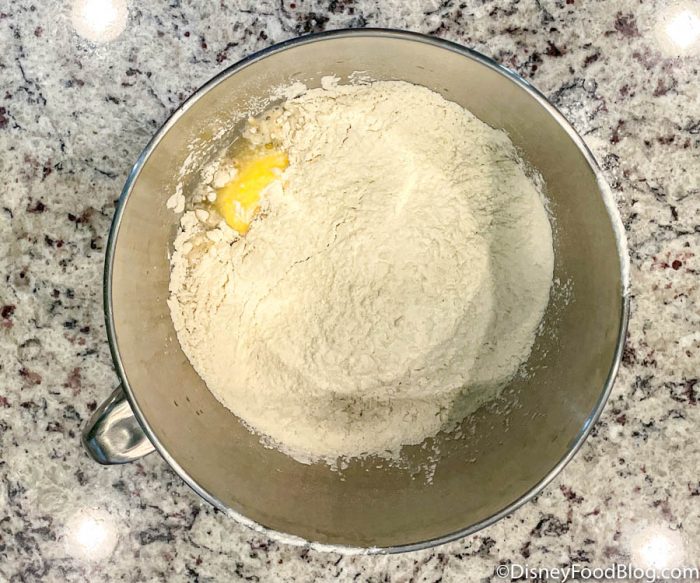 Flour Now that you’ve got all your ingredients in the bowl, attach it to the stand mixer and mix with the dough hook attachment until dough picks up on hook and the sides of the mixing bowl are clean.  Dough Now leave the dough to rise until it’s doubled in size. If your oven has a “proof” setting, use it! This typically makes your oven just ever so slightly warm to help the dough rise. 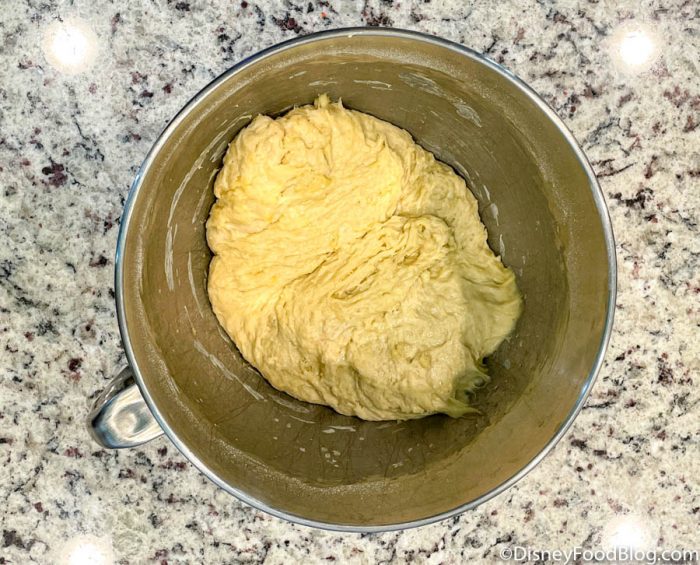 Risen! Roll out your dough onto a floured surface until it is about half an inch thick. It was soft enough we did this easily with our hands — no rolling pin needed! 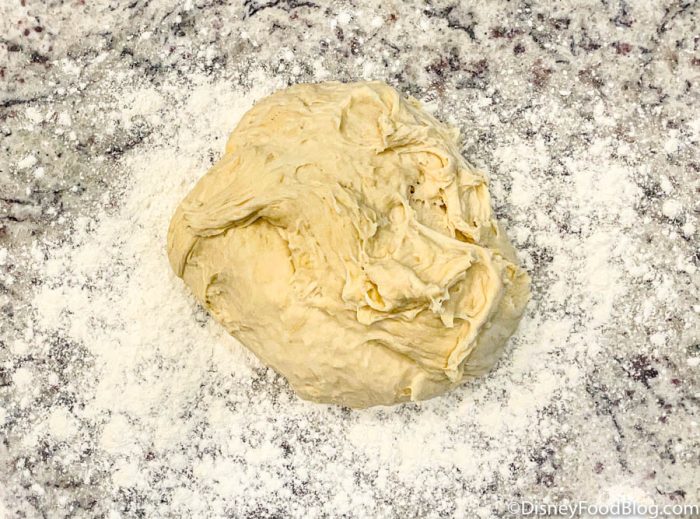 Ready to Roll Next, spread the pineapple/coconut mixture over the top of the dough. 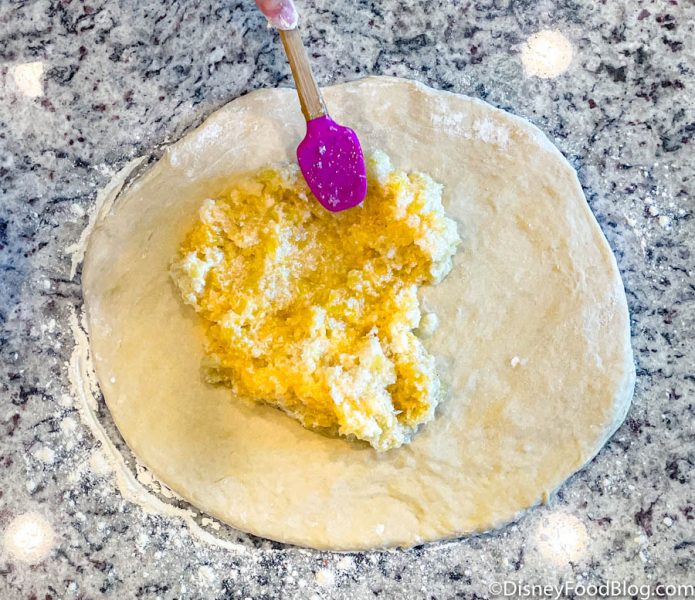 Filling Make sure you leave some room around the edges of the dough! In hindsight, we’d do this like a rectangle, not a circle. You’ll see in a few steps why this doesn’t really matter what shape you choose though!.  Read to Fold Fold dough onto itself, capturing the pineapple and coconut mixture inside. 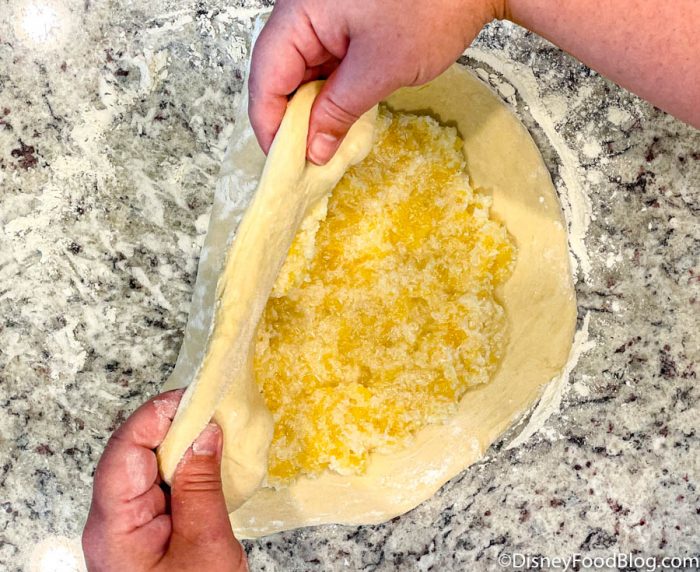 Folding Now you should have a semi-circle (or rectangle) of dough filled with the pineapple coconut mixture! Like a giant calzone! 🙂 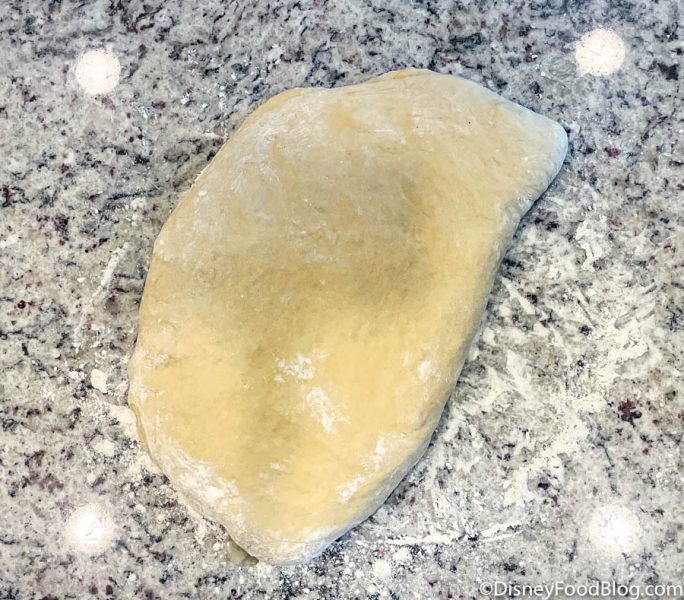 It’s like a giant tropical calzone! Cut dough into roughly equal pieces with a pizza cutter. Ours were about 2″ x 2″ but you’ll see in a sec why this isn’t a beauty contest… . 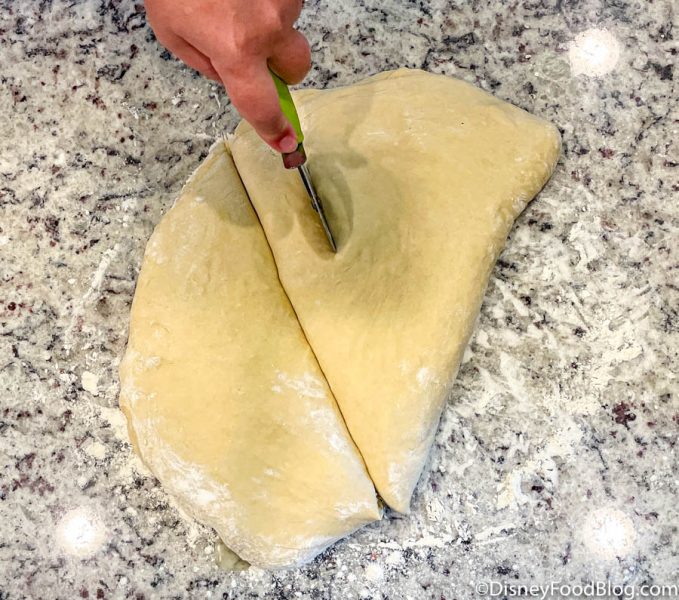 Rollin! We say “roughly” and we mean it! That filling is wet and gloopy (that’s totes a word.) so it wants to slide around on the dough, making a wet mess. Brace for it. You’ll be OK! 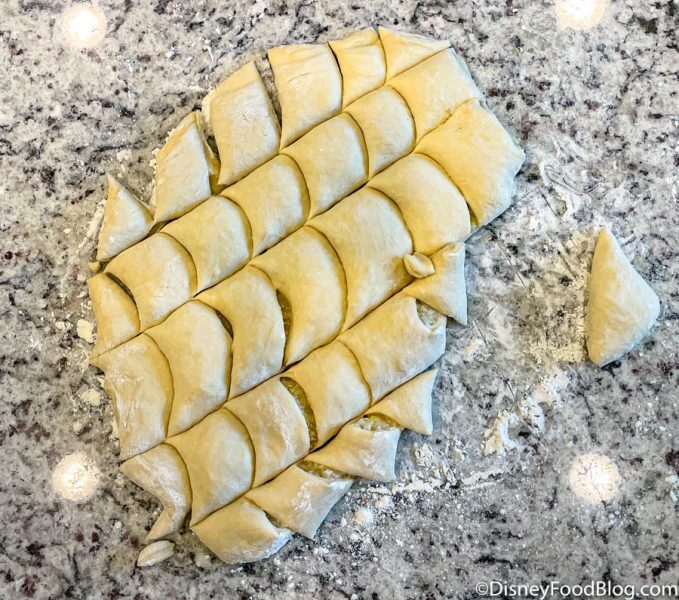 All Cut Take your cut pieces and spread them evenly into a greased 9×13 inch pan! This is the point where we mentioned how you shape and cut it doesn’t matter too much — you want even dispersion of coco/pineapple goo throughout the final product and this process helps achieve that. As for putting it in the pan, we sat some up sideways, some down like a sandwich — just get em all spaced evenly in the pan. With time (and heat) all will be right in the world. 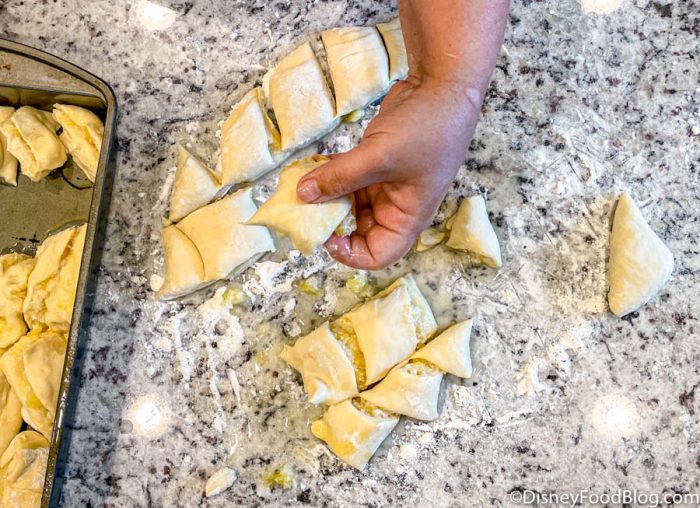 Can you see the filling oozing out? You should have something like this now! She ain’t pretty, but trust us. TRUST US! 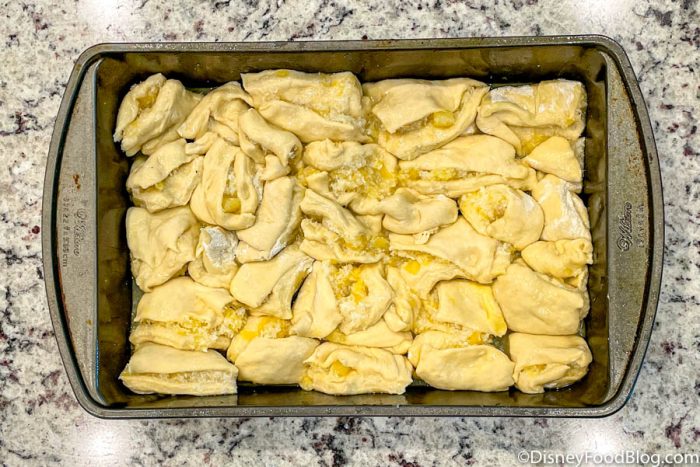 It gets better (promise!) Let your dough pieces rise in warm oven (110 degrees F) – until it rises about half way up the pan. Again that “proof” setting is your BFF. If you don’t have one, turn your oven on low for a minute or two, turn it off and feel inside. You should be able to touch inside without it being too hot. 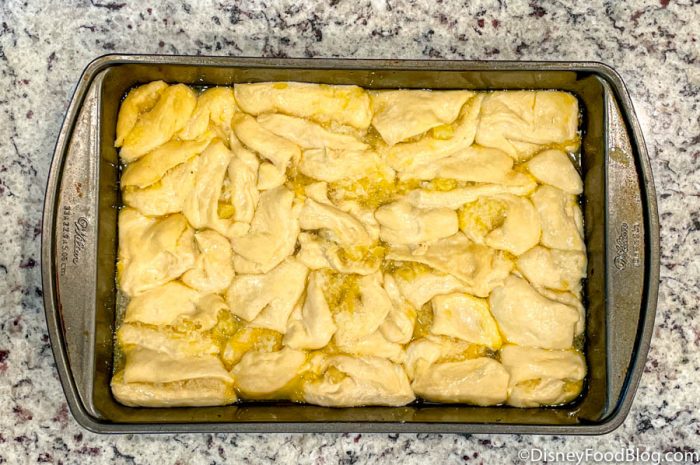 Getting closer! Bake at 325 degrees F for 20-25 minutes or until golden brown. Never just trust the bake time — WATCH it. Our oven isn’t your oven is not Disney World’s ovens! We usually set a timer for a bit before the low end of the time and start watching. Here, we checked about 15 minutes in. Ours took about 10 more minutes to get golden. 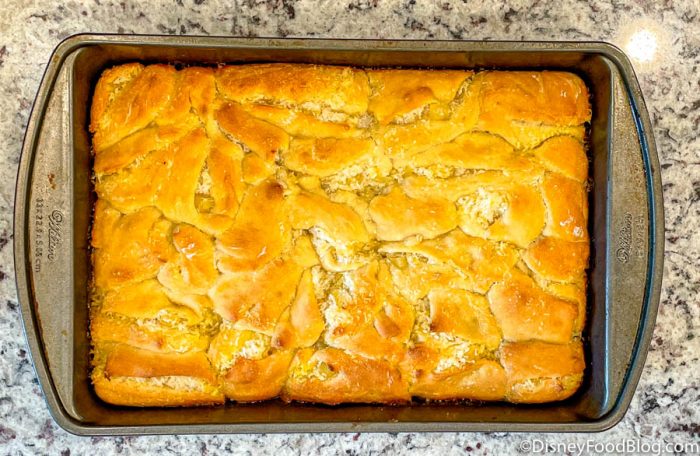 Look. How. Yum. Let bread cool, and then cut it into pieces again! At this point, if you wanted ‘Ohana Breakfast Bread — CONGRATS! Whip up a glaze (slowly add milk into a cup of powdered sugar until a drizzly consistency) and drizzle on top before cutting. If ye dare continue on to Bread Pudding waters, get going matey.  We snuck a few bites. It was DELISH. We cut the pieces into about 2 inch chunks. In hindsight, we’d probably cut to 1 inch pieces to make a more even layer in the final bread pudding. Now you’ve got delicious pineapple coconut bread pieces that are ready for your bread pudding! Making the Bread PuddingFirst you need to gather your ingredients! Ingredients Bread Pudding 5 eggs 3 cups whole milk 1/2 tsp salt 1/2 tsp nutmeg (fresh grated is best!) 1 1/2 cup sugar 8 cups french or ‘Ohana breakfast bread (what we just made! One batch made just enough.) Start by putting the eggs, milk, salt, sugar, and nutmeg together in a bowl. 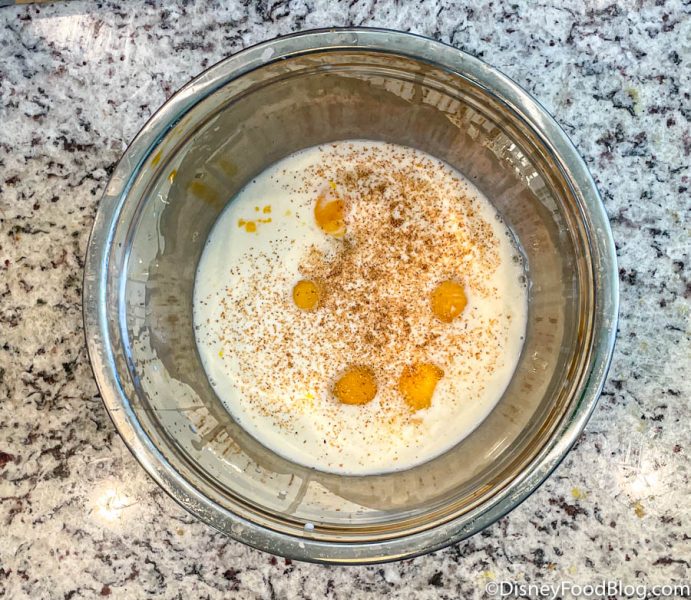 Wet Ingredients Mix them well and set the bowl aside for later. 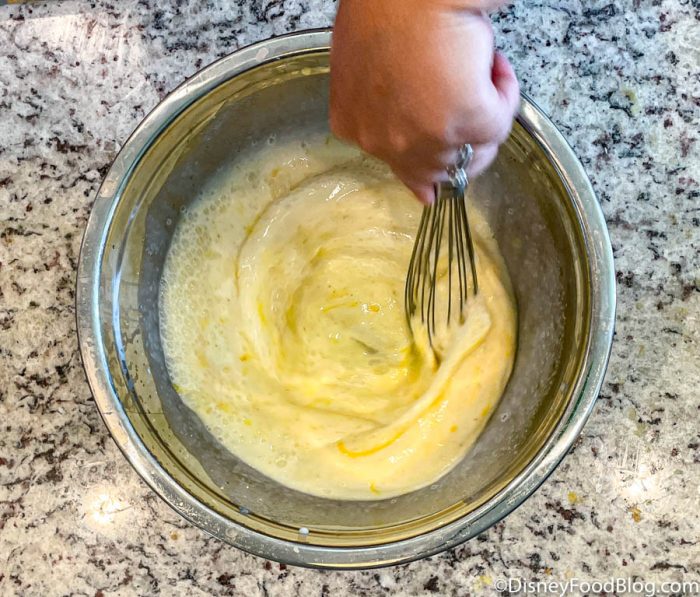 Stir! Gather those 1-2 inch cut pieces of bread. 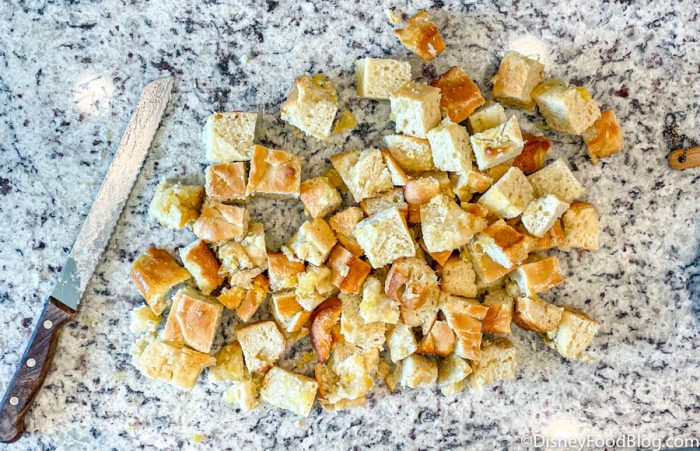 Bread Place the pieces — spread out fairly evenly — onto a cookie sheet.  Bread Put the pan into a 350 degree F oven and bake the bread until it’s lightly toasted. This should take about 15 minutes but don’t walk away! You don’t want to burn that bread you carefully made! 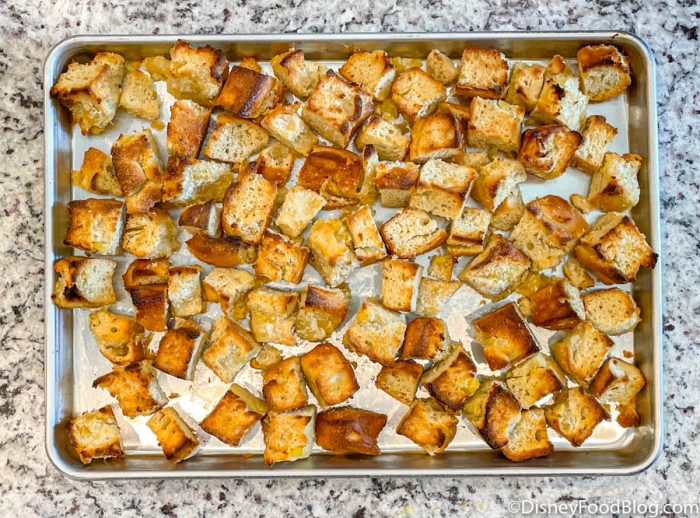 Toasty Bread When it’s toasted, add bread into the mixture of eggs, milk, salt, sugar, and nutmeg we made earlier! 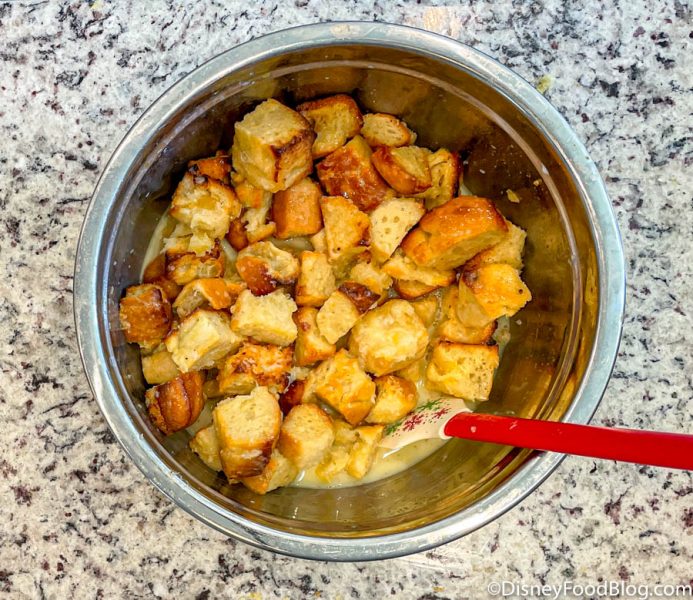 Bread Taking a Bath Mix pretty well so that all the bread is coated in the mixture. Put the mixture into a greased 10-inch cake pan… 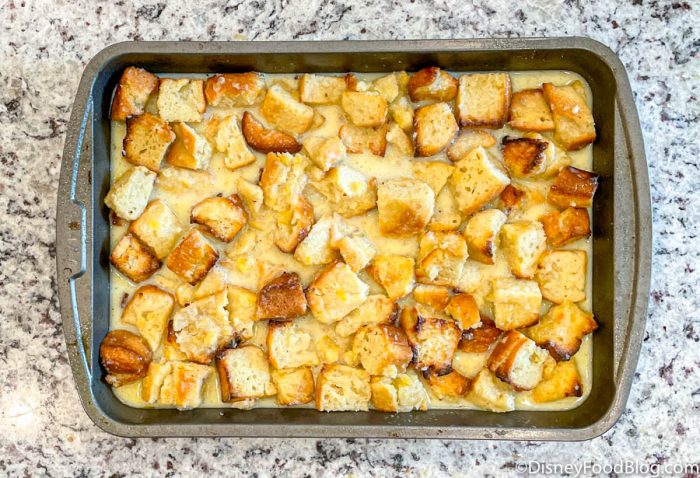 Starting to Look Like Bread Pudding! …and bake at 325 degrees F for one hour. Again, watch for doneness! 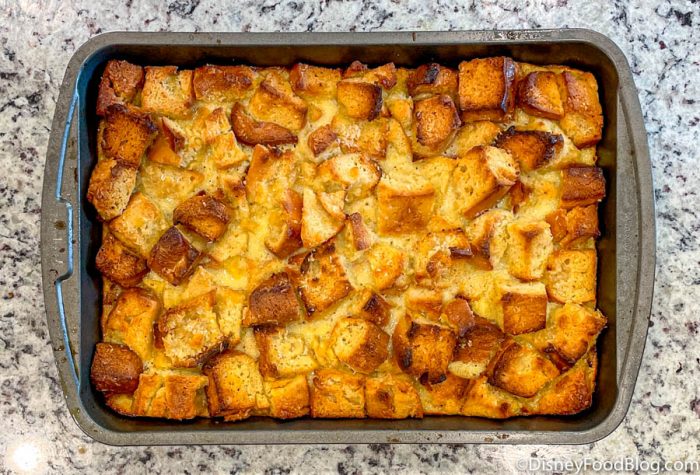 Hello lovely! Let it stand for about five minutes, and then serve it hot with ice cream and banana rum sauce! Making the Banana Rum SauceThis one’s the real kicker — it’s not ‘Ohana bread pudding without the delicious sauce! Ingredients 4 oz sugar 4 oz brown sugar 4 oz corn syrup 4 oz unsalted butter (1 stick = 4oz) 1 cup heavy cream 1 tsp vanilla extract 1 cup spiced rum 1 cup banana slices (one banana’s worth was perfect) Start by combining sugar, brown sugar, corn syrup, butter in a large saucepan. Use a kitchen scale for accuracy with the weights here. (Think about it — what you get measuring one cup of dry goods won’t be exactly what the next 10 people will measure. 4oz is 4oz is 4oz. You’re basically making candy at this point so accuracy is KEY.) 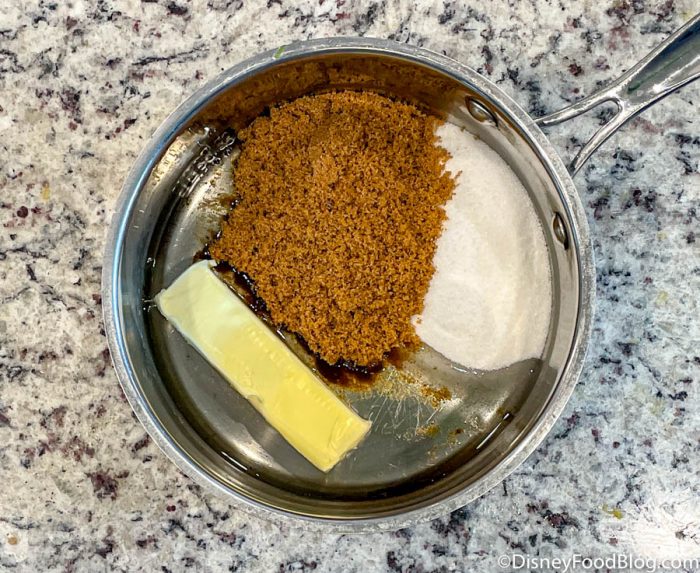 Start of Sauce Mix them together, and bring this mixture to a boil. Once boiling, add cream slowly. 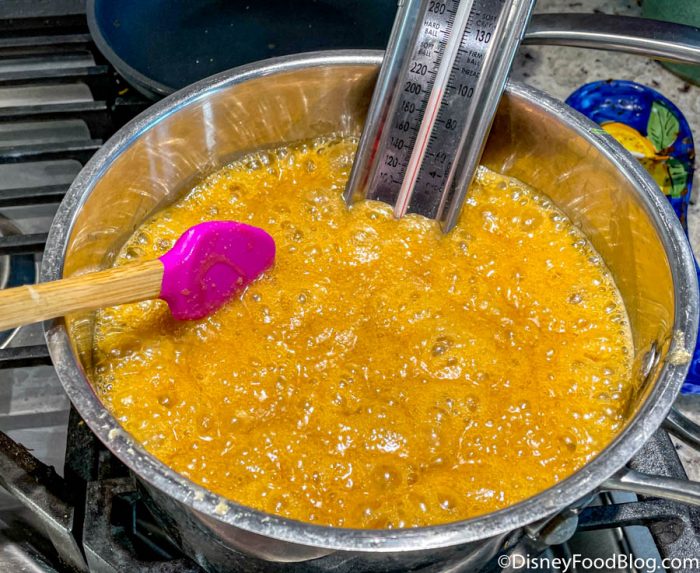 Boiling Keep the mixture at a steady boil. Remember, you’re making candy here so it takes time. Be patient. Get you a candy thermometer and clip it on the side. You’re shooting for “Soft Ball.” 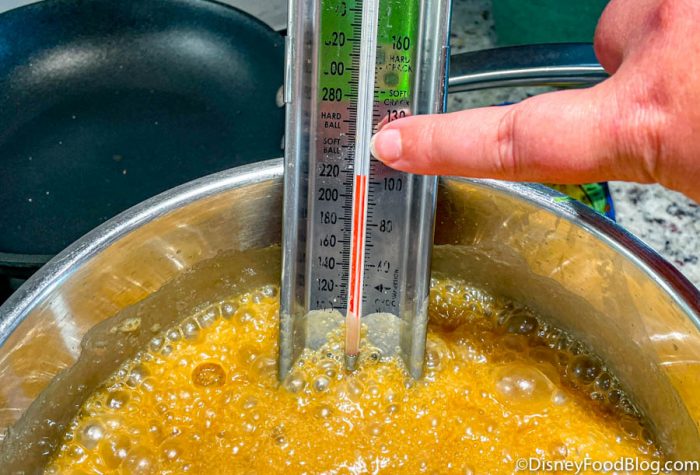 Soft Ball Once it hits temp, add the spiced rum and flambe. Note that that rum will cause it to spit and sputter, so keep hands clear for a sec. **OK, Fire Marshal DFB here. Flambe means literally taking a lighter and quickly hitting the sauce with a flame. The result is INVISIBLE FIRE. Seriously — the rum will light, but you might NOT see the flame. Don’t stick your face up to it looking for fire (bye-bye eyebrows!). BEFORE you attempt this, keep a big lid handy to extinguish the flame if it scares you. Light the sauce and step back. Give it a few seconds to cook. The flame can go out on its own or you can snuff it out with the lid.** If you DON’T want to attempt this, don’t fret. You can add water instead of rum. Most grocery stores even sell rum flavored extract you can use instead of real alcohol. If you try that, start with a 1/2 tsp of extract and taste. You can always add more! 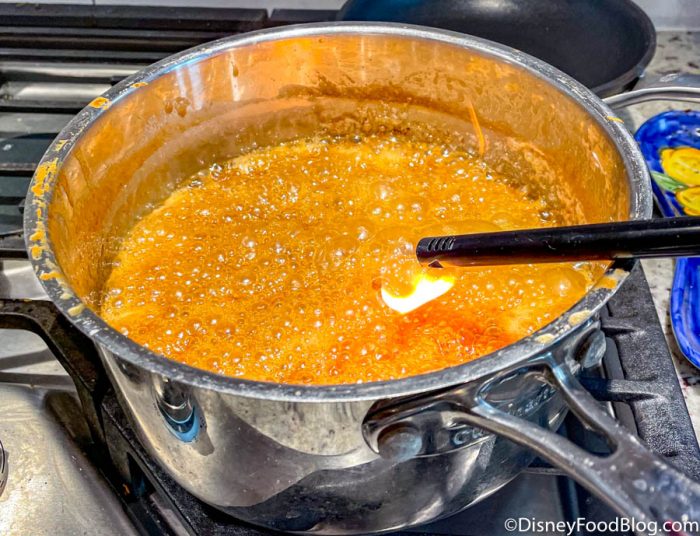 You can’t see it but there’s INVISIBLE FIRE HERE! Once fire is gone and safety has returned to the land, kill the heat and move it somewhere safe. 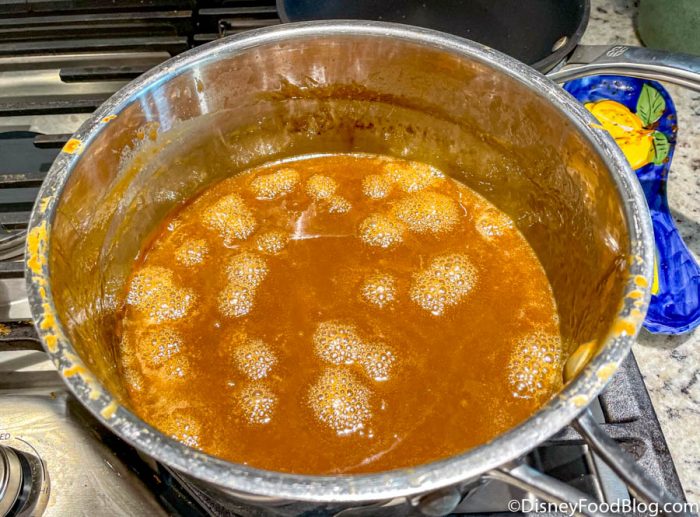 Almost Done! Add vanilla (it’ll bubble up a bit again). Add sliced bananas. 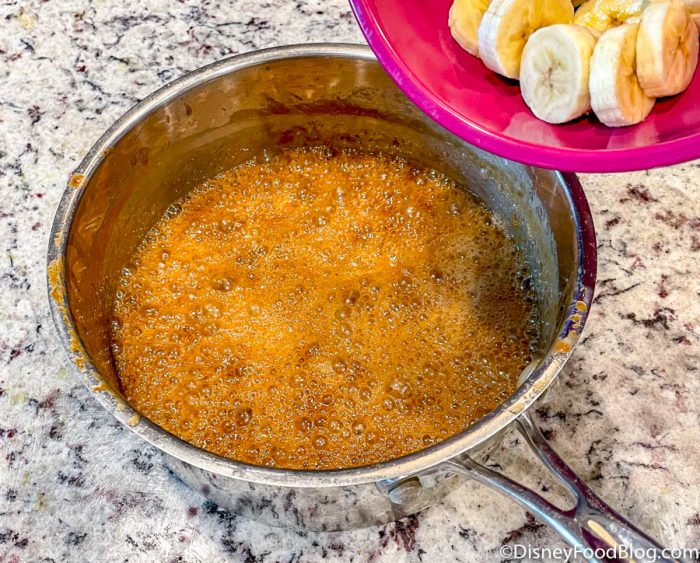 Adding Vanilla and Bananas! Now grab a slice of your bread pudding, add a scoop of ice cream… 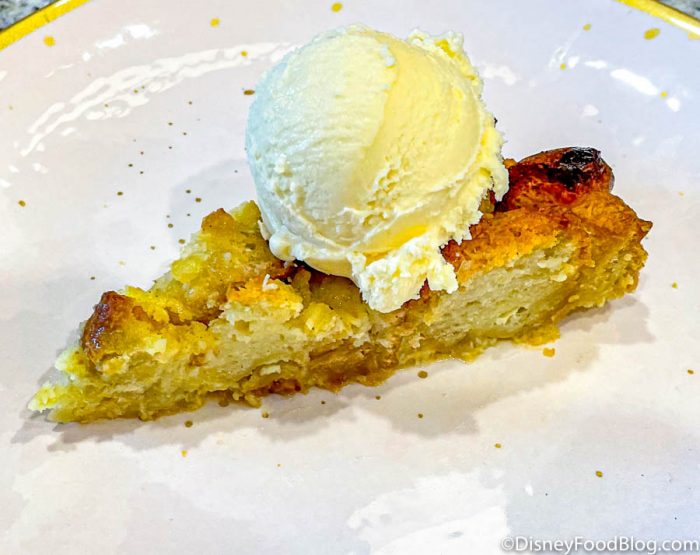 You did it. It was worth it. TREAT YO SELF! …and pour your delicious sauce over the top! 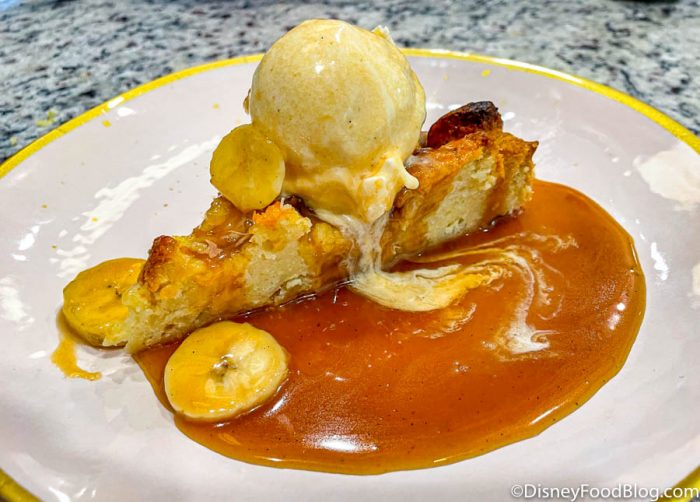 YES. Can you feel the tropical vibes yet?? Guys, now we have a vat of this sauce in our fridge and fighting the urge to drink it with a straw (send help.)! Keep following DFB for recipes of more of your favorite Disney food! Click here to See More Disney Recipes We’ve Made! Join the DFB Newsletter to get all the breaking news right in your inbox! Click here to Subscribe! Don't Miss Out on Any Disney Fun! Order Your Copy of the 2023 DFB Guide to Walt Disney World Dining Today! With more than 900 pages, the 2023 DFB Guide to Walt Disney World Dining is full of tips and planning tools developed by Disney World experts over 30+ years of visits. We've done the research for you, so you'll know just which spots will uniquely suit your family's needs!
You'll get a Reference Guide, a 101 Plan, and a Printables and Resources Guide! With mini-reviews of every single restaurant, bar, lounge, kiosk and more; an entire chapter on the best snacks in Disney World; full Disney Dining Plan analysis; and a full chapter on discounts and deals; you'll have everything you need to plan your best vacation yet.
Click here to order your copy of the 2023 DFB Guide to Walt Disney World Dining E-book with code WDW2023 to save 25% off the cover price today!
Use code WDW2023 at check-out for 25% off the cover price today! With more than 900 pages, the 2023 DFB Guide to Walt Disney World Dining is full of tips and planning tools developed by Disney World experts over 30+ years of visits. We've done the research for you, so you'll know just which spots will uniquely suit your family's needs!
You'll get a Reference Guide, a 101 Plan, and a Printables and Resources Guide! With mini-reviews of every single restaurant, bar, lounge, kiosk and more; an entire chapter on the best snacks in Disney World; full Disney Dining Plan analysis; and a full chapter on discounts and deals; you'll have everything you need to plan your best vacation yet.
Click here to order your copy of the 2023 DFB Guide to Walt Disney World Dining E-book with code WDW2023 to save 25% off the cover price today!
Use code WDW2023 at check-out for 25% off the cover price today!
Are you gonna try to make the ‘Ohana bread pudding? Let us know in the comments! TRENDING NOW Disney CEO Bob Iger Announces His “Number One Priority”
The Walt Disney Company just held its first earnings call since Bob Iger returned as... read more We’ve Eaten at Every Magic Kingdom Restaurant. These Are the BEST.
Can't decide where to eat in Magic Kingdom? We can help! Here are the BEST... read more A Definitive Ranking of EVERY Disney World Hotel!
We're ranking ALL of the Disney World hotels! read more We’ve Eaten at Every EPCOT Restaurant. These Are the BEST.
EPCOT is one of the best Disney World parks to grab a bite to eat.... read more We’ve Eaten at Every Disney Springs Restaurant. These Are the Best.
We're here with the TOP restaurants from Disney Springs! Find out where you'll find the... read more BREAKING: The NEW Disney World Dining Package Is Now Available For Booking
Disney has officially announced a NEW Dining Promo Card is here for 2023 and is... read more The 1 Drink You Should Get From Each EPCOT Pavilion
If you're going to drink one drink from each EPCOT pavilion, these are the drinks... read more Yes, Rise of the Resistance Is Going to Break in Disney World. Here’s What to Do When It Does.
The nightmare situation: You can't wait to ride 'Star Wars': Rise of the Resistance in... read more STEP-BY-STEP Guide: How to Purchase Genie+ for Disney World
We're breaking down exactly how to purchase Disney Genie+ in Disney World. Find out more... read more The 17 Best Restaurants in Disney World in 2023
Where should you eat at Disney World in 2023? We're sharing our picks for the... read more EVERY Disney World Character Dining Meal Ranked from WORST to BEST for 2023
We've dined at every Disney World character meal and now we've ranked them all for... read more The Ultimate Guide to Eating in Disney’s Hollywood Studios
We're taking you through ALL the food in Disney's Hollywood Studios! read more STOP Buying Disney Genie+ — Here’s When You DON’T Need It
Wondering when Genie+ is worth the money? Here are some times we recommend NOT buying... read more 5 Laws You Need to Know Before You Travel to Florida
Welcome to Florida! Here are the laws you NEED to know before visiting. read more Best Snacks at Magic Kingdom in Disney World for 2023
Get ready to sink your teeth into the best snacks in Magic Kingdom read more RECIPE! The AMAZING Disney World Main Street Bakery Cinnamon Rolls (With Step by Step Pics AND SECRET TIPS!)
We're here to help you become a Disney World baking MASTER! Follow our step by... read more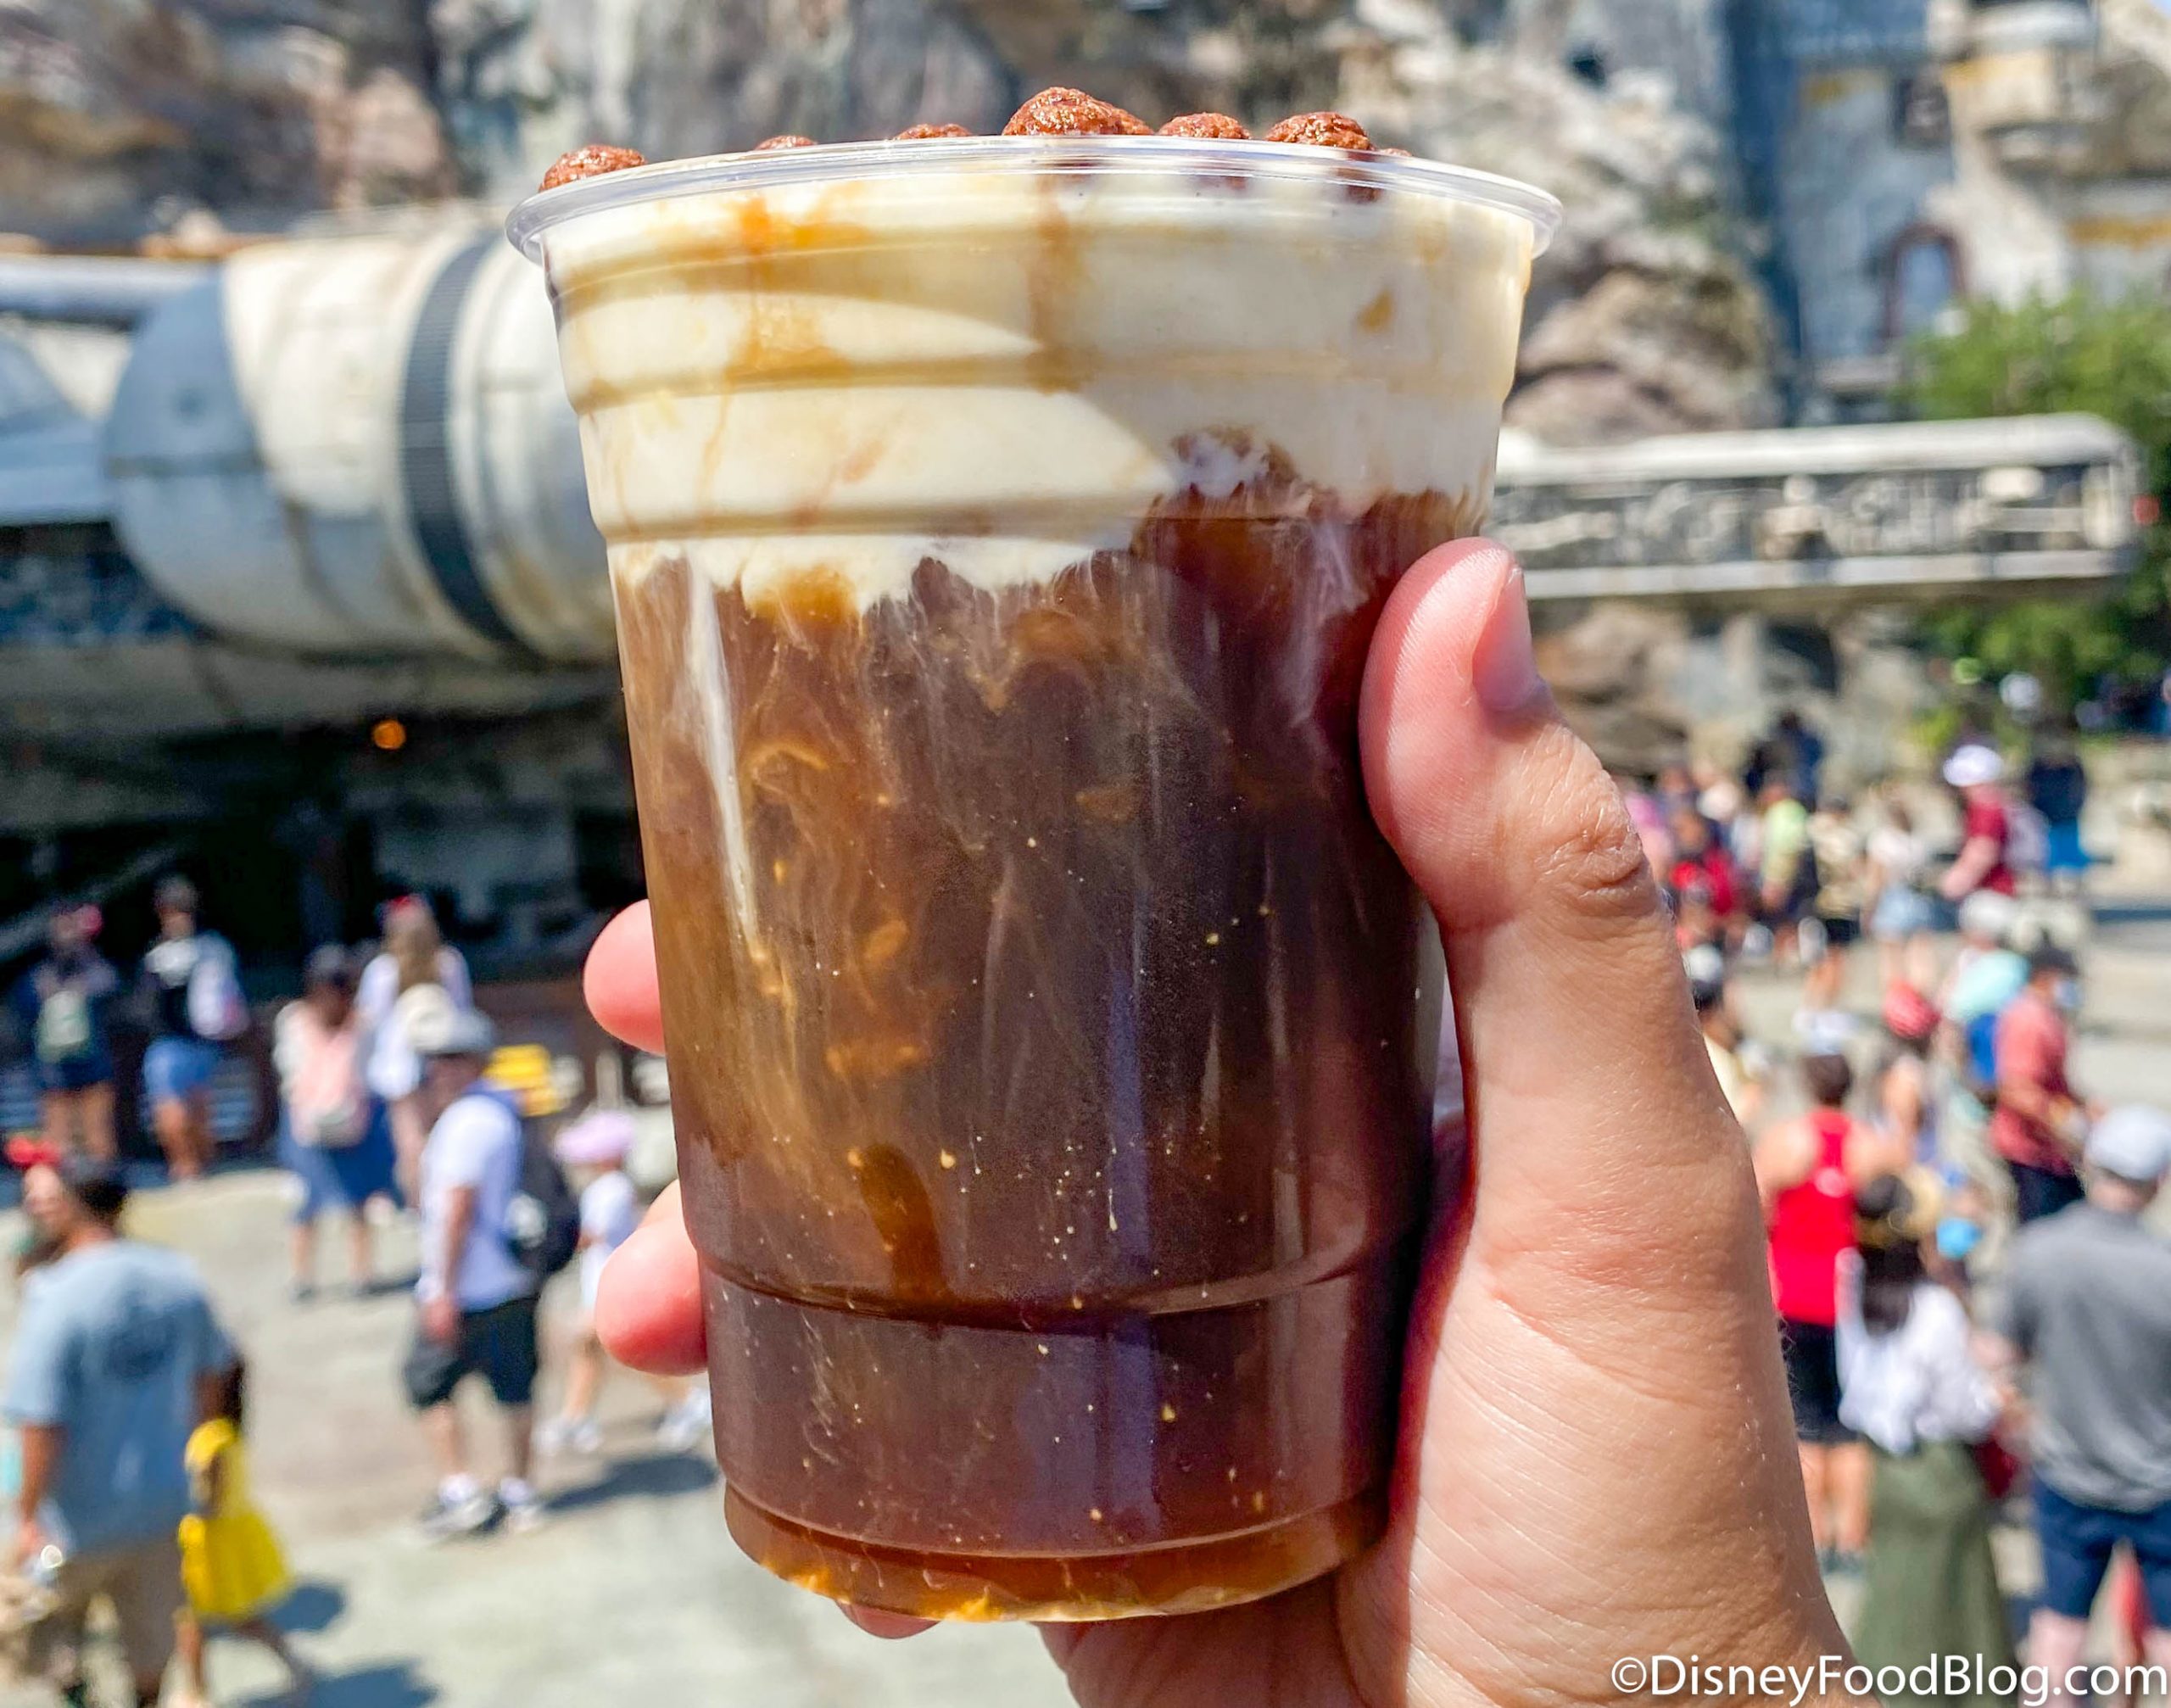 Review: There Are Cocoa Puffs in Disneyland’s NEW Coffee Drink and We Ain’t Mad!
We're visiting Star Wars Galaxy's Edge at Disneyland today to try a new drink! Check... read more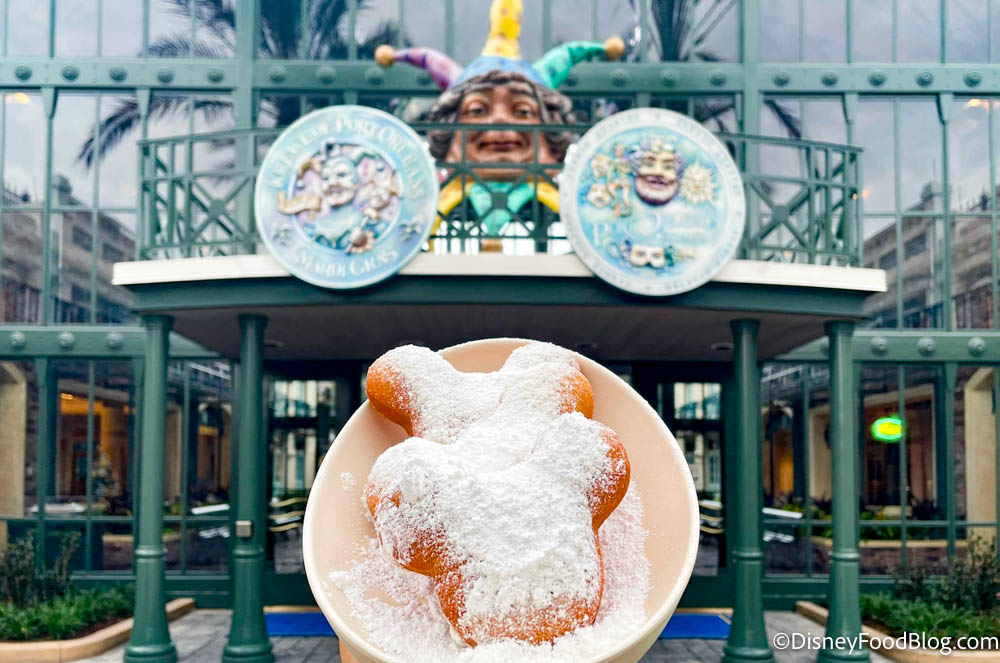 FINALLY! 🚨 Mickey Beignets Are BACK in Disney World!
See the delicious Mickey-shaped snack that's finally back at Disney World! read more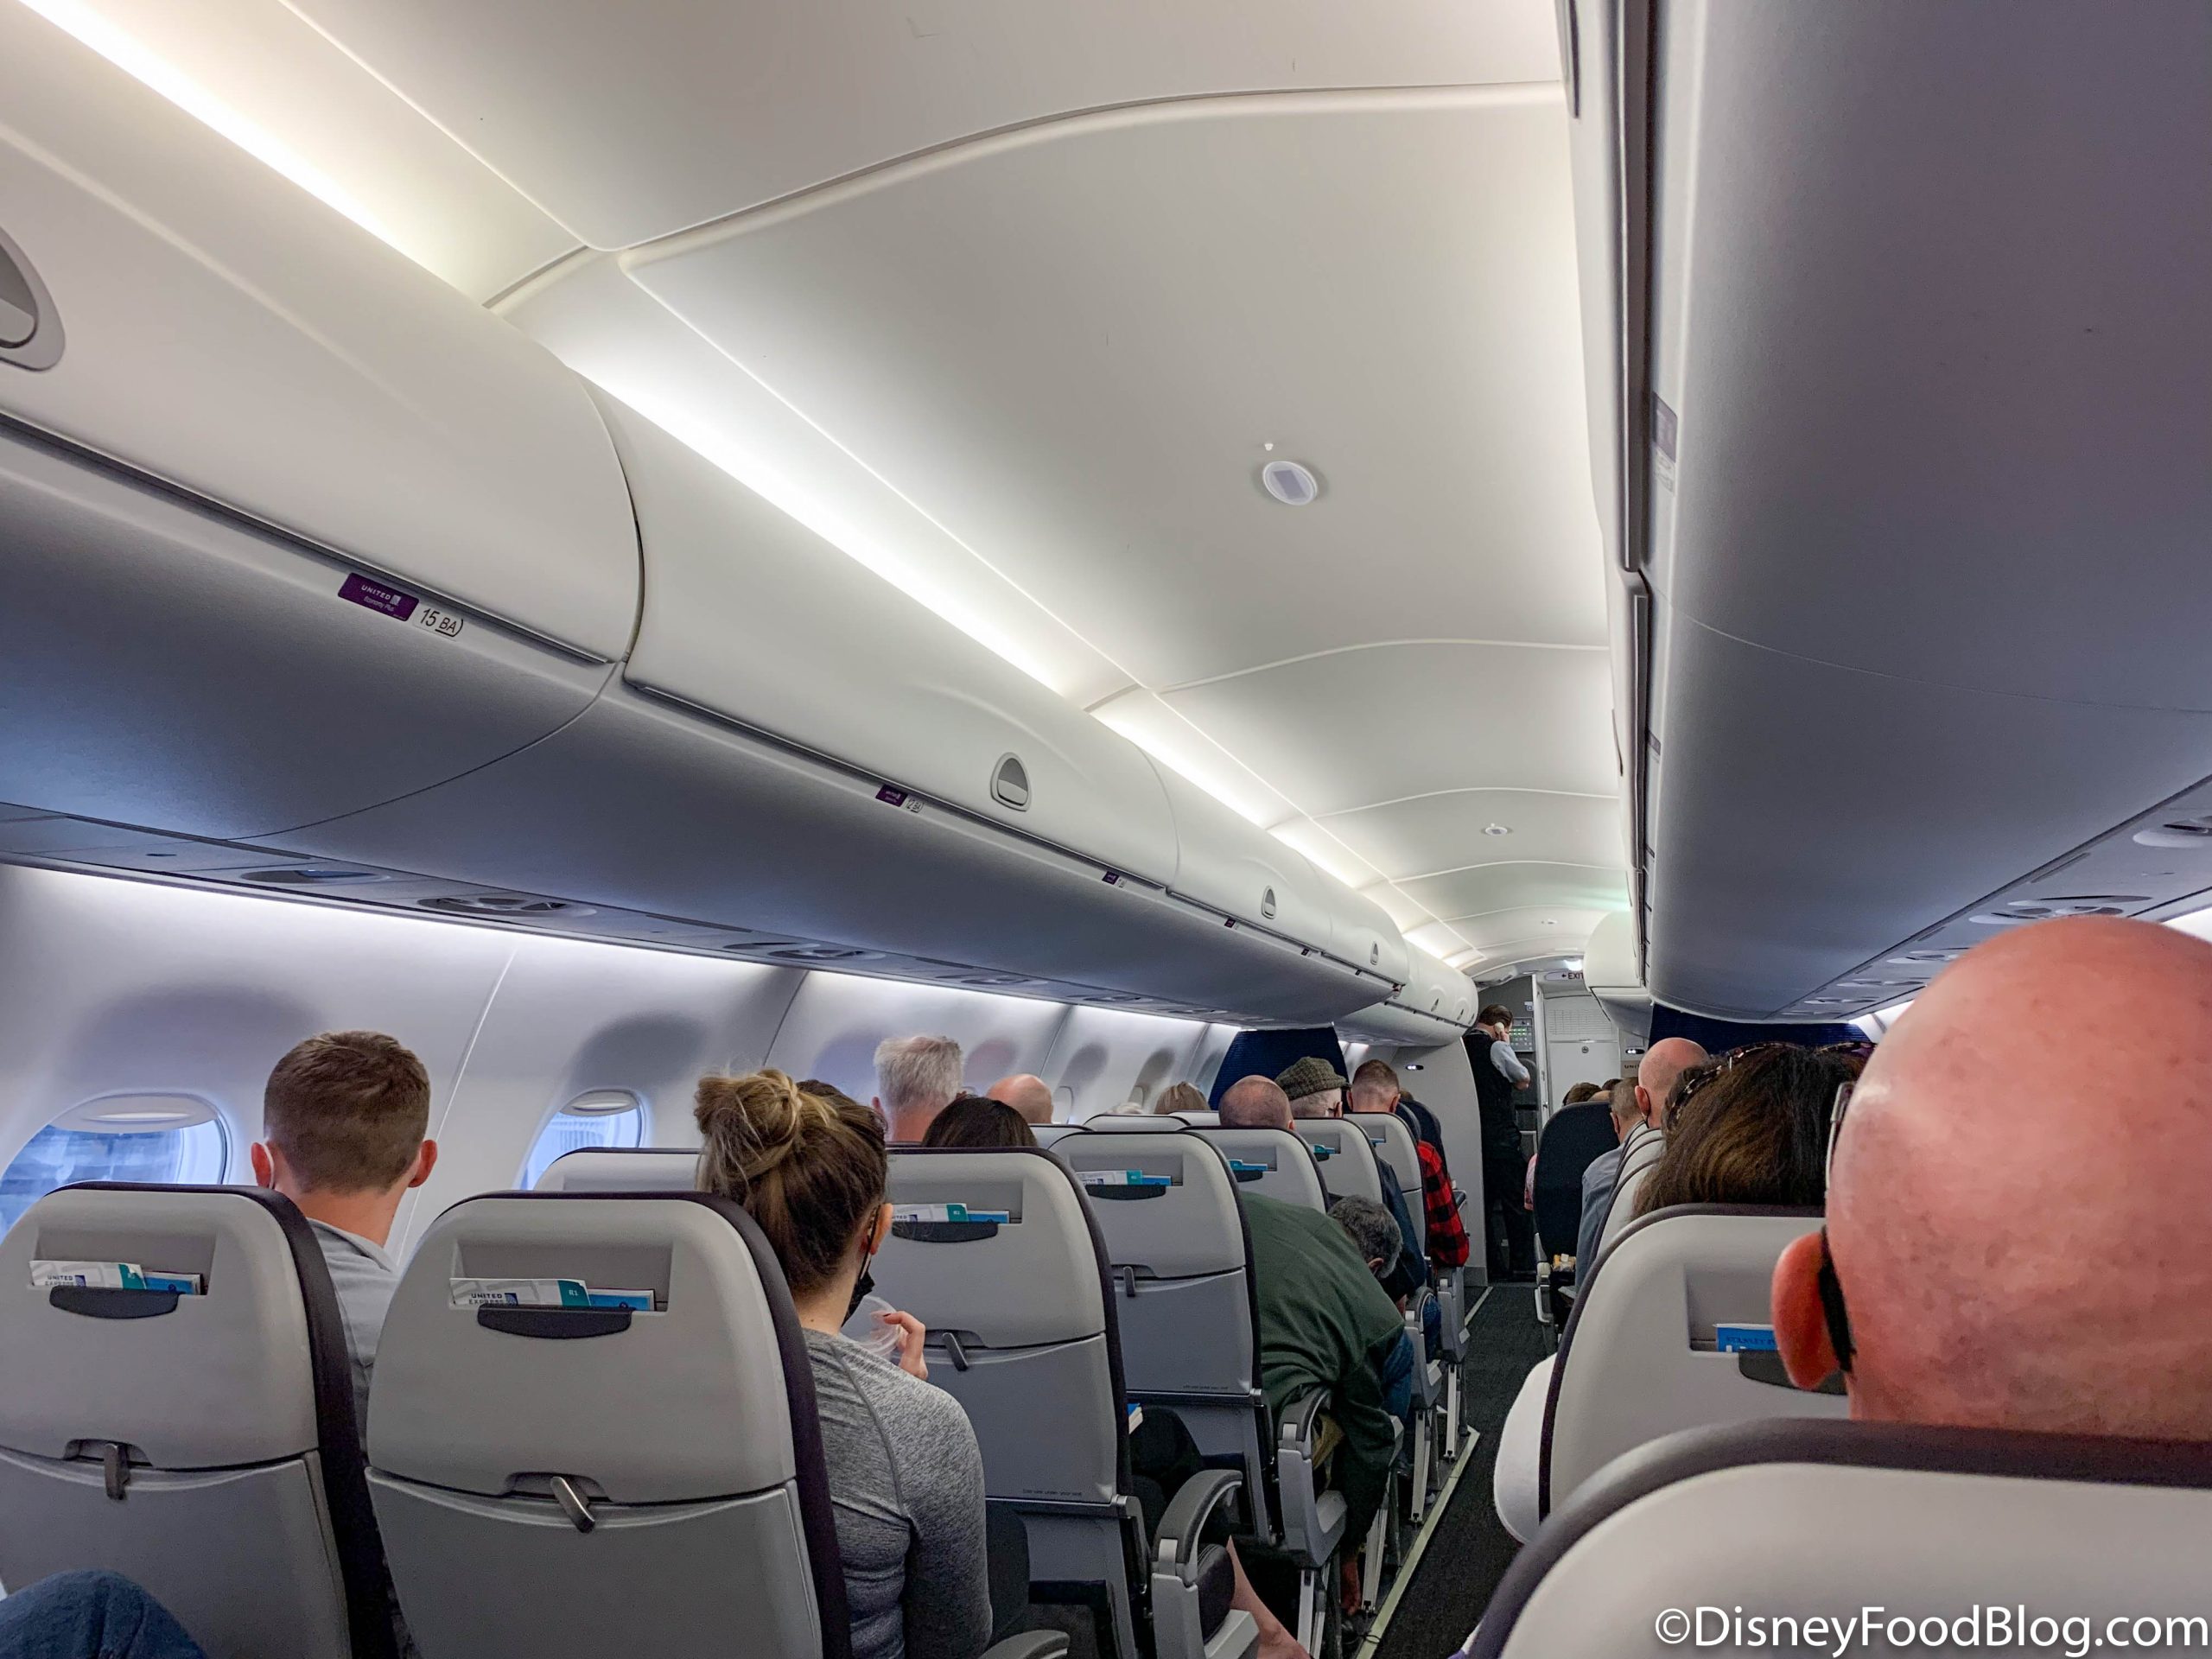 The BEST and WORST Airlines in the US, Ranked by Customer Complaints
The US Department of Transportation released information about consumer complaints for each US airline. Find... read more We’ve Eaten at Every Restaurant in Disney’s Animal Kingdom. These Are the BEST.
We're in Disney World every single day, and we've eaten at EVERY restaurant. That means... read moreFiled Under: Featured, News, Polynesian Resort, Recipe, Special Stuff, Table-Service Tagged With: 'Ohana, Bread Pudding, bread pudding recipe, disney desserts, disney desserts recipe, Disney recipe, Ohana Bread Pudding, ohana bread pudding recipe, photos, poly, Polynesian, Recipe, step by step, wdw recipe |
 Our guides are backed by a 100% money-back guarantee, so you have nothing to lose. 🙂
【本文地址】