| 【Vue】vue2导出页面内容为pdf文件,自定义选中页面内容导出为pdf文件,打印选中页面内容,预览打印内容 | 您所在的位置:网站首页 › vue中引用js文件 › 【Vue】vue2导出页面内容为pdf文件,自定义选中页面内容导出为pdf文件,打印选中页面内容,预览打印内容 |
【Vue】vue2导出页面内容为pdf文件,自定义选中页面内容导出为pdf文件,打印选中页面内容,预览打印内容
|
提示:文章写完后,目录可以自动生成,如何生成可参考右边的帮助文档 文章目录 前言一、安装html2canvas和jspdf二、导出pdf使用步骤1.在utils文件夹下创建htmlToPdf.js2.在main.js中引入3.在页面中使用 三、打印预览1. 引入print-js2.页面中import3. 点击方法 总结弹出打印框的另一种方式 前言提示:这里可以添加本文要记录的大概内容: 打印页面中显示的部分内容,由div包括的所有内容都将被导出为pdf文件 提示:以下是本篇文章正文内容,下面案例可供参考 一、安装html2canvas和jspdf npm install --save html2canvas; npm install --save jspdf 二、导出pdf使用步骤 1.在utils文件夹下创建htmlToPdf.js
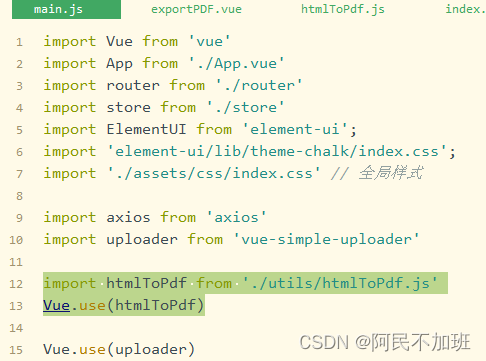
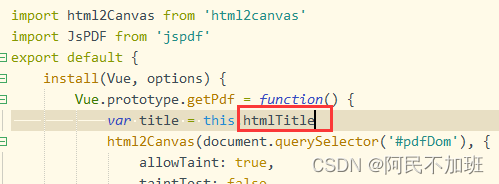
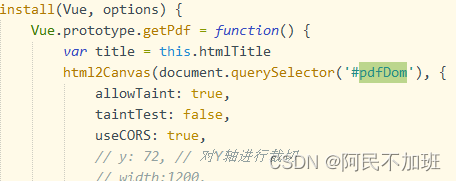
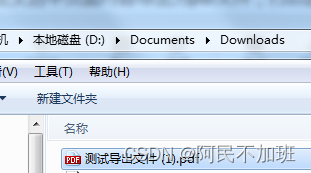
代码如下(示例): // htmlToPdf.js // 导出页面为PDF格式 /* 用法 1. main.js中引入 import htmlToPdf from '@/util/htmlToPdf' Vue.use(htmlToPdf) 2. vue页面中调用 按钮中方法 @click="getPdf()" data中声明变量 data() { return { htmlTitle: "测试导出文件", // 生成pdf的名称 ...... 3. 打印内容 id必须为pdfDom */ import html2Canvas from 'html2canvas' import JsPDF from 'jspdf' export default { install(Vue, options) { Vue.prototype.getPdf = function() { var title = this.htmlTitle // html2Canvas(document.querySelector('#pdfDom'), { allowTaint: true, taintTest: false, useCORS: true, // y: 72, // 对Y轴进行裁切 // width:1200, // height:5000, dpi: window.devicePixelRatio * 4, //将分辨率提高到特定的DPI 提高四倍 scale: 4 //按比例增加分辨率 }).then(function(canvas) { let contentWidth = canvas.width let contentHeight = canvas.height let pageHeight = contentWidth / 592.28 * 841.89 let leftHeight = contentHeight let position = 0 let imgWidth = 595.28 let imgHeight = 592.28 / contentWidth * contentHeight let pageData = canvas.toDataURL('image/jpeg', 1.0) let PDF = new JsPDF('', 'pt', 'a4') if (leftHeight while (leftHeight > 0) { PDF.addImage(pageData, 'JPEG', 0, position, imgWidth, imgHeight) leftHeight -= pageHeight position -= 841.89 if (leftHeight > 0) { PDF.addPage() } } } PDF.save(title + '.pdf') }) } } } 2.在main.js中引入代码如下(示例): import htmlToPdf from './utils/htmlToPdf.js' Vue.use(htmlToPdf)
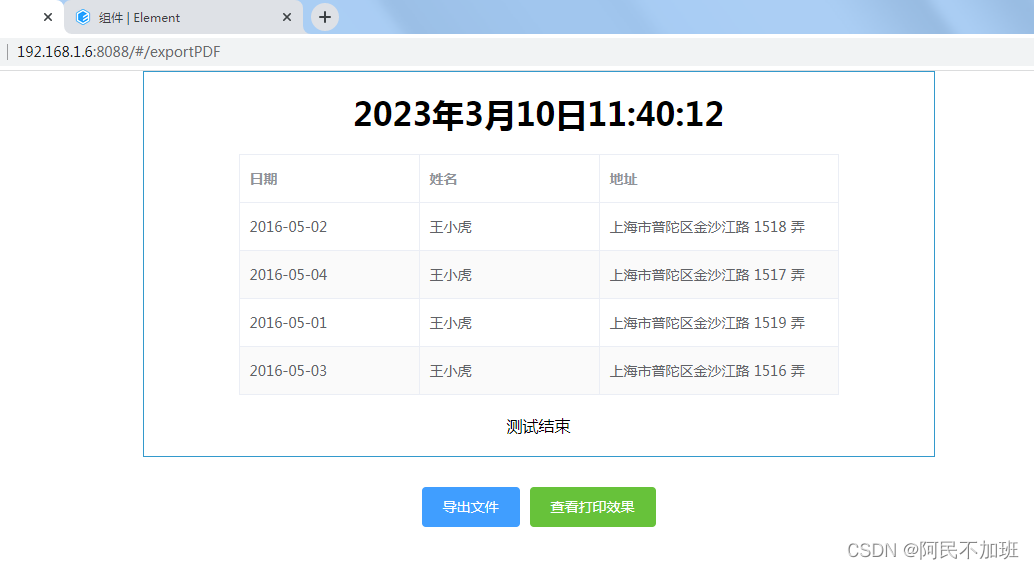
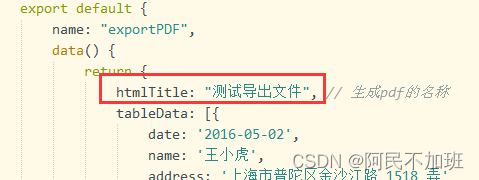
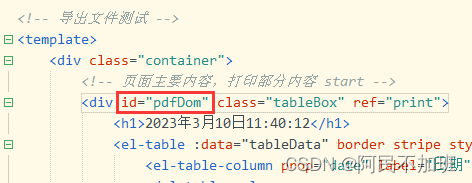
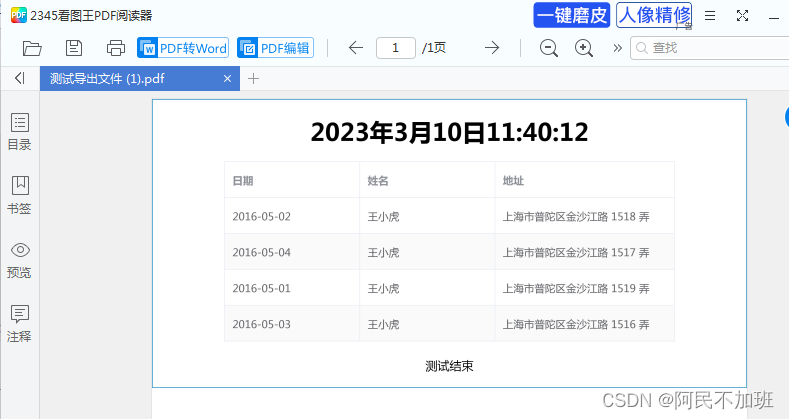
页面内容代码 2023年3月10日11:40:12 测试结束 导出文件 查看打印效果css样式 .tableBox { margin: 0 auto; width: 750px; display: flex; justify-content: center; align-items: center; flex-direction: column; padding: 20px; border: 1px solid #3399cc; h1 { text-align: center; } .el-table { margin: 20px 0; } } .onBtn{ margin: 30px auto; display: flex; align-items: center; justify-content: center; }js变量 htmlTitle: "测试导出文件", // 生成pdf的名称 tableData: [{ date: '2016-05-02', name: '王小虎', address: '上海市普陀区金沙江路 1518 弄' }, { date: '2016-05-04', name: '王小虎', address: '上海市普陀区金沙江路 1517 弄' }, { date: '2016-05-01', name: '王小虎', address: '上海市普陀区金沙江路 1519 弄' }, { date: '2016-05-03', name: '王小虎', address: '上海市普陀区金沙江路 1516 弄' }]
getPdf方法为htmlToPdf.js中创建的,并且已经在main.js中引用为全局 data变量里面必须自定义一个title名称,要与js中相对应。 导出内容div里面必须定义id,必须一致
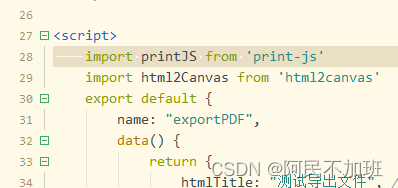
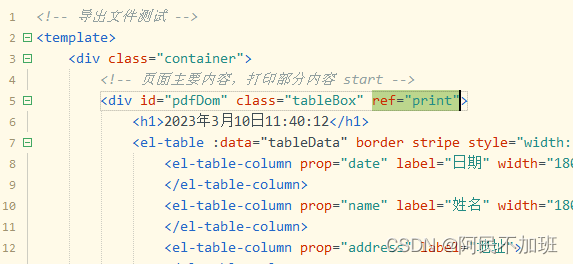
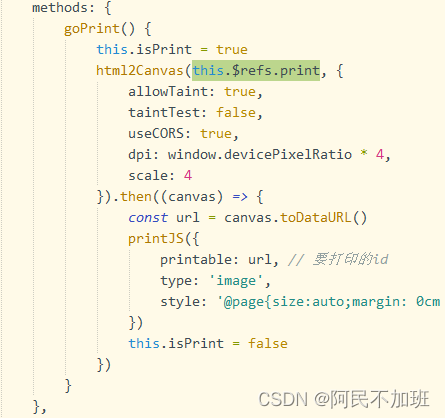
首先要在打印内容中加一个ref绑定 完整页面代码 2023年3月10日11:40:12 测试结束 导出文件 查看打印效果 import printJS from 'print-js' import html2Canvas from 'html2canvas' export default { name: "exportPDF", data() { return { htmlTitle: "测试导出文件", // 生成pdf的名称 tableData: [{ date: '2016-05-02', name: '王小虎', address: '上海市普陀区金沙江路 1518 弄' }, { date: '2016-05-04', name: '王小虎', address: '上海市普陀区金沙江路 1517 弄' }, { date: '2016-05-01', name: '王小虎', address: '上海市普陀区金沙江路 1519 弄' }, { date: '2016-05-03', name: '王小虎', address: '上海市普陀区金沙江路 1516 弄' }] } }, created() {}, methods: { goPrint() { this.isPrint = true html2Canvas(this.$refs.print, { allowTaint: true, taintTest: false, useCORS: true, dpi: window.devicePixelRatio * 4, scale: 4 }).then((canvas) => { const url = canvas.toDataURL() printJS({ printable: url, // 要打印的id type: 'image', style: '@page{size:auto;margin: 0cm 1cm 0cm 1cm;}' //去除页眉页脚 }) this.isPrint = false }) } }, } .container { .tableBox { margin: 0 auto; width: 750px; display: flex; justify-content: center; align-items: center; flex-direction: column; padding: 20px; border: 1px solid #3399cc; h1 { text-align: center; } .el-table { margin: 20px 0; } } .onBtn { margin: 30px auto; display: flex; align-items: center; justify-content: center; } } 弹出打印框的另一种方式下载安装 npm install --save vue-print-nbmain.js引入 // vue打印插件 vue-print-nb import Print from 'vue-print-nb' Vue.use(Print)用法 |
 效果就是弹出浏览器自带的打印,与导出pdf文件是两码事
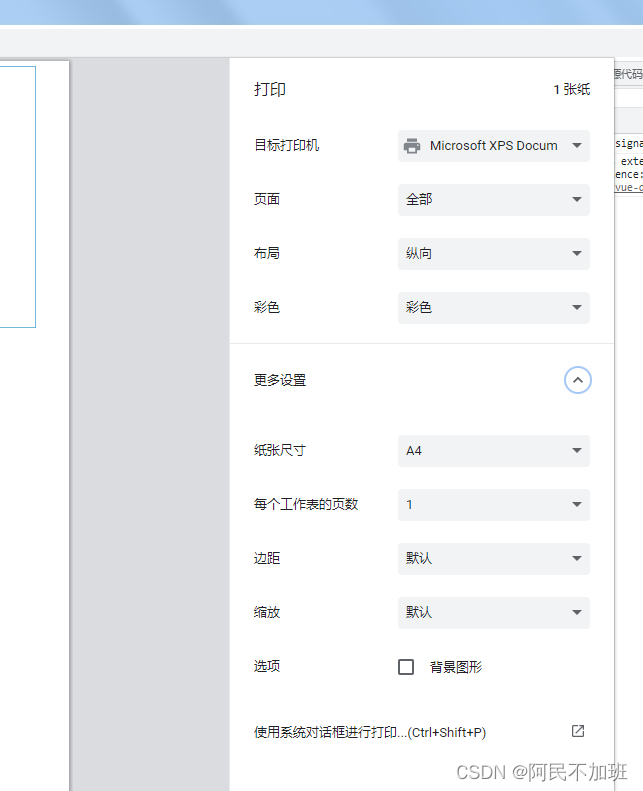
【本文地址】
公司简介
联系我们