| Installing and Configuring Moxa NPort devices – Support Portal | 您所在的位置:网站首页 › nportadminsuite › Installing and Configuring Moxa NPort devices – Support Portal |
Installing and Configuring Moxa NPort devices – Support Portal
|
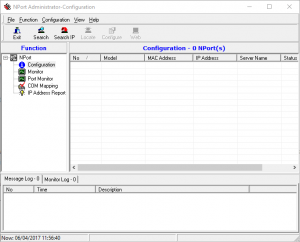
Note – Moxa NPort configurations (com mapping) is stored local to the computer that it is set up on. If it is moved to a new computer this will need to be redone. A Moxa NPort is a device which converts Ethernet to RS-232 or RS-422/485 communications. It comes in different varieties with different amounts of communications ports. NPort AdministratorWhen you first get a Moxa NPort from us it will normally be on the 192.168.0.nnn range – where nnn is a number between 1 and 255. Before configuring an NPort you will need the software to do so, the software is called NPort Administrator and can be downloaded free from their site – or you can use the version of it we use which can be downloaded by clicking here. Once you have installed NPort Administrator you should run it as an Administrator on Windows and you will get a screen like the below.
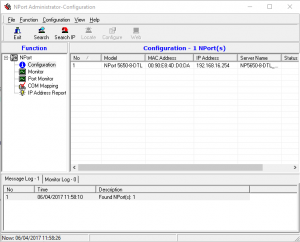
Before searching for your NPort device you will need to ensure the computer you are using is in the same IP range that the NPort is. For example if the Moxa NPort is at 192.168.0.100 – you can put the computer at 192.168.0.150. Once you have done this you can click “Search” at the top of the NPort Administrator screen – it should then find your device and show a screen like below.
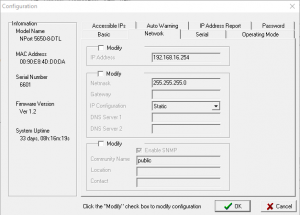
By double clicking on the device that was found you will get a new window come up with an array of different tabs. There are only two tabs that you will need which are “Network” and “Serial”. All of the rest can stay as their default values. Network
The network tab will only have to change if you plan on moving the system onto a domain, otherwise it will normally be OK with its default IP address. Most of this tab is self-explanatory for what has to be filled in – IP address, gateway, subnet mask and DNS servers. Serial
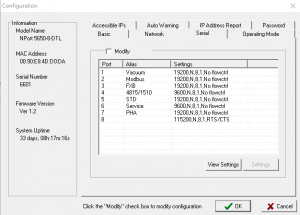
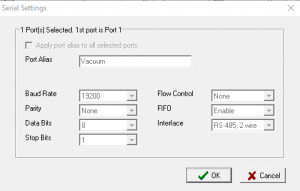
The serial tab defines how the ports on the NPort device communicate – whether it is via RS-232 or RS-422/485. You will have to go through each port individually and update each one to use the correct value.
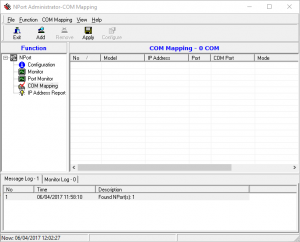
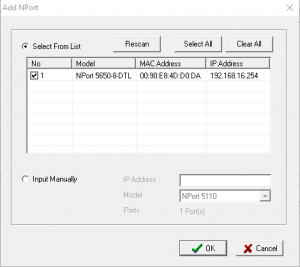
The COM Mapping section allows you to map the ports of the NPort to virtual communication ports on your computer. You will need to select “Add” at the top of the window and add in your connected Moxa by selecting “OK” as below.
Once added, NPort Administrator will automatically assign each port to the first available computer communications port – these will not always be in a sensible order. If the selected port numbers seem OK, you can just select “Apply” at the top of the screen – if you would like to change ports numbers you can double-click each individual port and select it from a drop-down menu. Once applied the text of the ports should go from a blue colour to black to show they are saved. After this has been saved your communication ports will be active and you can configure enVigil to point towards the virtual com ports that you have set up. |
【本文地址】