|
1. 为什么使用虚拟摇杆
我们在玩游戏中这种虚拟摇杆很常见,比如:移动、技能方向等,那么我们用Cocos Creater 来做一个虚拟摇杆。 效果图: 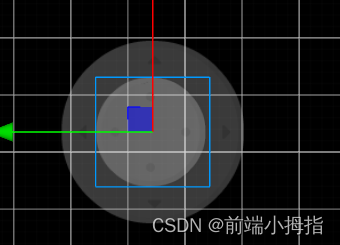
2. 准备素材
这里推荐几个国外游戏素材网站: 1. https://kenney.nl/assets?q=tow 2. https://opengameart.org/
rockerBg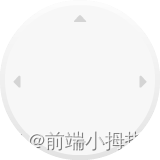 rocker rocker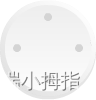
3.
先将图片拖入项目中:(resources、scene、script 文件夹是需要个人手动创建的) 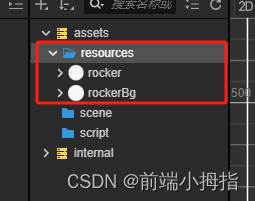 将资源直接拖到节点目录中 将资源直接拖到节点目录中 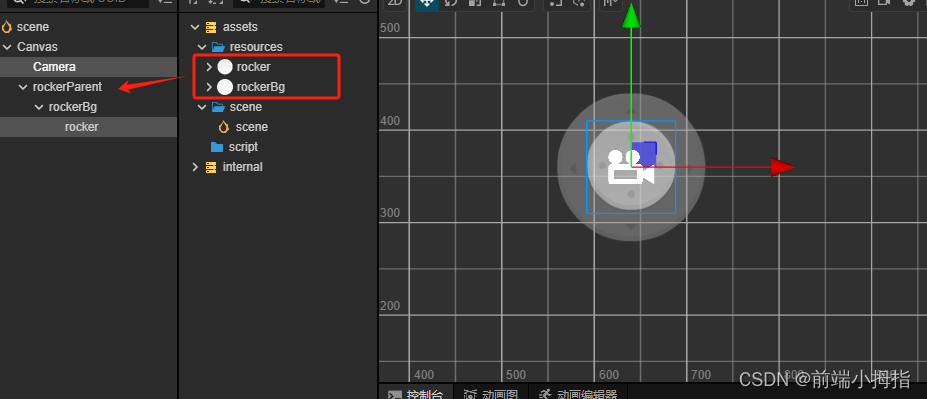 在这里解释一下节点结构: 在这里解释一下节点结构: 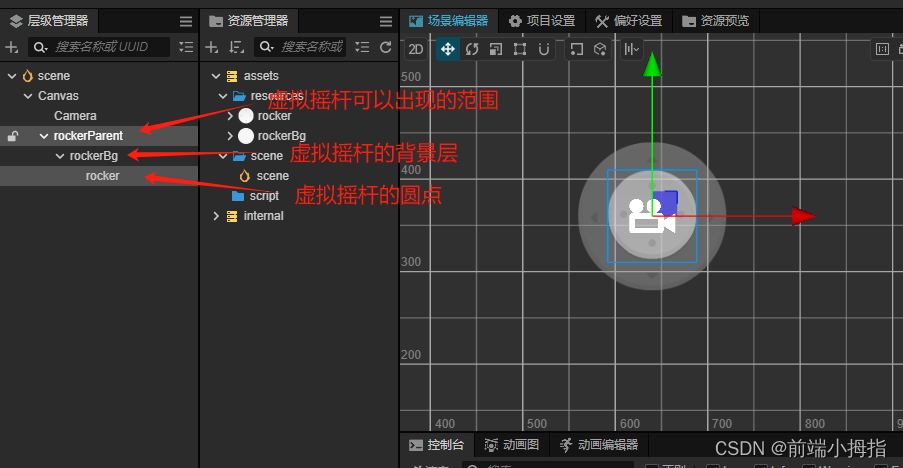 4. 编辑代码
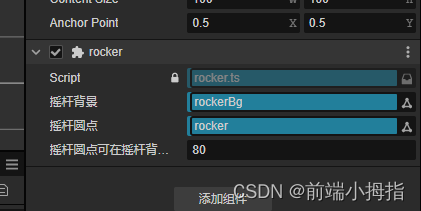
创建 rocker 文件,然后拖到 rockerParent 节点组件上。代码中的 @property 可节点组件中选择需要绑定的节点
4. 编辑代码
创建 rocker 文件,然后拖到 rockerParent 节点组件上。代码中的 @property 可节点组件中选择需要绑定的节点
5. 直接上代码
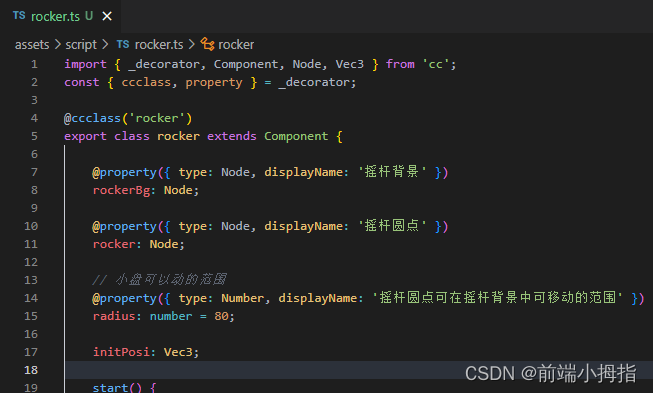
import { _decorator, Component, EventTouch, math, misc, Node, Vec3 } from 'cc';
const { ccclass, property } = _decorator;
@ccclass('Rocker')
export class Rocker extends Component {
@property(Node)
rockerBg: Node;
@property(Node)
rocker: Node;
// 小盘可以动的范围
@property(Number)
radius: number = 80;
initPosi: Vec3;
start() {
this.initPosi = this.rockerBg.position.clone()
// this.node 指的是 rockerParent
this.node.on(Node.EventType.TOUCH_START, this.onTouchStart, this)
this.node.on(Node.EventType.TOUCH_MOVE, this.onTouchMove, this)
this.node.on(Node.EventType.TOUCH_END, this.onTouchEnd, this)
this.node.on(Node.EventType.TOUCH_CANCEL, this.onTouchEnd, this)
}
// 按下 事件
onTouchStart(e: EventTouch): void {
let x = e.touch.getUILocationX()
let y = e.touch.getUILocationY()
let worldPosi = new Vec3(x, y, 0)
let posi = new Vec3()
this.node.inverseTransformPoint(posi, worldPosi)
this.rockerBg.setPosition(posi)
}
// 滑动 事件
onTouchMove(e: EventTouch): void {
let x = e.touch.getUILocationX()
let y = e.touch.getUILocationY()
let worldPosi = new Vec3(x, y, 0)
let posi = new Vec3()
// 世界坐标 转 this.rockerBg 局部坐标
this.rockerBg.inverseTransformPoint(posi, worldPosi)
let len = posi.length()
posi.normalize()
posi.multiplyScalar(math.clamp(len, 0, this.radius))
this.rocker.setPosition(posi)
// 点 转 弧度
let radian = Math.atan2(this.rocker.position.y, this.rocker.position.x)
// 弧度 转 角度
let angle = misc.radiansToDegrees(radian)
let rockerValue = {
x: this.rocker.position.x / this.radius,
z: this.rocker.position.y / this.radius,
y: 0
};
console.log('旋转角度angle:', angle);
console.log('圆点偏离中心的距离 rockerValue:', rockerValue);
}
// 抬起 事件
onTouchEnd(e: EventTouch): void {
this.rockerBg.setPosition(this.initPosi)
this.rocker.setPosition(new Vec3(0, 0, 0))
}
// 销毁
onDestroy(): void {
this.node.off(Node.EventType.TOUCH_START, this.onTouchStart, this)
this.node.off(Node.EventType.TOUCH_MOVE, this.onTouchMove, this)
this.node.off(Node.EventType.TOUCH_END, this.onTouchEnd, this)
this.node.off(Node.EventType.TOUCH_CANCEL, this.onTouchEnd, this)
}
}
以上是全部代码
6. 结束语
作者也是从0基础自学的,可能在代码编辑上会有一些复杂,大家可以关注本人公众号指点一下,或有哪些地方不理解的也可以在公众号留言,本人看到后会及时回复的,谢谢大家观看。
关注公众号免费领取源码 
|