| Python离线安装并使用Easyocr识别图片 | 您所在的位置:网站首页 › 离线Lowe图片 › Python离线安装并使用Easyocr识别图片 |
Python离线安装并使用Easyocr识别图片
|
文章目录
背景安装环境离线安装Easyocr简单使用Easyocr作者语
背景
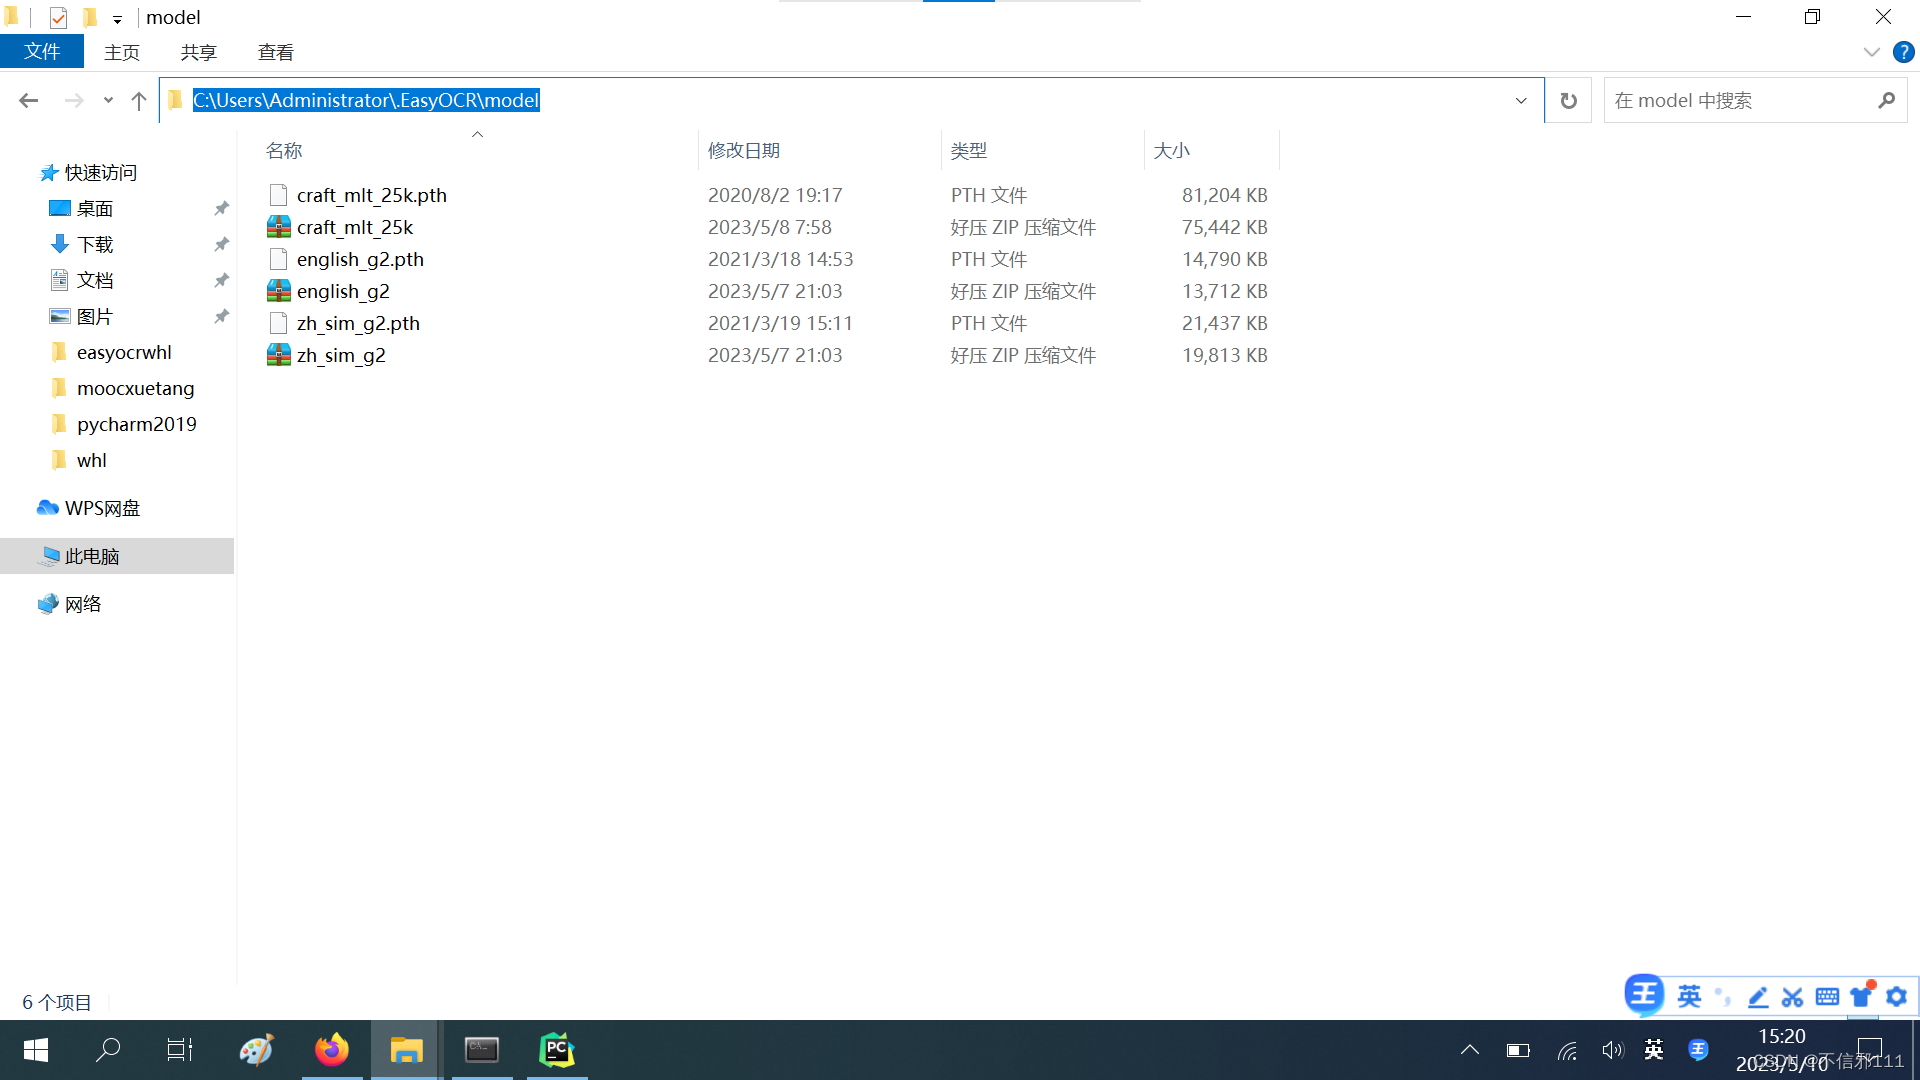
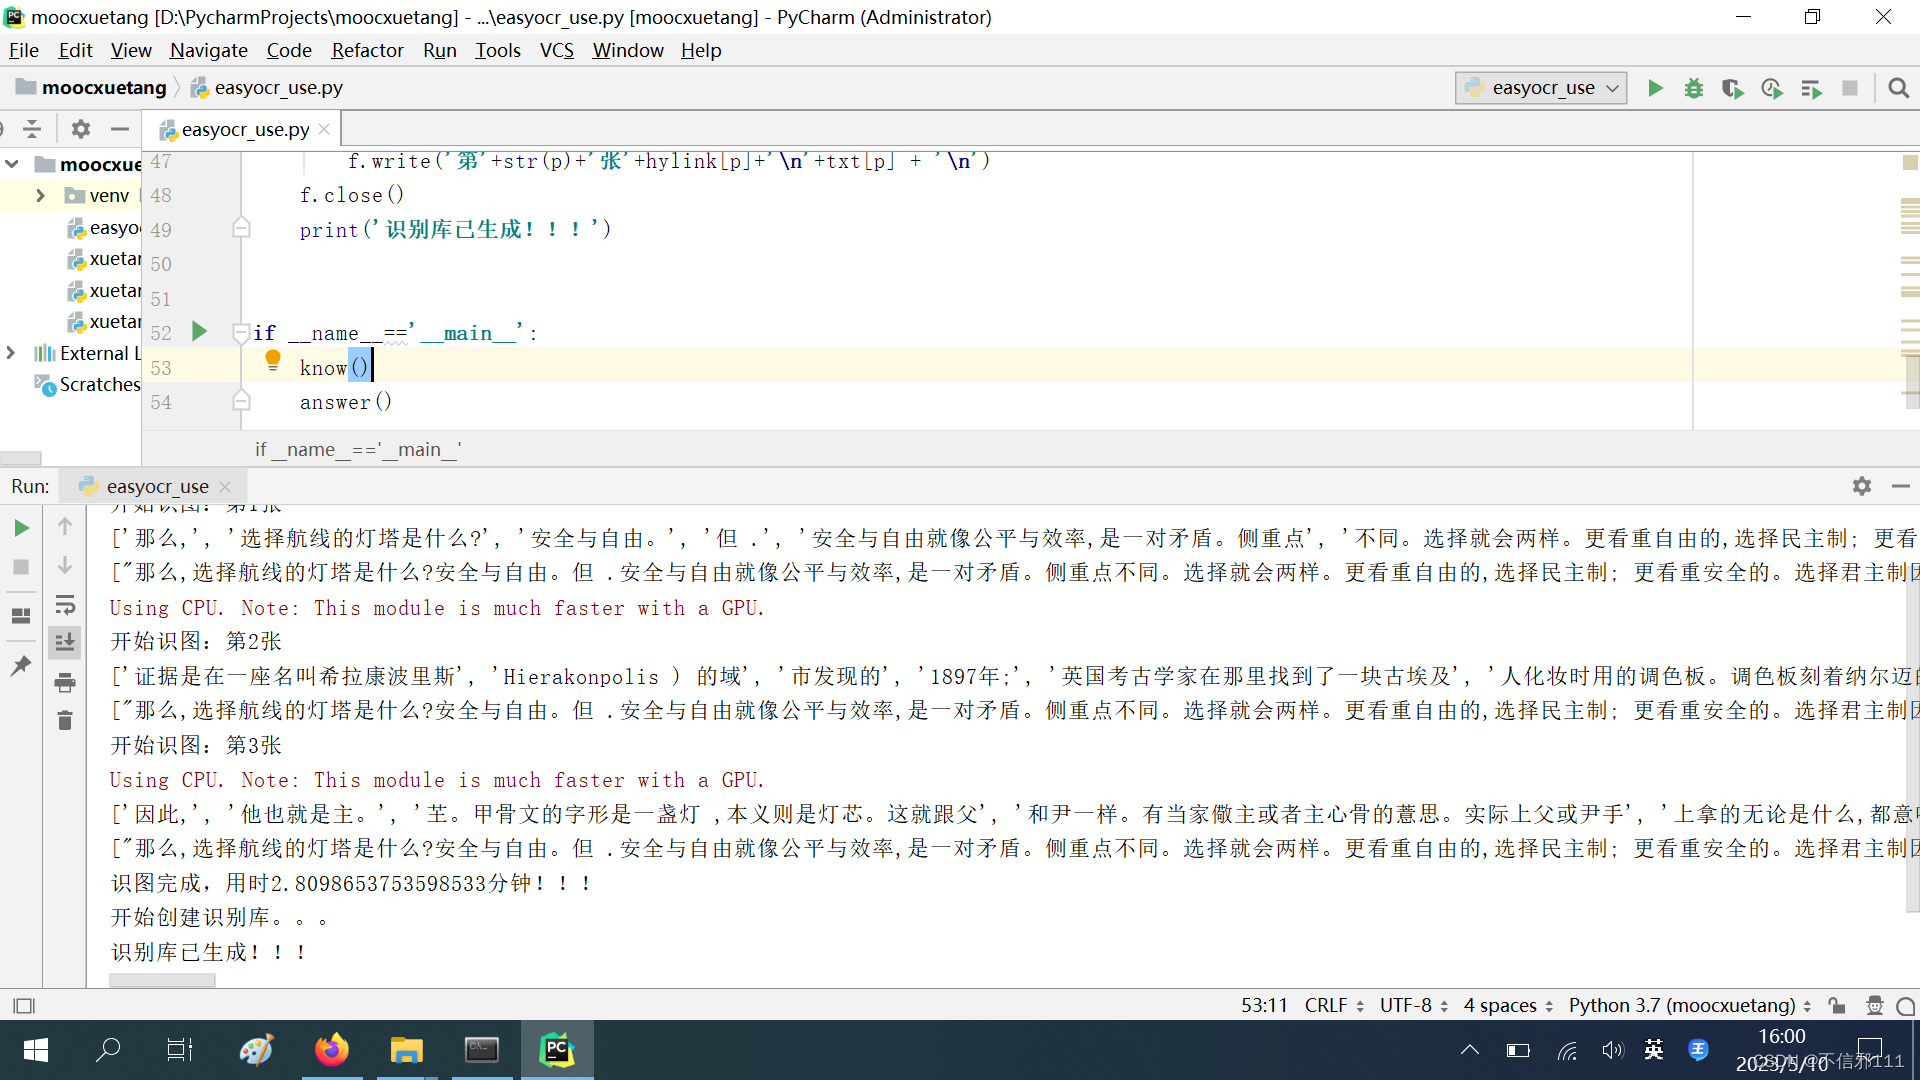
由于近期有许多资料要从照片转成电子文档,且所使用的电脑不能连接互联网。要解决这个问题,我想到离线安装Easyocr来识别图片。 安装环境参考文章:史上最全最详细的Anaconda安装教程 我用的是Anaconda3-5.3.1-Windows-x86_64和Pycharm-professional-2019.1,Anconda自带的是Python 3.7.0版本。 离线安装Easyocr参考文章:pip download与pip install简介 参考文章:呕心沥血整理,python离线安装第三方库(带疑难杂症实例)!!! 参考文章:ImportError: cannot import name ‘OrderedDict‘ from ‘typing‘ (D:\Programming-language-program\Anacond 打开Anaconda3 Prompt,把路径改到Anaconda自带Python的位置,首先要按照提示升级pip、还有对应的pyhamcrest或者其他需要的基础包,下载可以按上面的方法,也可以到Pypi上下载,这些基础包也要一并导入到离线电脑中去。 升级完后,用pip download -d -i https://pypi.tuna.tsinghua.edu.cn/simple(使用清华镜像源,可以让下载速度更快) (base) C:\Users\Administrator>cd D:\ProgramData\Anaconda3 (base) C:\Users\Administrator>d: (base) D:\ProgramData\Anaconda3>pip download easyocr -d D:\Easyocrwhl -i https://pypi.tuna.tsinghua.edu.cn/simple下载成功后会出现: 我是按照由后至前的顺序,一个个安装,当然也可以试试参考文章:pip download与pip install简介中的多个包一起安装。 安装过程中必不可少的会出现问题,可以先跳过,安装下一个,碰到最多的问题是: (base) D:\ProgramData\Anaconda3>pip install "D:\Easyocrwhl\imageio-2.28.1-py3-none-any.whl" Processing d:\easyocrwhl\imageio-2.28.1-py3-none-any.whl Requirement already satisfied: numpy in d:\programdata\anaconda3\lib\site-packages (from imageio==2.28.1) (1.21.6) Requirement already satisfied: pillow>=8.3.2 in d:\programdata\anaconda3\lib\site-packages (from imageio==2.28.1) (9.5.0) Installing collected packages: imageio Attempting uninstall: imageio Found existing installation: imageio 2.4.1 ERROR: Cannot uninstall 'imageio'. It is a distutils installed project and thus we cannot accurately determine which files belong to it which would lead to only a partial uninstall.在结尾加上 –ignore-install就好了 pip install "D:\Easyocrwhl\imageio-2.28.1-py3-none-any.whl" --ignore-install安装完后import一下,没问题就基本可以了(实际上还有问题~~) 最后还要下载三个模型库(zh_sim_g2.pth是第二代中文模型库,english_g2.pth是第二代英文模型库,必不可少的craft_mlt_25k.pth是文本检测模型)下载地址,把三个下载的模型文件解压后拷贝到当前登录的用户目录的.EasyOCR\model文件夹下,没有就自己新建,否则运行EasyOCR识别的时候它会要求联网下载,而我们要求的是离线。Windows系统为:C:\Users\ \ .EasyOCR\model Easyocr技术文档 下面这一段是识别单张图片(注意:图片的名字和路径不能带中文,否则会出错) import easyocr def easy_ocr(picfullname=r'D:\picture\4.3.254.jpg'): reader = easyocr.Reader(['ch_sim','en'],gpu=False)# 'ch_sim'简体中文识别模型、'en'英文识别模型,没有gpu的话需要加上gpu=False result = reader.readtext(picfullname,detail=0)#detail=0是识别后没有详细说明,detail=1是识别后有详细说明 print(result)下面这一段是识别一个文件夹(picture)中所有的图片(注意:图片的名字和路径不能带中文,否则会出错),然后将识别结果保存到另一个文件夹(answer)中的Excel(带图片链接)和Txt中。(仅供参考,整体代码较简单,就不详细解说了,避免冗长) import os import openpyxl as op import time import easyocr picpath=r'D:\picture'#自定义图片存放位置 answerxlsx_path=r'D:\answer\answer.xlsx'#自定义识别库Excel存放位置 answertxt_path=r'D:\answer\answer.txt'#自定义识别库Txt存放位置 txt=[]#图片识别列表 hylink=[]#图片链接列表 def easy_ocr(picfullname=r'D:\picture\4.3.254.jpg'): reader = easyocr.Reader(['ch_sim','en'],gpu=False)# 'ch_sim'简体中文识别模型、'en'英文识别模型,没有gpu的话需要加上gpu=False result = reader.readtext(picfullname,detail=0) print(result) txt.append(''.join(result)) print(txt) return txt def know(): #####################识别#################### start_time = time.time() picnames = os.listdir(picpath) n=0 for picname in picnames: picfullname = picpath+'\\'+picname n+=1 print('开始识图:第%s张'%n) txt=easy_ocr(picfullname) hylink.append(picfullname) end_time = time.time() t = (end_time - start_time) / 60 print('识图完成,用时%s分钟!!!' % t) def answer(): print('开始创建识别库。。。') answer_path=r'D:\answer\answer.xlsx' wb = op.load_workbook(answerxlsx_path) sheet = wb['Sheet1'] sheet.delete_cols(1,1) for i in range(len(txt)): sheet.cell(i+1,1,txt[i]) sheet.cell(i+1,1,txt[i]).hyperlink=hylink[i] wb.save(answerxlsx_path) f = open(answertxt_path, 'w') for p in range(len(txt)): f.write('第'+str(p)+'张'+hylink[p]+'\n'+txt[p] + '\n') f.close() print('识别库已生成!!!') if __name__=='__main__': know() answer()最终效果图如下: 本着白嫖多年、回馈社会的态度,写下这篇文章,希望对你有所帮助,有不到位之处请多多包涵,有疑问请留言,我会尽力回答。 |

 在使用的时候会出现ImportError: cannot import name ‘OrderedDict‘ from ‘typing‘ (D:\Programming-language-program\Anacond解决完这个问题就没事了。简单分析一下原因,大概是版本不一致的原因,我的anaconda的虚拟环境python版本是3.7,typing这个文件里面并没有OrderedDict这个模块,需要从typing_extentions中导入OrderedDict。直接参考第三篇吧
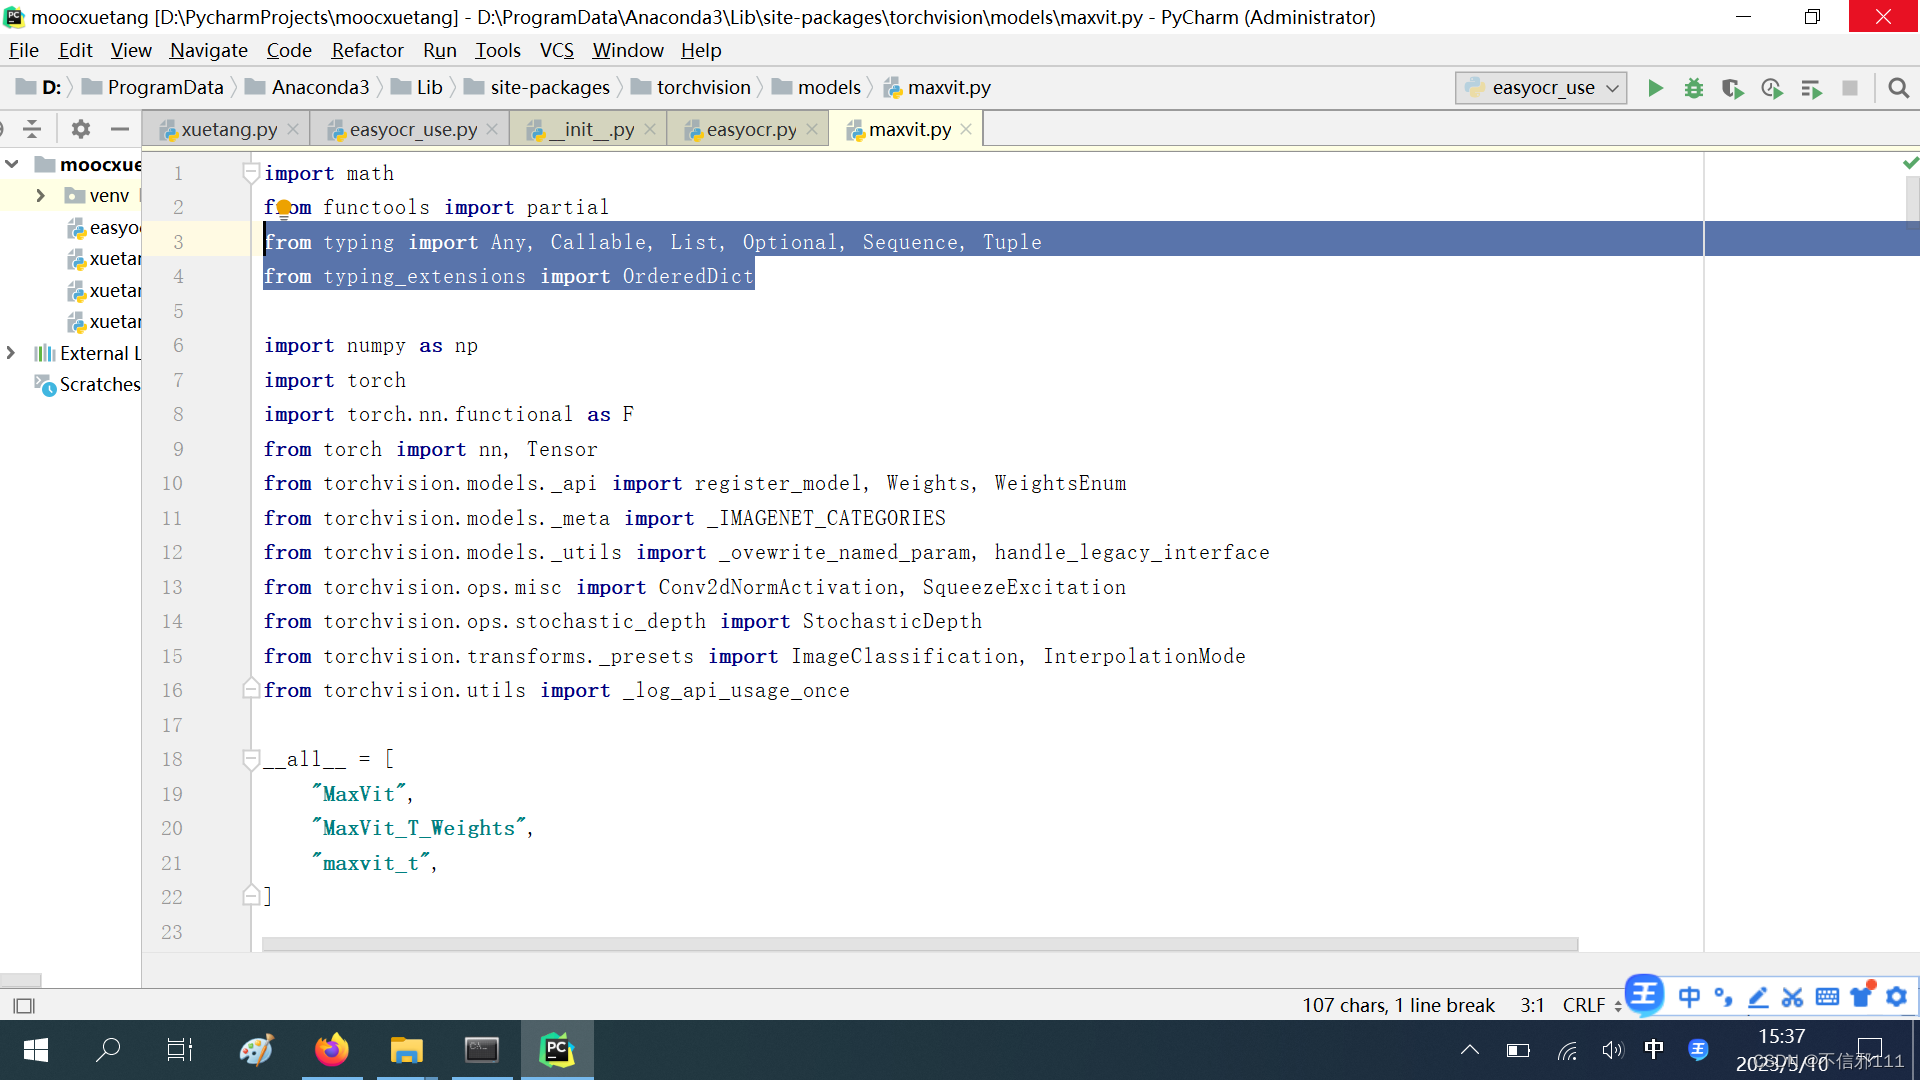
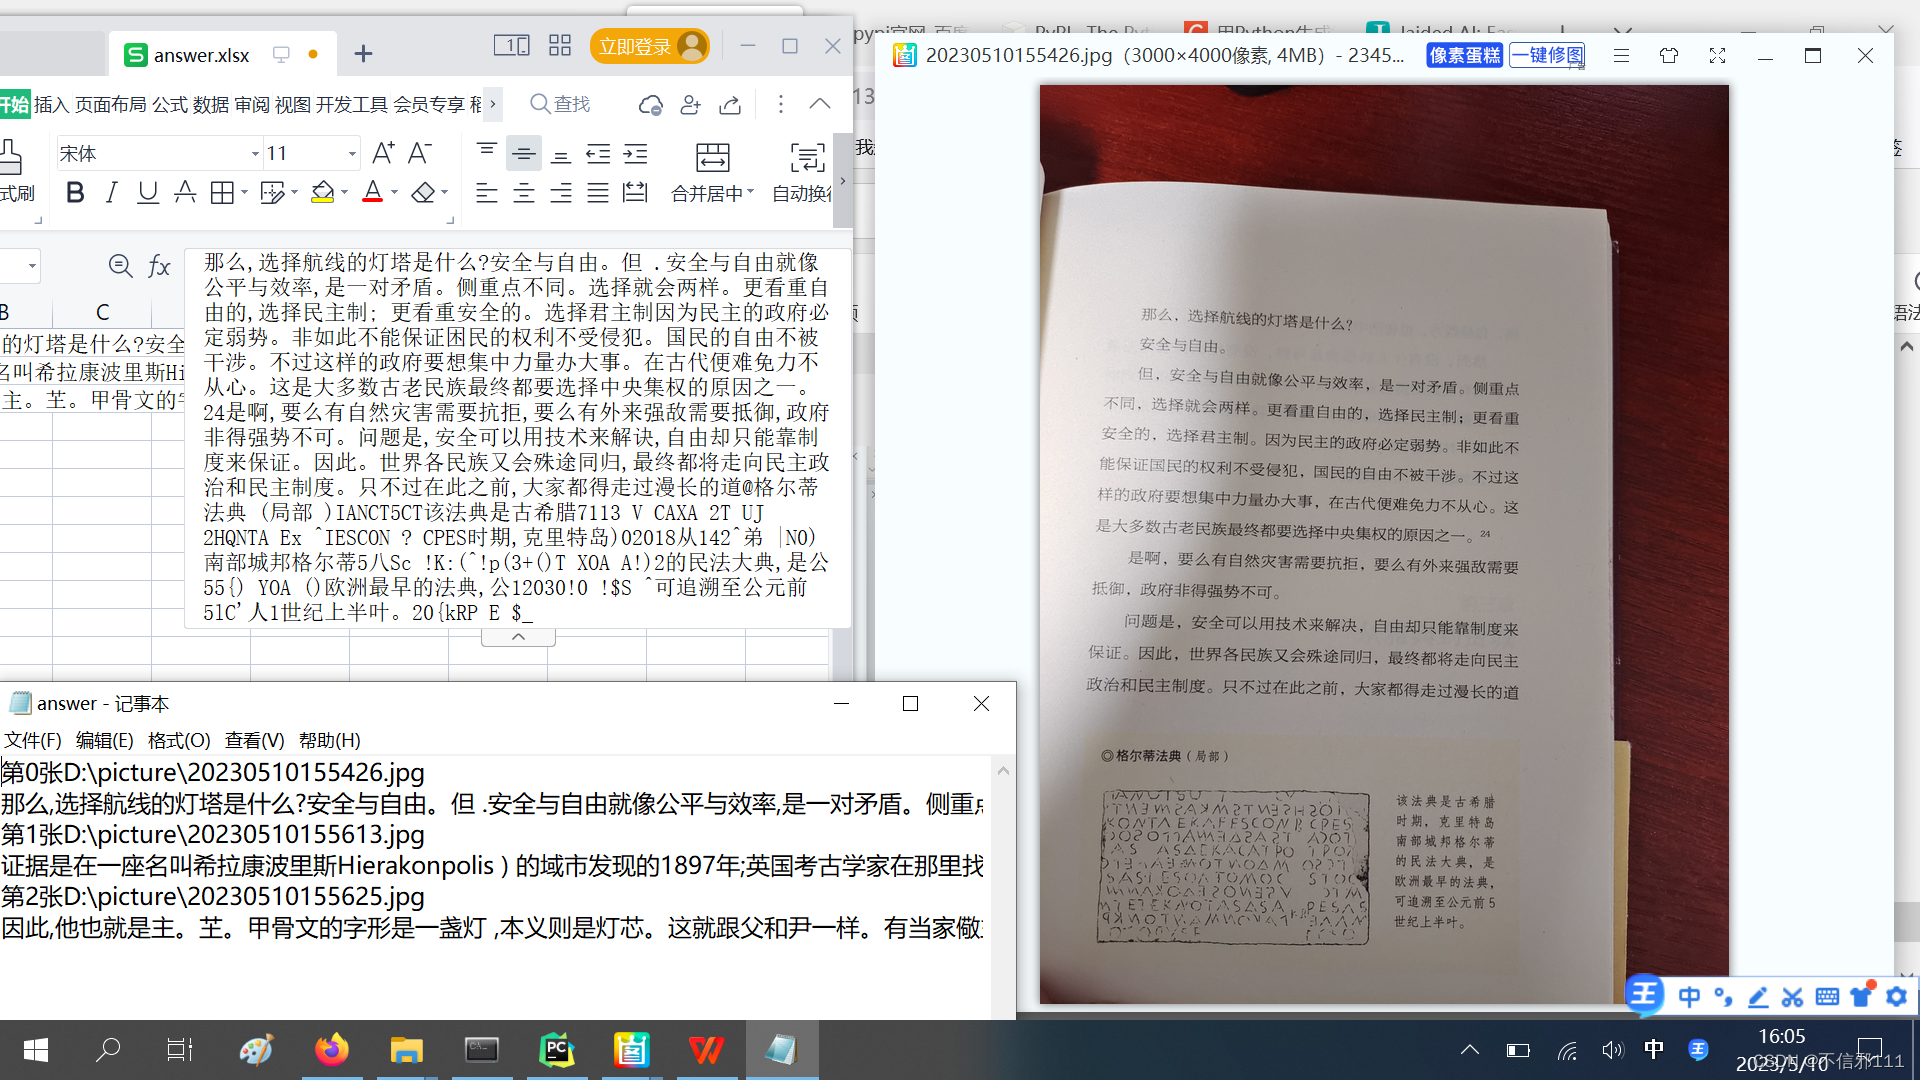
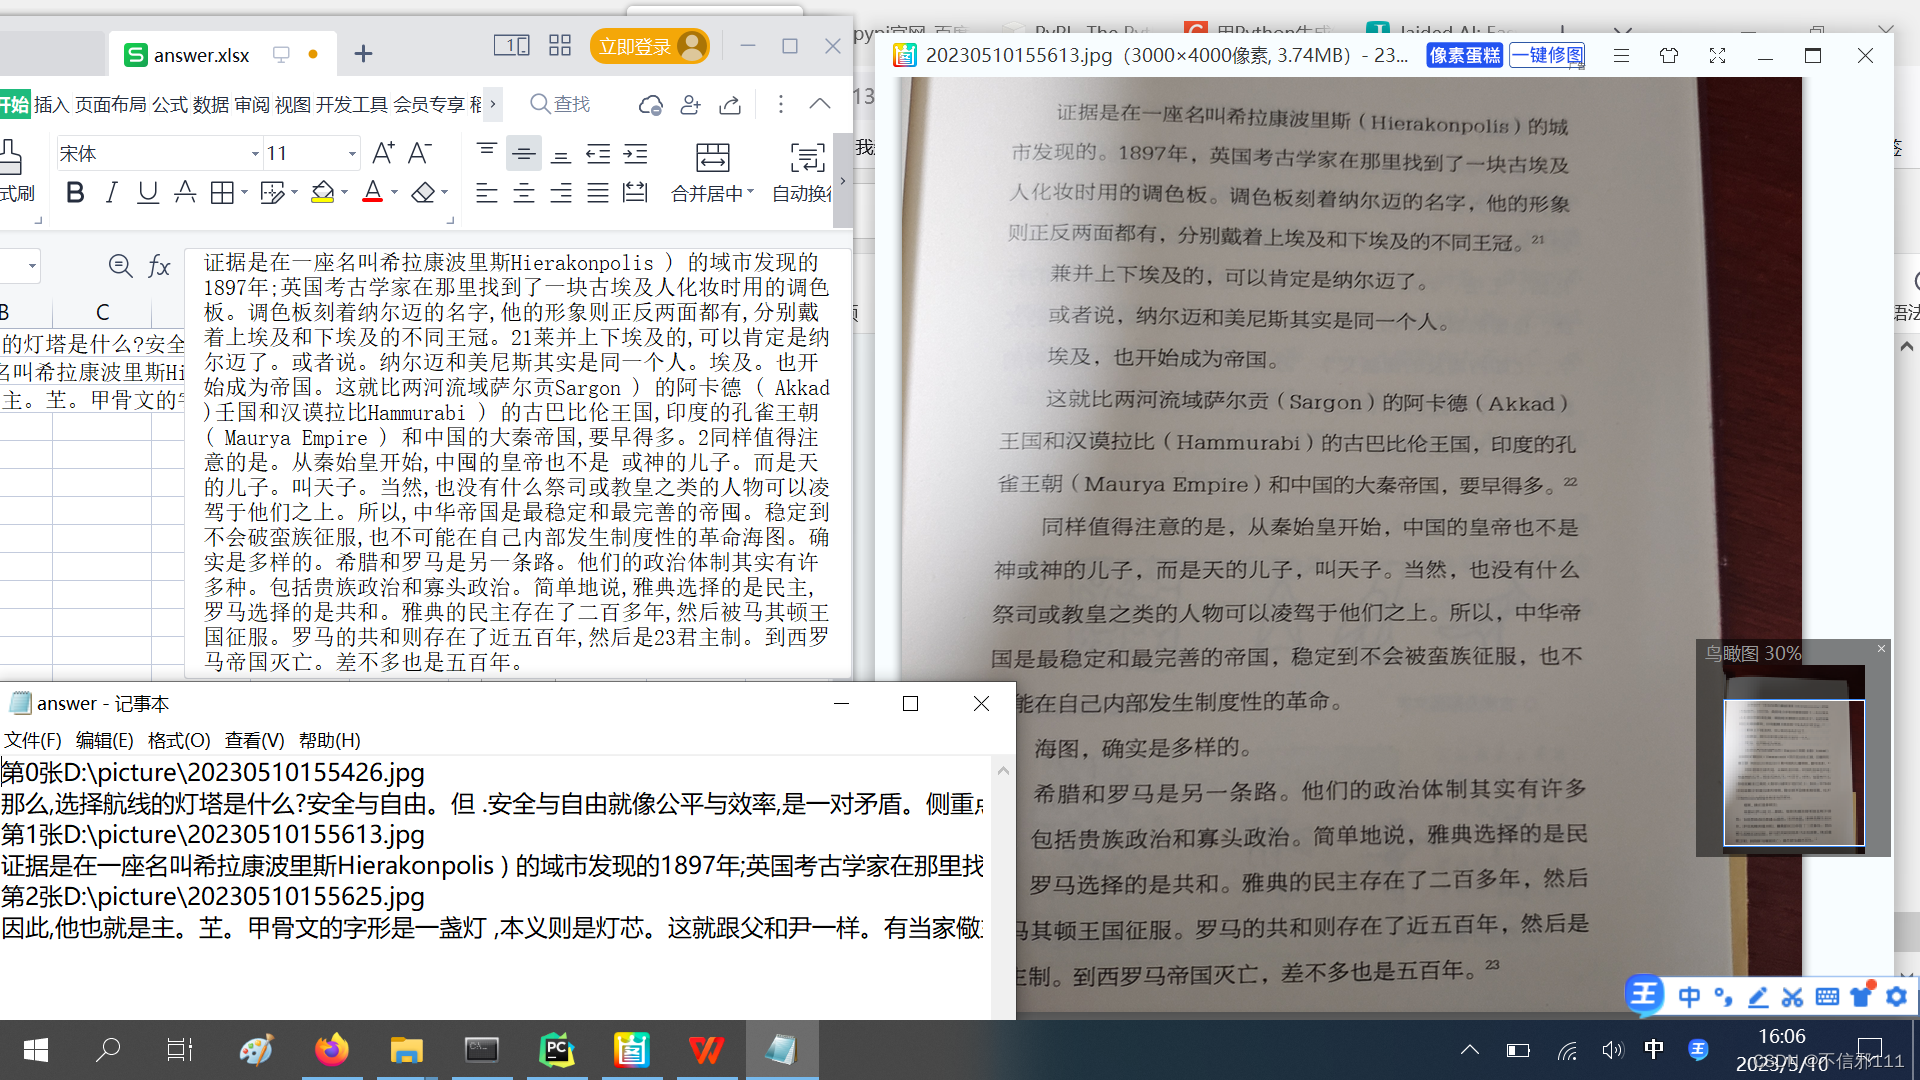
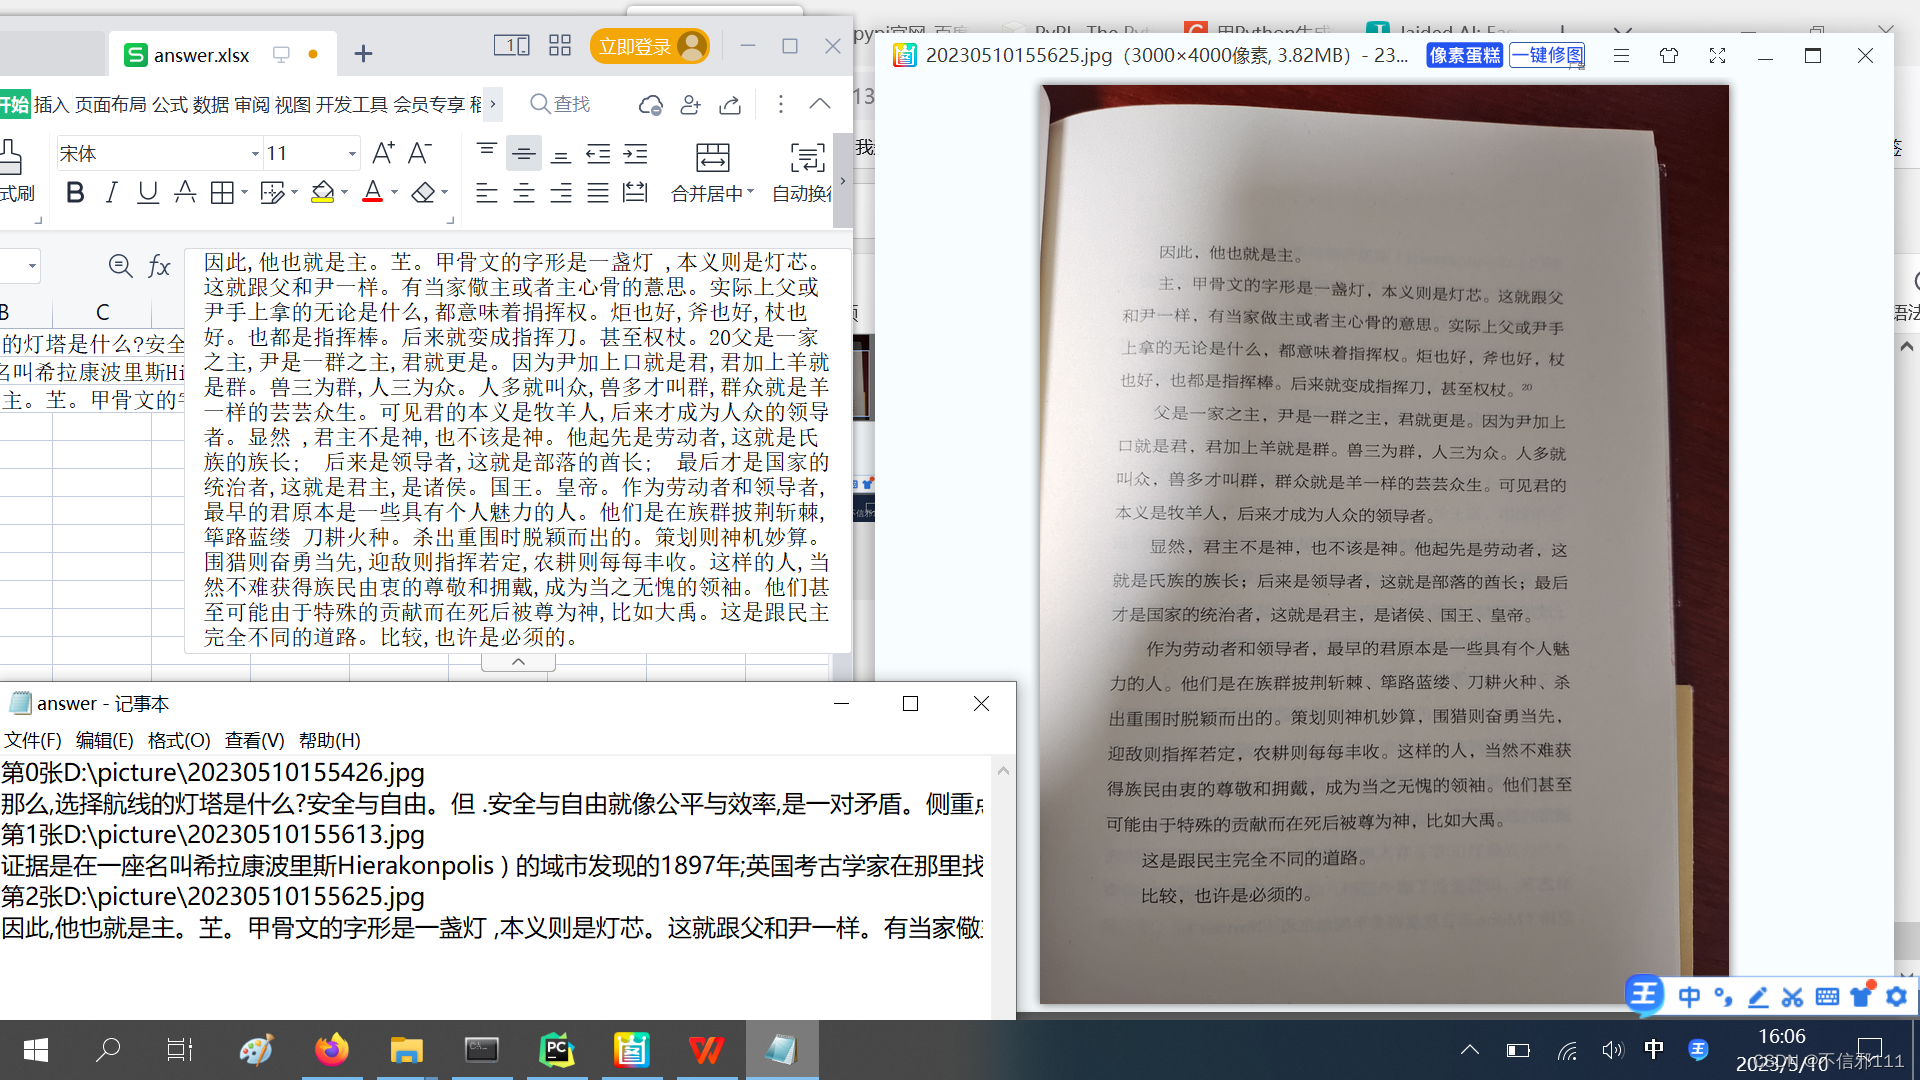 可以看到全文字的话效果还是很好的,带框图的乱码就较多了,权衡使用吧。
【本文地址】