|
文章目录
如果有三个引脚code使用tone()使用digitalWrite()
如果有三个引脚
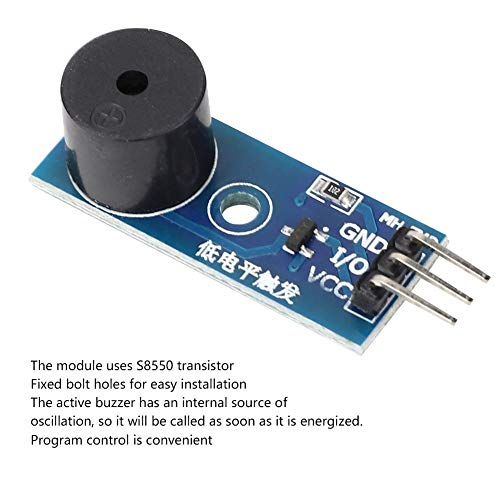 The module uses s8550 transistorFixed bolt holes for easy installation The active buzzer has an internal source of oscillation, so it will be called as soon as it is energized.Program control is convenient The module uses s8550 transistorFixed bolt holes for easy installation The active buzzer has an internal source of oscillation, so it will be called as soon as it is energized.Program control is convenient 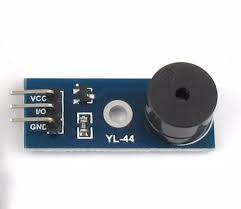 vcc,gnd,io,那么io引脚需要接入一个digital引脚,并在代码中指出,设定引脚模式,同时,如果是使用digitalWrite(),那么High,LOW,交替出现才可响声 如果是使用tone(),则较为方便. vcc,gnd,io,那么io引脚需要接入一个digital引脚,并在代码中指出,设定引脚模式,同时,如果是使用digitalWrite(),那么High,LOW,交替出现才可响声 如果是使用tone(),则较为方便. 
code
使用tone()
int pinBuzzer = 9; //管脚D9连接到蜂鸣器模块的信号脚
void setup()
{
pinMode(pinBuzzer, OUTPUT); //设置pinBuzzer脚为输出状态
}
void loop()
{
alarm();
}
/* the universal alarm function(note the Buzzer_pin set) */
void alarm()
{
long frequency = 3000; //频率, 单位Hz
//用tone()函数发出频率为frequency的波形
tone(pinBuzzer, frequency);
delay(500); //等待1000毫秒
noTone(pinBuzzer); //停止发声
delay(1000); //等待2000毫秒
}
使用digitalWrite()
#define BUZZER 9
void setup()
{
pinMode(BUZZER, OUTPUT);
}
void loop()
{
startAlarm();
delay(2000);
}
/* every call will buzz 3 seconds(3000ms) */
void startAlarm()
{
Serial.println("Alarm singing!!!");
int t1=millis();
for (;;)
{
digitalWrite(BUZZER, HIGH);
// delay(100);
digitalWrite(BUZZER, LOW);
// delay(100);
if((millis()-t1)>3000){
break;
}
}
}
|