| Editormd的使用 | 您所在的位置:网站首页 › 文档在线编辑如何保存 › Editormd的使用 |
Editormd的使用
|
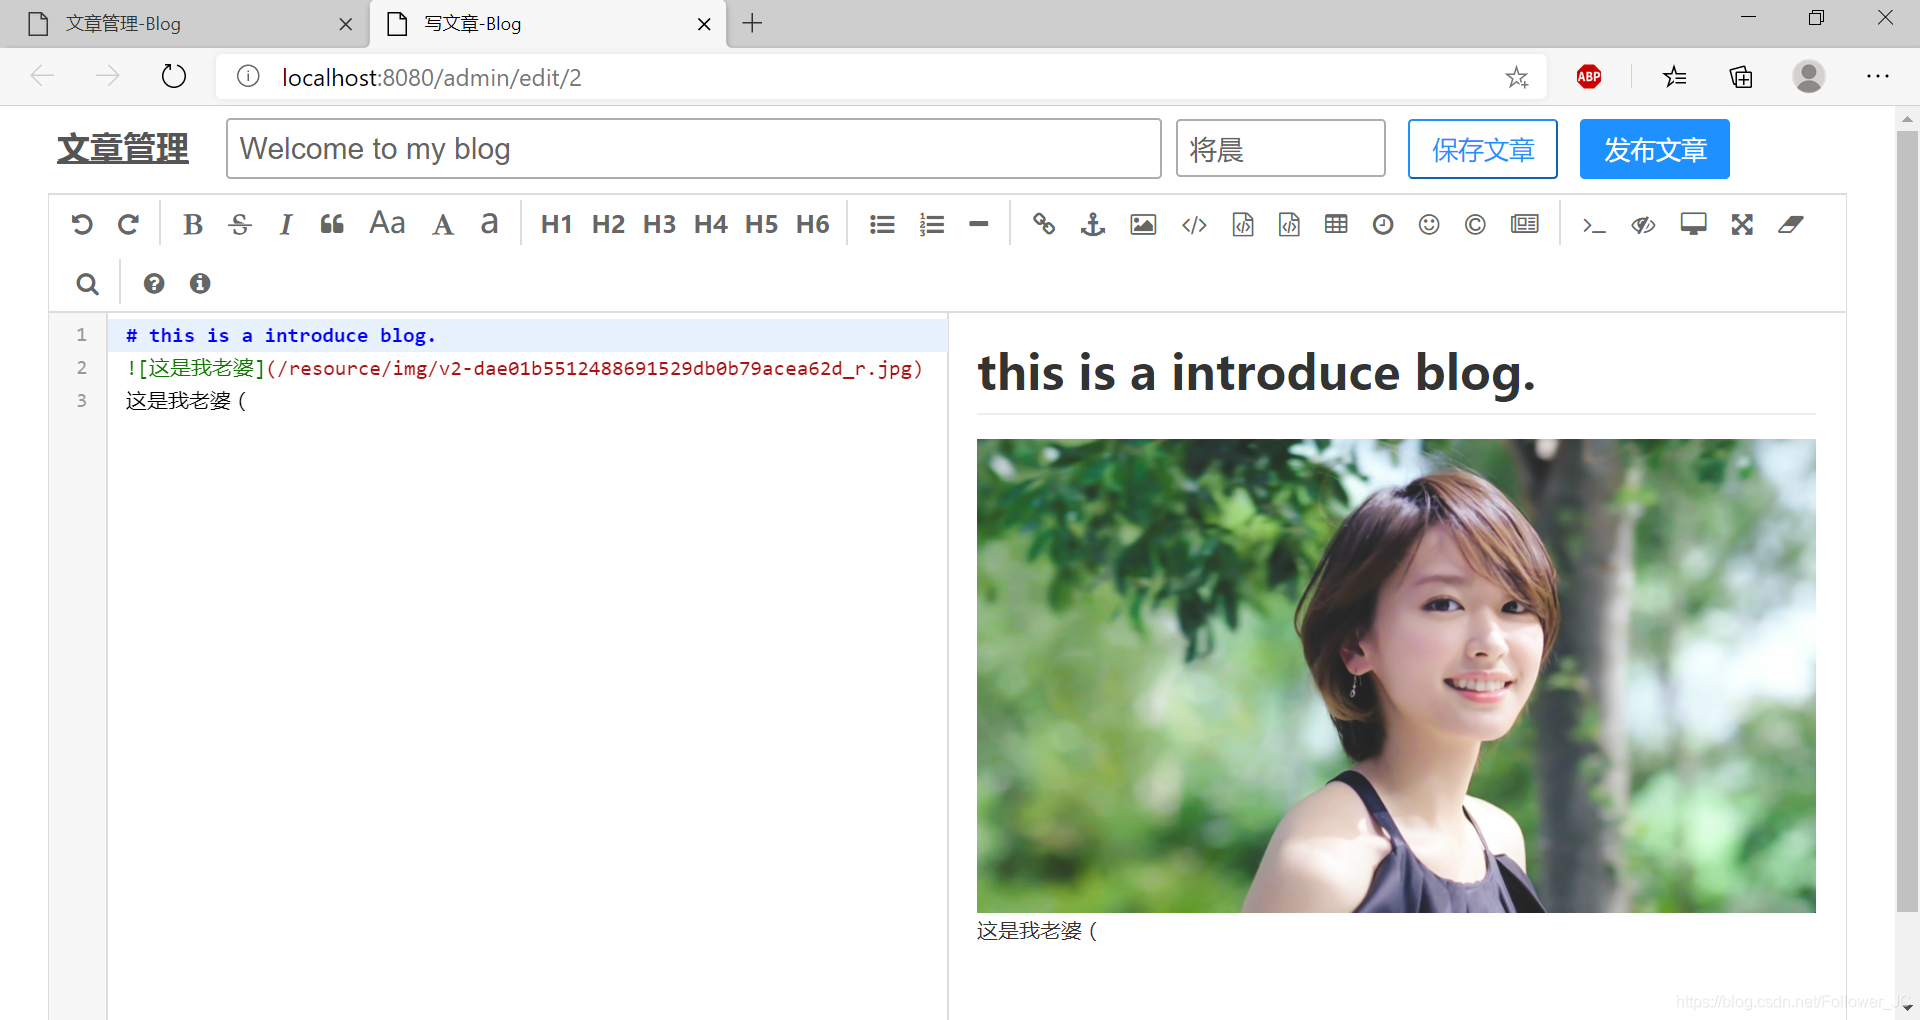
使用Editormd可以方便地在界面上嵌入markdown编辑器,并能够实时预览。 先看一下实现效果: 编辑文章界面: 首先,到https://pandao.github.io/editor.md/下载Editormd的压缩包,解压到自己的静态资源文件夹下。 注意:jquery文件必须要在editormd之前引入,否则会报editormd is undefined/zepto is undefined的错误 第三步,在html中添加如下代码: JavaScript代码如下所示: var editor; $(function() { editor = editormd("my-editormd", {//注意1:这里的就是上面的DIV的id属性值 width : "96%", height : 600, syncScrolling : "single", path : "/resource/assets/editormd/lib/",//注意2:你的路径 saveHTMLToTextarea : true,//注意3:这个配置,方便post提交表单 imageUpload : true, imageFormats : ["jpg", "jpeg", "gif", "png", "bmp", "webp"],//支持接收的图片上传的格式 imageUploadURL : "/admin/uploadFile" //你的controller里为上传图片所设计的路径 }); }); // 通过editor.getMarkdown()可以获取到你所写的文章内容。可以使用encodeURIComponent()方法将文章内容编码后存储。 // 编码后的内容可以在后端调用URLDecoder.decode(content, "UTF-8")来解码 // var blogContent = encodeURIComponent(editor.getMarkdown()) // article.content = blogConent; ...详细代码可以看https://github.com/FuGaZn/SpringBlog/blob/master/src/main/webapp/WEB-INF/views/admin/editArticle.jsp 实现图片上传功能的Controller下方法如下所示: @RequestMapping(value = "/admin/uploadFile", method = RequestMethod.POST) @ResponseBody public String uploadFile(HttpServletRequest request, HttpServletResponse response, @RequestParam(value = "editormd-image-file", required = false) MultipartFile attach){ JSONObject jsonObject=new JSONObject(); try { request.setCharacterEncoding("utf-8"); response.setHeader("Content-Type", "text/html"); String rootPath = request.getSession().getServletContext().getRealPath("/resource/img"); System.out.println("editormd上传图片:"+rootPath); /** * 文件路径不存在则需要创建文件路径 */ File filePath = new File(rootPath); if (!filePath.exists()) { filePath.mkdirs(); } // 最终文件名 File realFile = new File(rootPath + File.separator + attach.getOriginalFilename()); Files.copy(attach.getInputStream(),realFile.toPath()); //FileUtils.copyInputStreamToFile(attach.getInputStream(), realFile); // 下面response返回的json格式是editor.md所限制的,规范输出就OK jsonObject.put("success", 1); jsonObject.put("message", "上传成功"); jsonObject.put("url", "/resource/img/"+attach.getOriginalFilename()); } catch (Exception e) { jsonObject.put("success", 0); } return jsonObject.toString(); }注意:SpringMVC项目需要在配置文件或配置类中引入对MultipartFile的支持 java配置类的写法: @Bean(name = "multipartResolver") // bean必须写name属性且必须为multipartResolver protected CommonsMultipartResolver multipartResolver() { CommonsMultipartResolver commonsMultipartResolver = new CommonsMultipartResolver(); commonsMultipartResolver.setMaxUploadSize(5 * 1024 * 1024); commonsMultipartResolver.setMaxInMemorySize(0); commonsMultipartResolver.setDefaultEncoding("UTF-8"); return commonsMultipartResolver; }上面步骤完成后,就可以在页面中在线编辑文件并上传图片了。 接下来让我们看看如何把数据库编码后的md内容转换成html显示在页面上。 首先引入以下文件: 在html中添加如下内容: 在JavaScript中引入如下内容: var testEditor; $(function () { testEditor = editormd.markdownToHTML("test-editormd", { htmlDecode :"style, script, iframe", emoji : true, taskList : true, tex : true, // 默认不解析 flowChart : true, // 默认不解析 sequenceDiagram : true, // 默认不解析 }); })然后皆可以看到转换为html后的文章内容啦 |
 展示文章界面:
 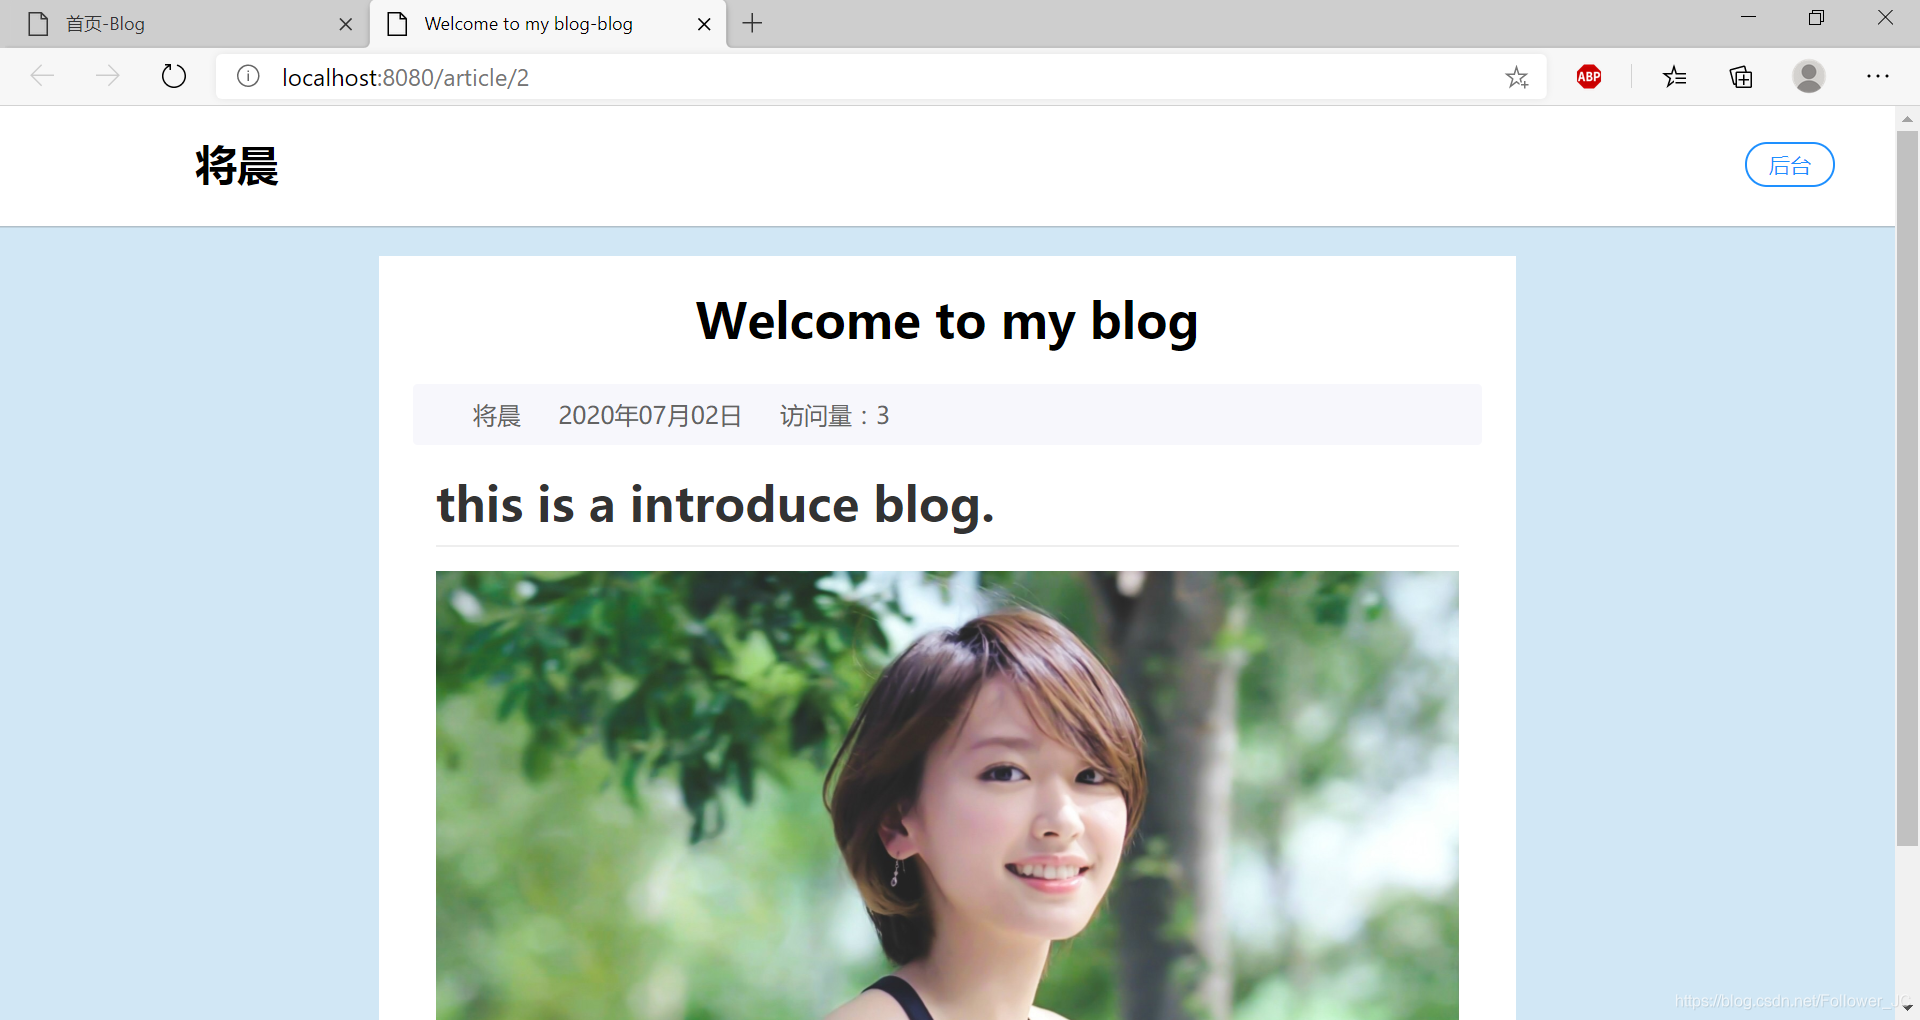 用法:
用法: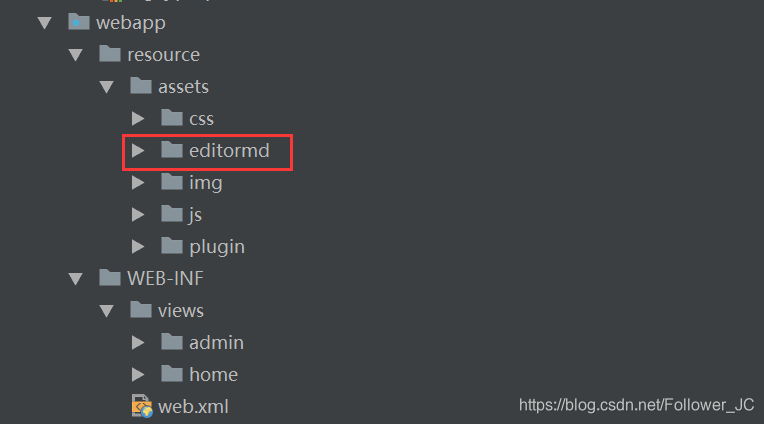 第二步,引入必要的文件:
【本文地址】
公司简介
联系我们