| 基于CocosCreator的切水果小游戏(一) | 您所在的位置:网站首页 › 切西瓜特效 › 基于CocosCreator的切水果小游戏(一) |
基于CocosCreator的切水果小游戏(一)
|
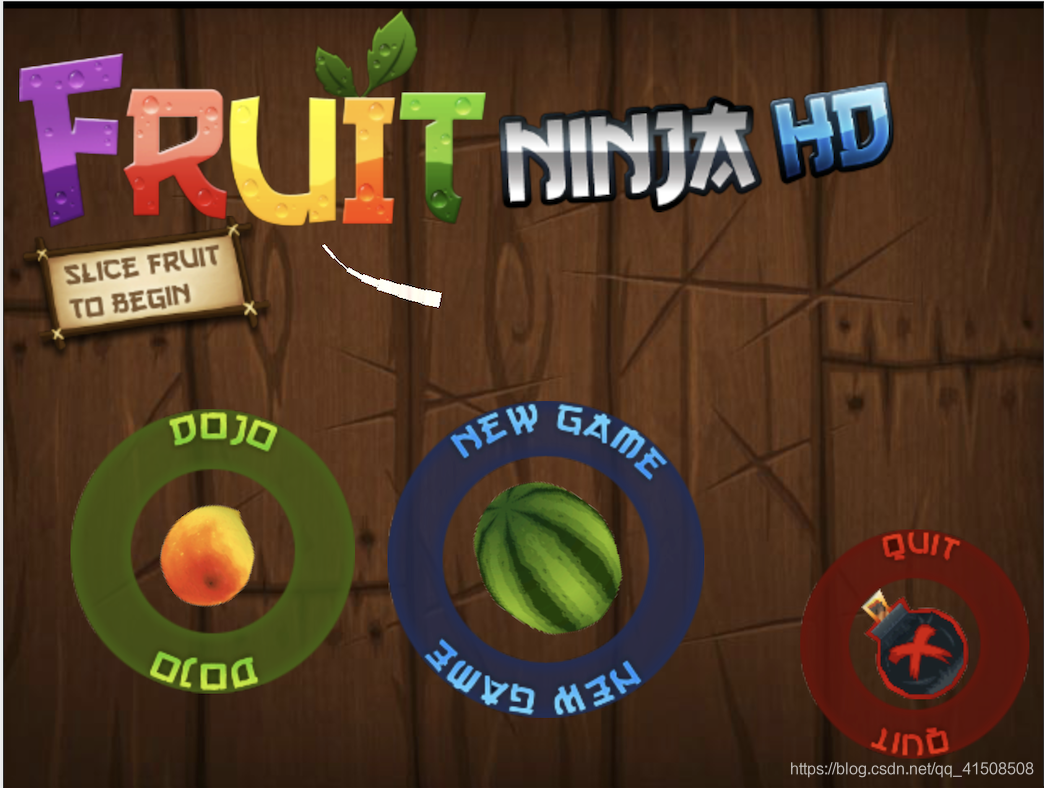
刚接触CocosCreator,写个小游戏练练手,熟悉一下cocos creator。 水果忍者的游戏,逻辑部分应该还是比较简单的,主要应该就涉及到水果的运动、分开,刀光效果等等。 CocosCreator版本是2.1.2,相关图片资源来源于网上。 首先先做一下主界面,以及刀光的制作。完成后大概像这个样子:
首先创建场景start,并且拖动相应的图片放进去做为Canvas下的子节点,这里面水果和炸弹应当需要制作成预制体(prefab)的形式,方便之后继续调用。 接下来写脚本,创建start.js,并写上相应的逻辑。 properties: { // 这里是一些背景图片、logo等等 home_mask:{ default: null, type: cc.Node }, logo:{ default: null, type: cc.Node }, ninja:{ default: null, type: cc.Node }, home_desc:{ default: null, type: cc.Node }, background:{ default: null, type: cc.Node }, // 这里是下面的那三个东西 dojo: { default: null, type: cc.Node }, // 这里刚开始写的时候直接把水果作为节点引用进去了。 peach: { default: null, type: cc.Node }, new_game: { default: null, type: cc.Node }, sandia: { default: null, type: cc.Node }, quit_game: { default: null, type: cc.Node }, boom: { default: null, type: cc.Node }, knife_part: { default: null, type: cc.Prefab }, // 刀光相关 pooled_knifves: [], num_pooled_knifves: 10, knife_width: 10, knife_height: 10, _rotation: 0.7, // 水果预制体 peach_prefab:{ default: null, type: cc.Prefab }, peach_part_1: { default: null, type: cc.Prefab }, peach_part_2: { default: null, type: cc.Prefab }, sandia_prefab:{ default: null, type: cc.Prefab }, sandia_part_1: { default: null, type: cc.Prefab }, sandia_part_2: { default: null, type: cc.Prefab }, },刚开始做的时候,直接把下面的水果和炸弹作为节点引用进去了,其实可以直接用prefab,当然效果没有什么变化。 在update函数中,让他们旋转就行了。 update (dt) { this.dojo.angle = (this._rotation); this.peach.angle = -this._rotation; this.new_game.angle = (-this._rotation); this.sandia.angle = this._rotation; this.quit_game.angle = (-this._rotation); this._rotation++; // cc.log(this.node); },接下来,就是刀光的制作部分了。我这里的逻辑实现是,滑动时产生的刀光,应当是由多个相同的“刀身”组成的,也就是由一小段一小段组成起来的,每一小段的刀的长度,随着时间递减,这样就形成一种滑过的轨迹效果。当然,cocos creator里似乎MotionStreak这个组件也能实现一样的效果,性能方面应该也会更好一点。不过我这里就单纯是用这种逻辑来写的。 简单的创建一个刀的prefab,不需要太长,只要一小段就行。接下来,写刀的脚本knife.js cc.Class({ extends: cc.Component, properties: { color: "#cbd3db", life: 0.2, isActivate: true, width: 10, height: 10, }, // LIFE-CYCLE CALLBACKS: onLoad () { this.node.color = new cc.Color().fromHEX(this.color); // cc.log(this.node.color); }, start () { }, set() { }, resetProperties(){ this.color = "#cbd3db"; this.life = 0.2; this.isActivate = true, this.width = 10; this.height = 10; this.node.width = this.width; this.node.height = this.height; this.node.angle = 0; }, update (dt) { if(!this.isActivate){ this.life -= dt; if(this.node.width > 0){ this.node.width -= dt / this.life * this.width; } } // cc.log(this.node.width,this.node.height); }, });主要就是给它设置一个颜色和一个显示时间(life),在update中让它随着时间改变长度而已。最后还要记得在刀的prefab中添加脚本组件,并把knife.js拖进去。 就像前面说的滑动的刀光需要有很多段knife组成,因此,将它作为一个对象池去写。cocos里面好像已经有个poolnode的对象池了,这里我是自己手写的。 在start.js中,添加从对象池中获取knife的方法: getPooledKnife(){ for(let i=0; i |
【本文地址】
公司简介
联系我们