|
Win10/Win11 自动更新永久关闭【自用,前四步可能有风险,推荐直接使用第五步】
1. 服务关闭 Windows Update2. 注册表关闭 Windows 安全中心服务(SecurityHealthService),Windows 更新医生服务(WaaSMedicSvc)3. 任务计划程序修改4.(Windows 专业版)组策略修改5.【无风险】【推荐】【Win10/11】【傻瓜式操作】【一键禁用更新脚本】
1. 服务关闭 Windows Update
快捷键 windows 键 + R 打开运行框,输入 services.msc 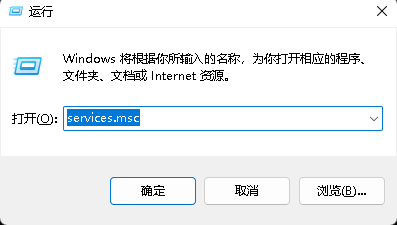
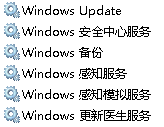
需要确认关闭的三个服务项:Windows Update, Windows 安全中心服务(SecurityHealthService),Windows 更新医生服务(WaaSMedicSvc)
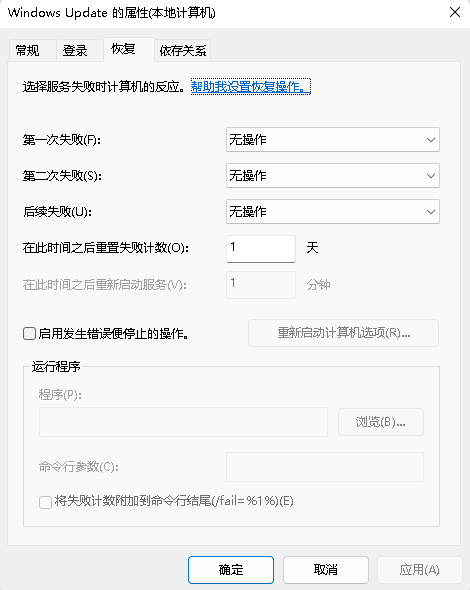
windows update “启动类型”设置为禁用或手动,并将“恢复”的失败操作均设置为无操作
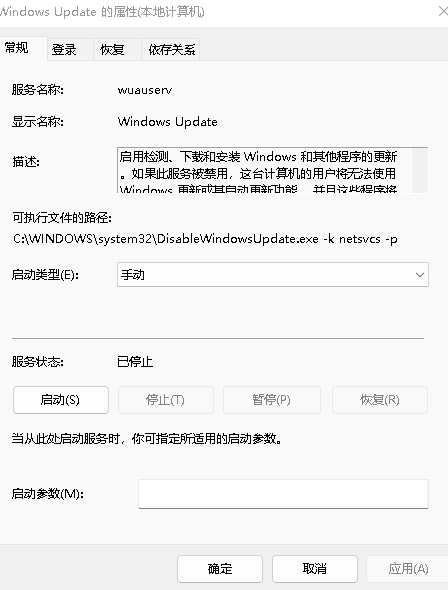 
正常而言,除了 Windows Update 的服务可以直接关,其他两个无法手动关
2. 注册表关闭 Windows 安全中心服务(SecurityHealthService),Windows 更新医生服务(WaaSMedicSvc)

HKEY_LOCAL_MACHINE\SYSTEM\ControlSet001\Services\wuauserv
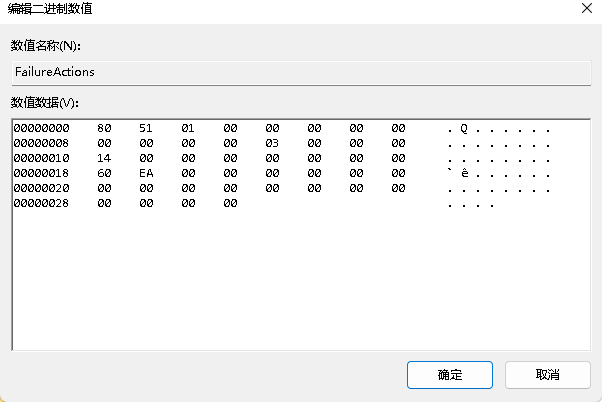
 将 Start 项的值改为 4 将 Start 项的值改为 4  确定 FailureActions 项的 0010 行、0018行从左到右第 5 个数值为 00 确定 FailureActions 项的 0010 行、0018行从左到右第 5 个数值为 00
 自己创建一个空的 txt 文件,任意命名即可,这里修改为 DisableWindowsUpdate.exe,然后放到 ImagePath 的指定路径(我这里已经放过了,所以对应的是C:\Windows\System32\DisableWindowsUpdate.exe),这一步的目的是为了让注册表找不到更新程序的路径 自己创建一个空的 txt 文件,任意命名即可,这里修改为 DisableWindowsUpdate.exe,然后放到 ImagePath 的指定路径(我这里已经放过了,所以对应的是C:\Windows\System32\DisableWindowsUpdate.exe),这一步的目的是为了让注册表找不到更新程序的路径 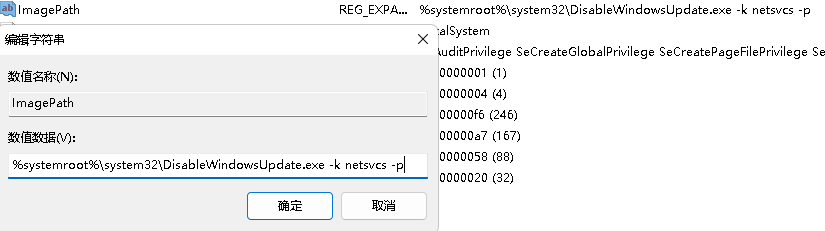
HKEY_LOCAL_MACHINE\SYSTEM\CurrentControlSet\Services\UsoSvc
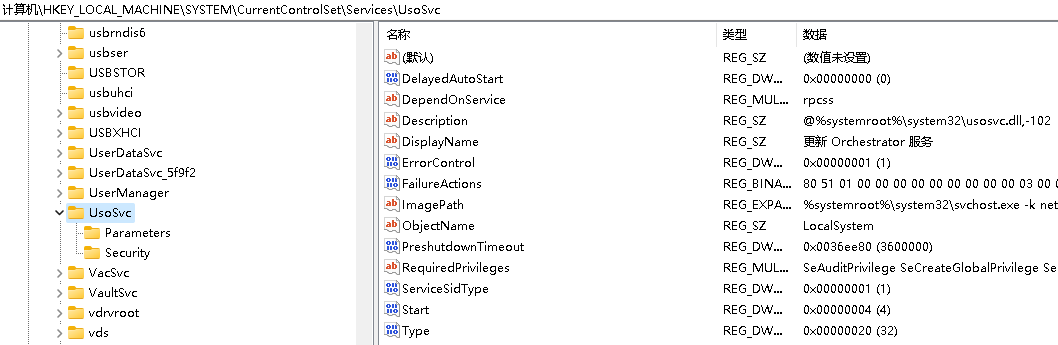
将 Start 项的值改为 4修改 FailureActions 项的 0010 行、0018行从左到右第 5 个数值为 00修改 DelayedAutoStart 项的值为 0【备注】修改完此项后,Windows 更新界面应该无法正常加载
HKEY_LOCAL_MACHINE\SYSTEM\CurrentControlSet\Services\WaaSMedicSvc 【Windows 更新医生服务】 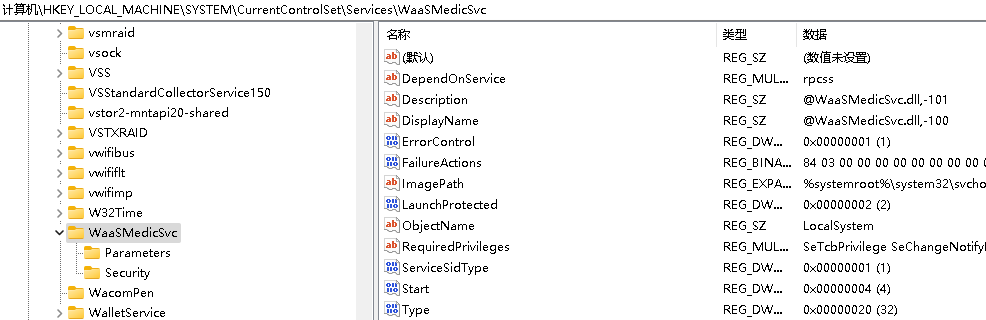
将 Start 项的值改为 4确定 FailureActions 项的 0010 行、0018行从左到右第 5 个数值为 00
综上,重新打开服务项,应该发现 Windows Update, Windows 安全中心服务(SecurityHealthService),Windows 更新医生服务(WaaSMedicSvc)三个服务项都已经被关闭,且“恢复”项均为无操作。【如果有没关的就手动关一次,如果 Windows Update 总是被自动启动,应该是任务计划程序的问题,不用管,往下看“任务计划程序修改”】
3. 任务计划程序修改
解决更改任务计划程序时需要输入密码的问题
下载软件Download ExecTI - Run as TrustedInstaller
启动 Run as TrustedInstaller 并输入 taskschd.msc,点 OK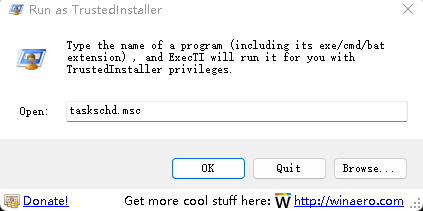 任务计划程序库
→
\rightarrow
→ Microsoft
→
\rightarrow
→ Windows
→
\rightarrow
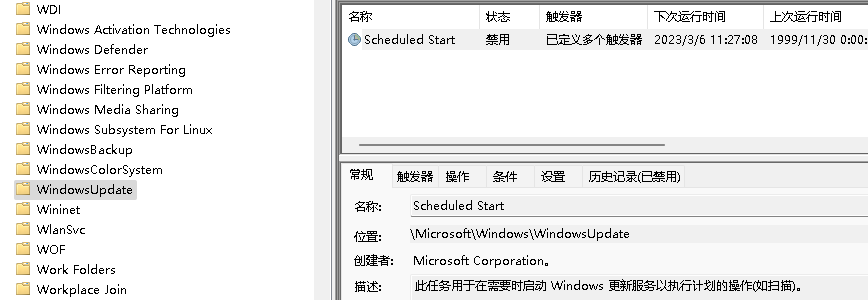
→ Windows Update
→
\rightarrow
→ 右键 Scheduled Start 并设置为禁用 任务计划程序库
→
\rightarrow
→ Microsoft
→
\rightarrow
→ Windows
→
\rightarrow
→ Windows Update
→
\rightarrow
→ 右键 Scheduled Start 并设置为禁用
  任务计划程序库
→
\rightarrow
→ Microsoft
→
\rightarrow
→ Windows
→
\rightarrow
→ UpdateOrchestrator
→
\rightarrow
→ 右键所有启动的项并设置为禁用(我这里是这么做的,暂时不知道有什么风险) 任务计划程序库
→
\rightarrow
→ Microsoft
→
\rightarrow
→ Windows
→
\rightarrow
→ UpdateOrchestrator
→
\rightarrow
→ 右键所有启动的项并设置为禁用(我这里是这么做的,暂时不知道有什么风险) 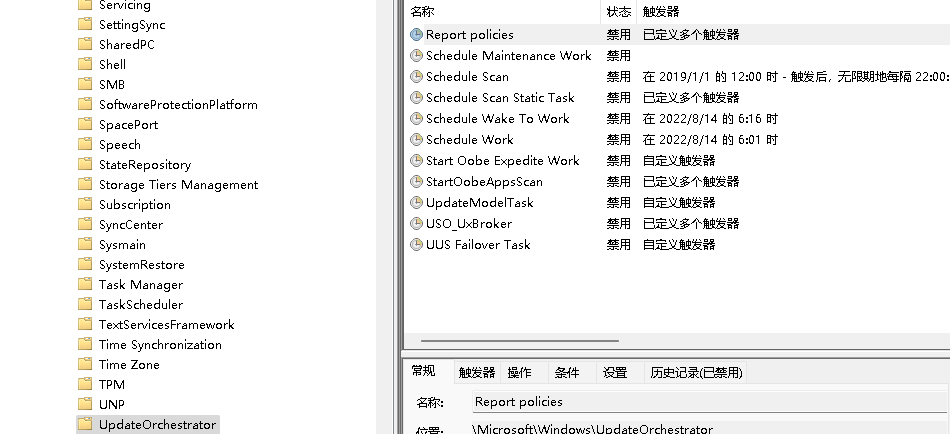 任务计划程序库
→
\rightarrow
→ Microsoft
→
\rightarrow
→ Windows
→
\rightarrow
→ WaaSMedic
→
\rightarrow
→ 右键所有启动的项并设置为禁用(我这里是这么做的,暂时不知道有什么风险) 任务计划程序库
→
\rightarrow
→ Microsoft
→
\rightarrow
→ Windows
→
\rightarrow
→ WaaSMedic
→
\rightarrow
→ 右键所有启动的项并设置为禁用(我这里是这么做的,暂时不知道有什么风险)  最后,重新打开服务项,再次检查 Windows Update, Windows 安全中心服务(SecurityHealthService),Windows 更新医生服务(WaaSMedicSvc)三个服务项都已经被关闭,且“恢复”项均为无操作。【如果有没关的再手动关一次,确保任务计划程序都被禁用,且服务项 Windows Update 已经停止运行】 最后,重新打开服务项,再次检查 Windows Update, Windows 安全中心服务(SecurityHealthService),Windows 更新医生服务(WaaSMedicSvc)三个服务项都已经被关闭,且“恢复”项均为无操作。【如果有没关的再手动关一次,确保任务计划程序都被禁用,且服务项 Windows Update 已经停止运行】
4.(Windows 专业版)组策略修改
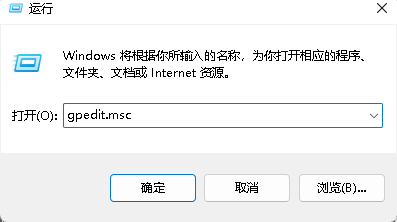 计算机配置
→
\rightarrow
→ 管理模板
→
\rightarrow
→ Windows 组件
→
\rightarrow
→ Windows 更新
→
\rightarrow
→ 管理最终用户体验
→
\rightarrow
→ 右键“配置自动更新”(设置为“已禁用”)并且右键“删除使用所有 Windows 更新功能的访问权限”(设置为“已启用”) 计算机配置
→
\rightarrow
→ 管理模板
→
\rightarrow
→ Windows 组件
→
\rightarrow
→ Windows 更新
→
\rightarrow
→ 管理最终用户体验
→
\rightarrow
→ 右键“配置自动更新”(设置为“已禁用”)并且右键“删除使用所有 Windows 更新功能的访问权限”(设置为“已启用”) 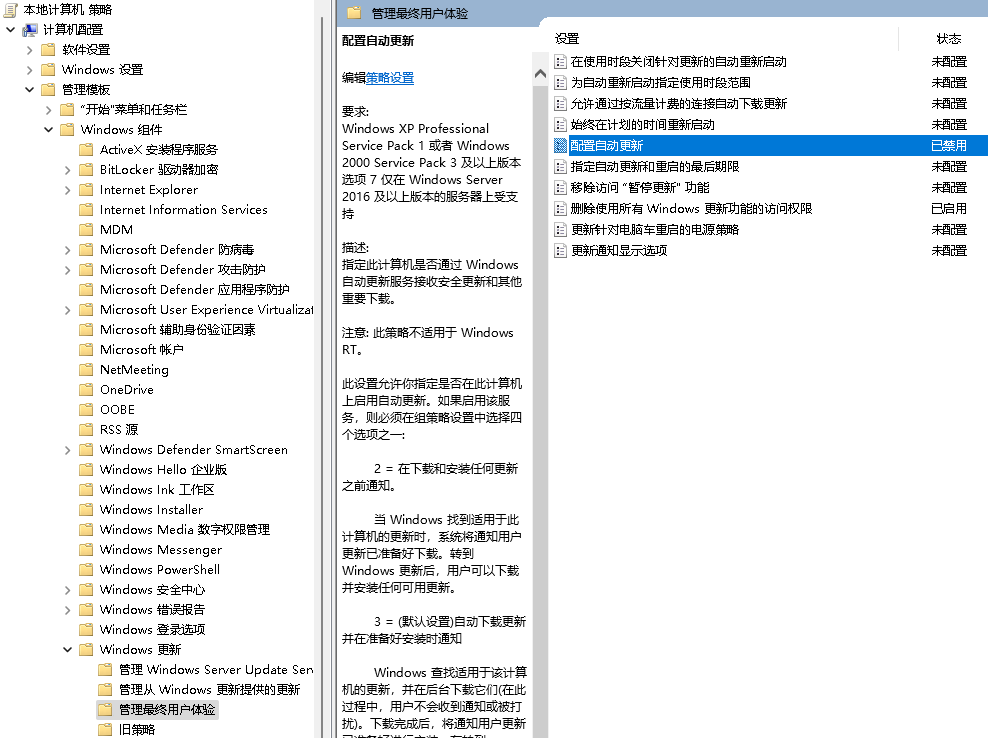
接着,上述步骤均依次进行,重新启动计算机
再次检查 Windows Update 服务项是否已经停止运行
5.【无风险】【推荐】【Win10/11】【傻瓜式操作】【一键禁用更新脚本】
https://github.com/tsgrgo/windows-update-disabler
github 上不去的可以使用下面的镜像站
https://gitcode.net/mirrors/tsgrgo/windows-update-disabler
|