| 用scrapy框架爬取高清图片、壁纸 | 您所在的位置:网站首页 › 光明图片壁纸 › 用scrapy框架爬取高清图片、壁纸 |
用scrapy框架爬取高清图片、壁纸
|
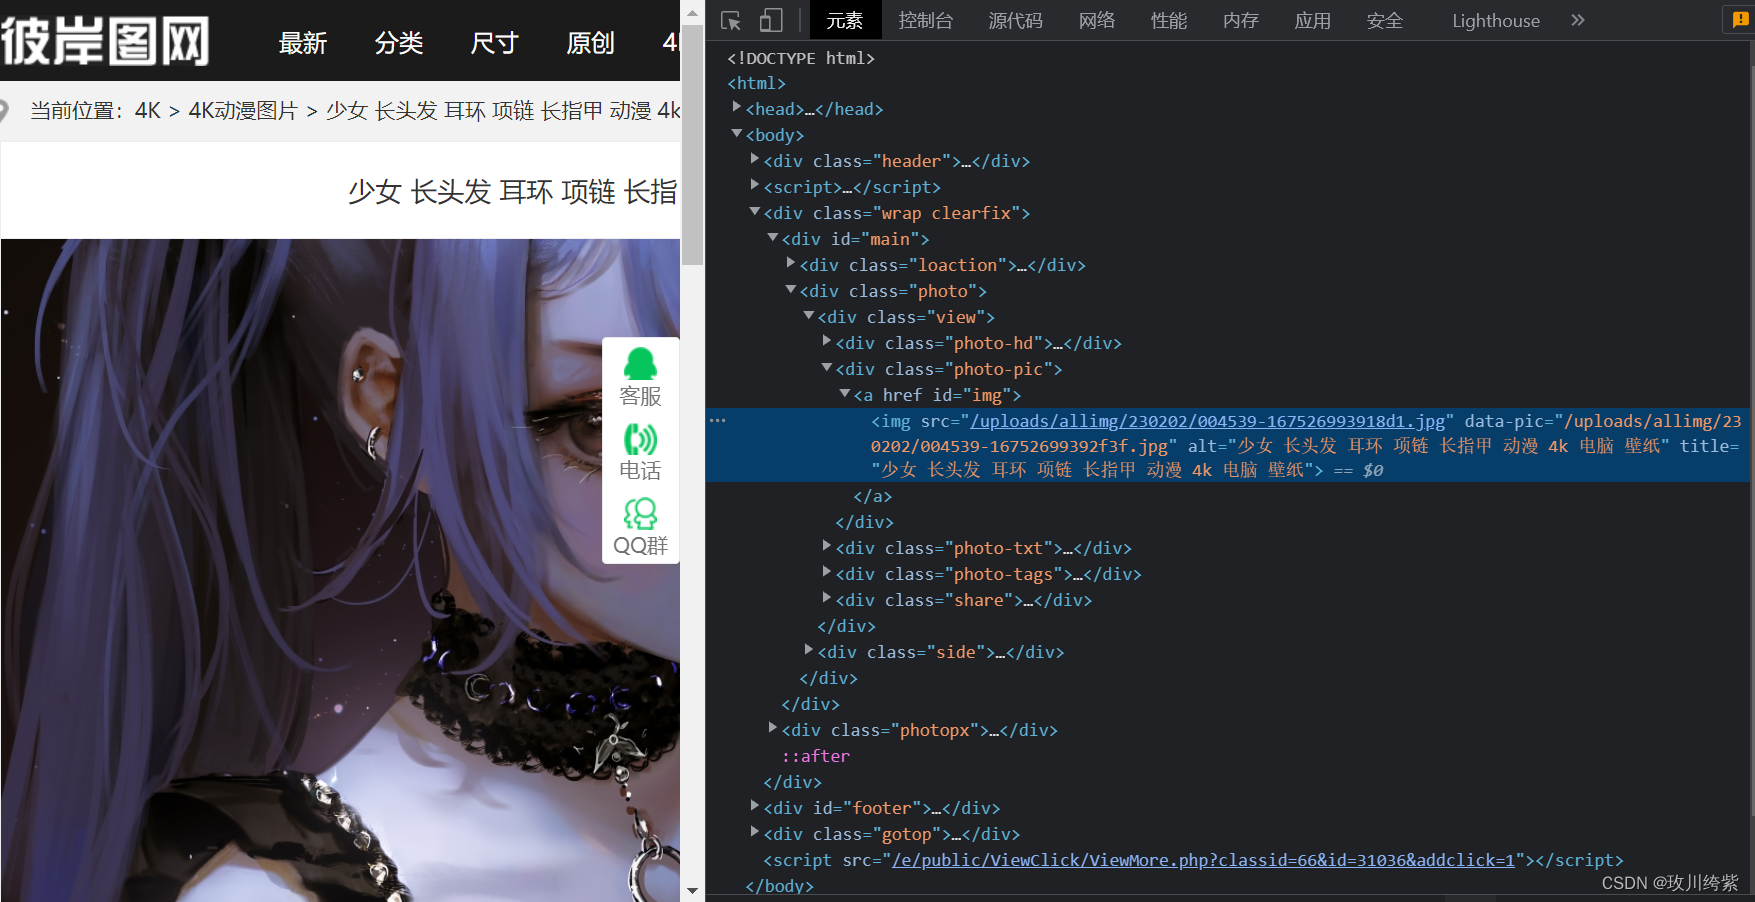
本文内容是用 scrapy 框架爬取彼岸图网的高清图片。其实该网站的页面源码为静态,用普通爬虫就可以很容易爬取到。这里只是记录如何用 scrapy 爬取图片,仅供学习参考。 编码流程: 数据解析将存储图片地址的 item 提交到指定的管道类在管道文件中自定制一个基于ImagesPipeLine的一个管道类在配置文件中指定图片的存储目录、指定开启的自定制管道类 1、数据解析打开要爬取的图片网址:https://pic.netbian.com/4kdongman/index.html 鼠标右击 检查,可以发现每张图片数据存储在一个个 li 标签中。 这个 li 标签并没有存储图片,故定位时应过滤掉这个含 class 属性的 li 标签: # 定位不含class属性的li标签 li_list = response.xpath('//*[@id="main"]/div[3]/ul/li[not(@class)]')继续点开 li 标签。发现里面有一个 href 属性和 src 属性。 鼠标点击 href 打开了图片的详情页,鼠标放在 src 上显示了该图片。那么 src 是我们要爬取的图片吗?其实不是,这里的 src 显示的该图片是缩略图,并不是我们要的高清图片。所以我们需要去图片详情页爬取该图片的高清图。 获取 href 属性值并对图片详情页发起请求: for li in li_list: # 获取图片详情页地址,注意拼接成完整的网址 detail_url = 'https://pic.netbian.com' + li.xpath('./a/@href').get() # 对图片详情页手动发起请求 yield scrapy.Request(detail_url, callback=self.parse_detail)点击 href 的网址,打开图片详情页。鼠标右击 检查 定位图片: 进行图片详情页数据解析,获取图片名字和地址: # 图片详情页解析 def parse_detail(self, response): img_name = response.xpath('//*[@id="img"]/img/@title').get() img_src = 'https://pic.netbian.com' + response.xpath('//*[@id="img"]/img/@src').get() item = BiantuwangproItem() item['img_name'] = img_name item['img_src'] = img_src # 提交给管道进行持久化存储处理 yield item 2、将存储图片地址的 item 提交到指定的管道类在 items 文件中声明图片名字和地址属性: img_name = scrapy.Field() img_src = scrapy.Field() 3、在管道文件中自定制一个基于ImagesPipeLine的一个管道类注释掉管道文件中原始的类。自己新建一个类 imgsPipeLine: import scrapy from scrapy.pipelines.images import ImagesPipeline class imgsPipeLine(ImagesPipeline): # 根据图片地址进行图片数据的请求 def get_media_requests(self, item, info): yield scrapy.Request(item['img_src']) # 指定图片存储的路径 def file_path(self, request, response=None, info=None, *, item): return item['img_name'] + '.jpg' # 注意图片格式 def item_completed(self, results, item, info): return item # 返回给下一个即将被执行的管道类 4、在配置文件中指定图片的存储目录、指定开启自定制管道类 # 图片存储路径 IMAGES_STORE = './彼岸图网下载' # 指定开启自定制管道类 ITEM_PIPELINES = { 'biantuwangPro.pipelines.imgsPipeLine': 300, } 爬虫源文件完整代码bian.py: import scrapy from ..items import BiantuwangproItem # 流程: # 1、数据解析(图片的地址) # 2、将存储图片地址的item提交到指定的管道类 # 3、在管道文件中自定制一个基于ImagesPipeLine的一个管道类 # 4、在配置文件中指定图片的存储目录、指定开启的自定制管道类 class BianSpider(scrapy.Spider): name = 'bian' # allowed_domains = ['www.xxx.com'] start_urls = ['https://pic.netbian.com/4kdongman/index.html'] # 生成一个通用的url模板(不可变) url = 'https://pic.netbian.com/4kdongman/index_%d.html' page_num = 2 # 图片详情页解析 def parse_detail(self, response): img_name = response.xpath('//*[@id="img"]/img/@title').get() img_src = 'https://pic.netbian.com' + response.xpath('//*[@id="img"]/img/@src').get() item = BiantuwangproItem() item['img_name'] = img_name item['img_src'] = img_src # 提交给管道进行持久化存储处理 yield item # 主页面解析 def parse(self, response): li_list = response.xpath('//*[@id="main"]/div[3]/ul/li[not(@class)]') for li in li_list: # 获取图片详情页地址 detail_url = 'https://pic.netbian.com' + li.xpath('./a/@href').get() # 对图片详情页手动发起请求 yield scrapy.Request(detail_url, callback=self.parse_detail) # 爬取10页 if self.page_num |
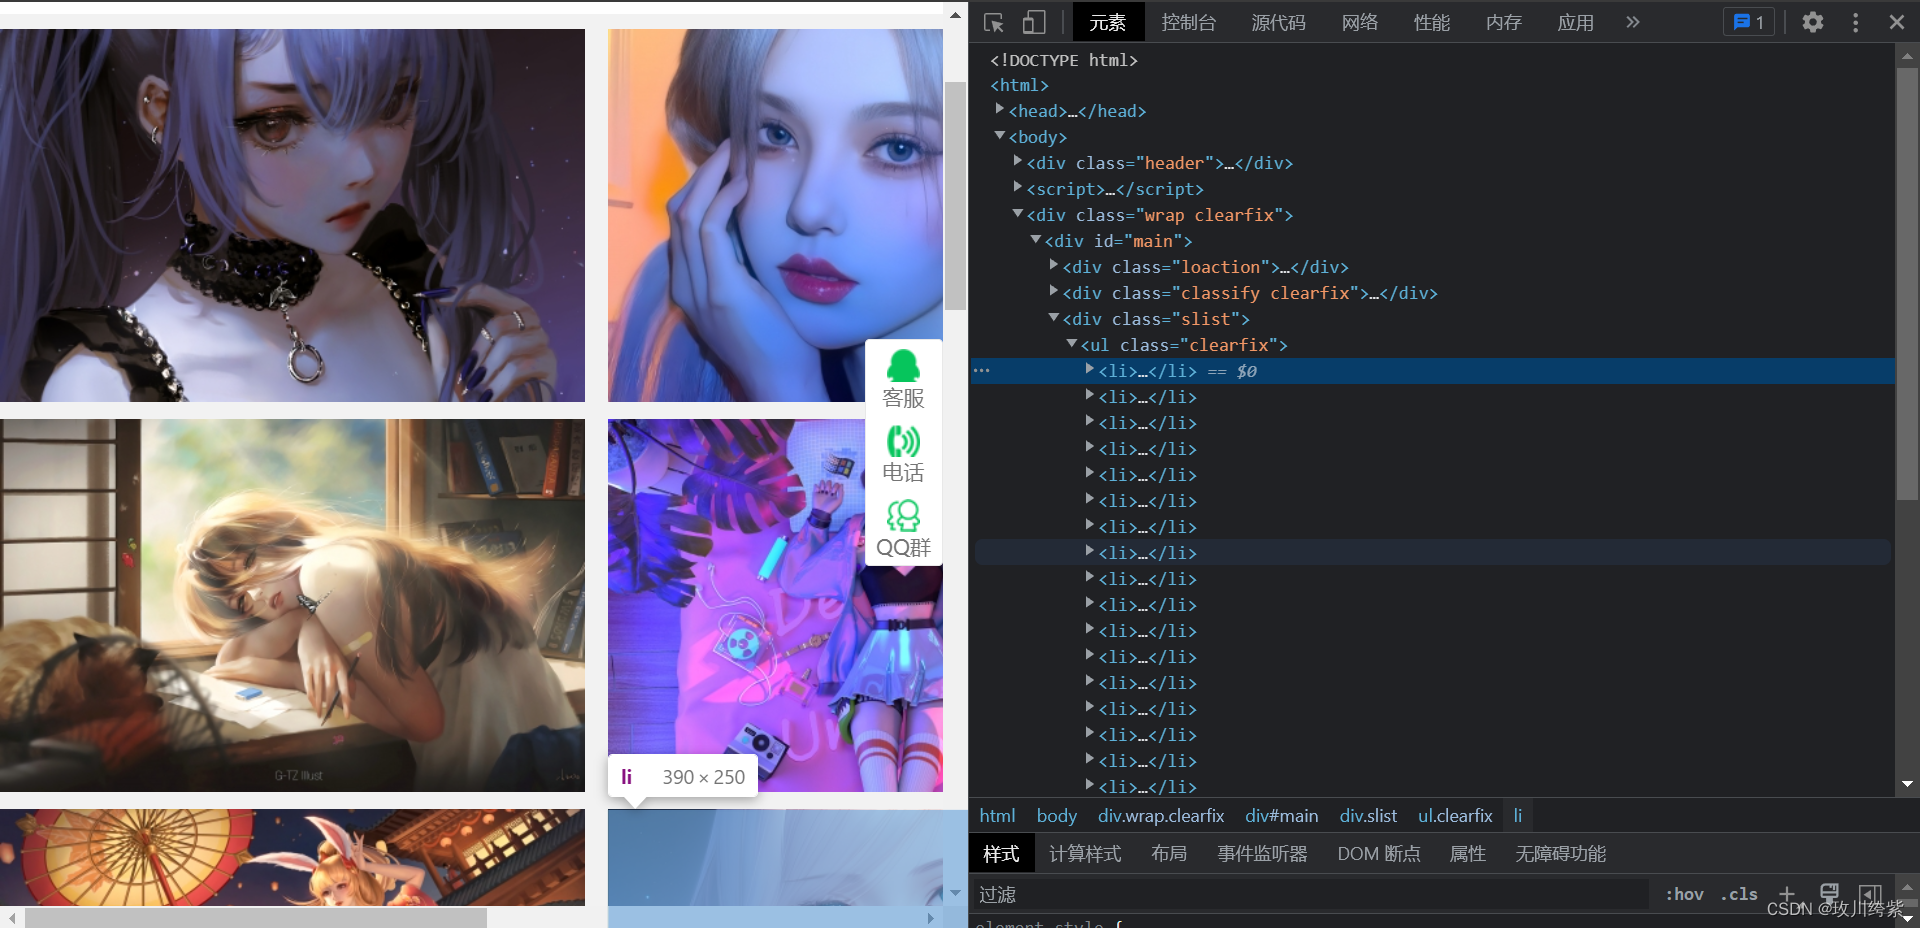 但往下滑发现有一个含 class 属性的 li 标签。
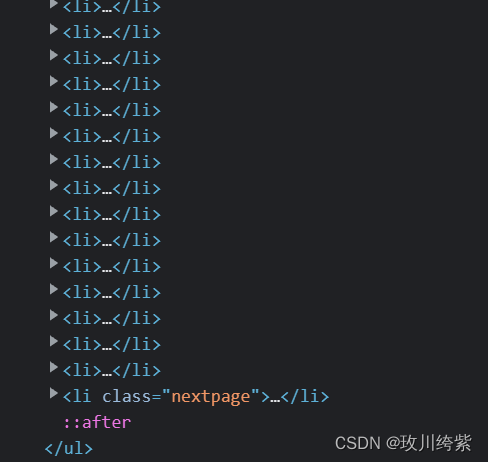

【本文地址】
公司简介
联系我们