| 【Linux 超详细部署Lnmp环境安装WordPress】 | 您所在的位置:网站首页 › wordpress官网链接 › 【Linux 超详细部署Lnmp环境安装WordPress】 |
【Linux 超详细部署Lnmp环境安装WordPress】
|
先了解知道什么是lnmp环境?
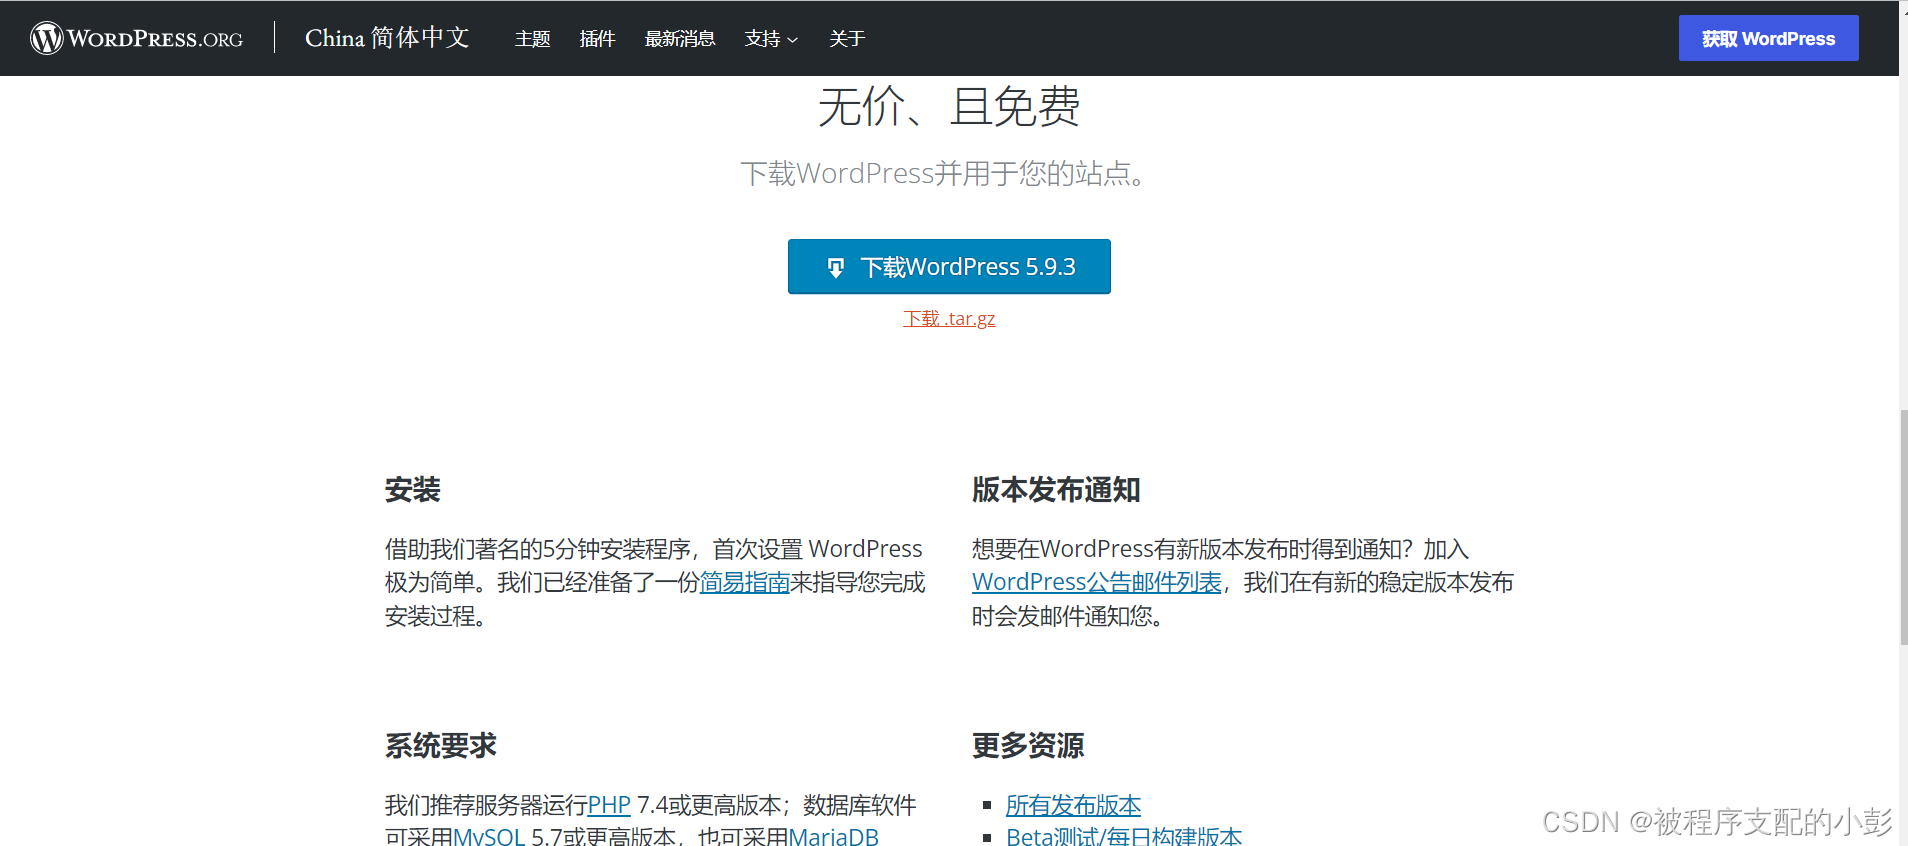
LNMP 是指一组通常一起使用来运行动态网站或者服务器的自由软件名称首字母缩写。 L指Linux,N指Nginx,M一般指MySQL,也可以指MariaDB,P一般指PHP,也可以指Perl或Python。 LNMP代表的就是:Linux系统下Nginx+MySQL+PHP这种 网站服务器架构。 (转载度娘) 我这里选择用到(lnmp)的是:Linux + Nginx + MySQL + PHP 1.安装mysql (43条消息) linux 安装 Mysql_被程序支配的小彭的博客-CSDN博客 2.安装php (43条消息) CentOS7 --详细配置Nginx支持PHP程序_被程序支配的小彭的博客-CSDN博客 3.安装nginx (43条消息) CentOS7详细安装nginx_被程序支配的小彭的博客-CSDN博客 我们配置以下需要的文件 1.mysql //先登入mysql mysql -uroot -p create database wordpress; //创建数据库 //设置用户名,wordpress数据库密码 grant all on wordpress.* to 'root'@'localhost' identified by 'Wordpress123!'; Query OK, 0 rows affected, 1 warning (0.00 sec) //查看数据库 show databases; +--------------------+ | Database | +--------------------+ | information_schema | | mysql | | performance_schema | | sys | | wordpress | +--------------------+ 5 rows in set (0.00 sec) flush privileges; Query OK, 0 rows affected (0.00 sec) quit //退出数据库2.nginx vim /usr/local/nginx/conf/nginx.conf //配置nginx文件 修改内容如下: server { listen 80; server_name localhost; location / { root /www/wordpress; index index.php index.html index.htm; } location ~ \.php$ { root /www/wordpress; fastcgi_pass 127.0.0.1:9000; fastcgi_index index.php; fastcgi_param SCRIPT_FILENAME /www/wordpress$fastcgi_script_name; //wordpress文件路径 /www/wordpress include fastcgi_params; } /usr/local/nginx/sbin/nginx -t //检查语法 /usr/local/nginx/sbin/nginx -s reload //重启nginx服务 如果没有在根目录里创建www目录,则 [root@localhost ~]# mkdir /www3.启动php-fpm(如果已经启动,则跳过此步骤) /usr/local/php/sbin/php-fpm //启动php-fpm 注意自己的php-fpm路径4.下载wordpress 官网:下载 | WordPress.org China 简体中文
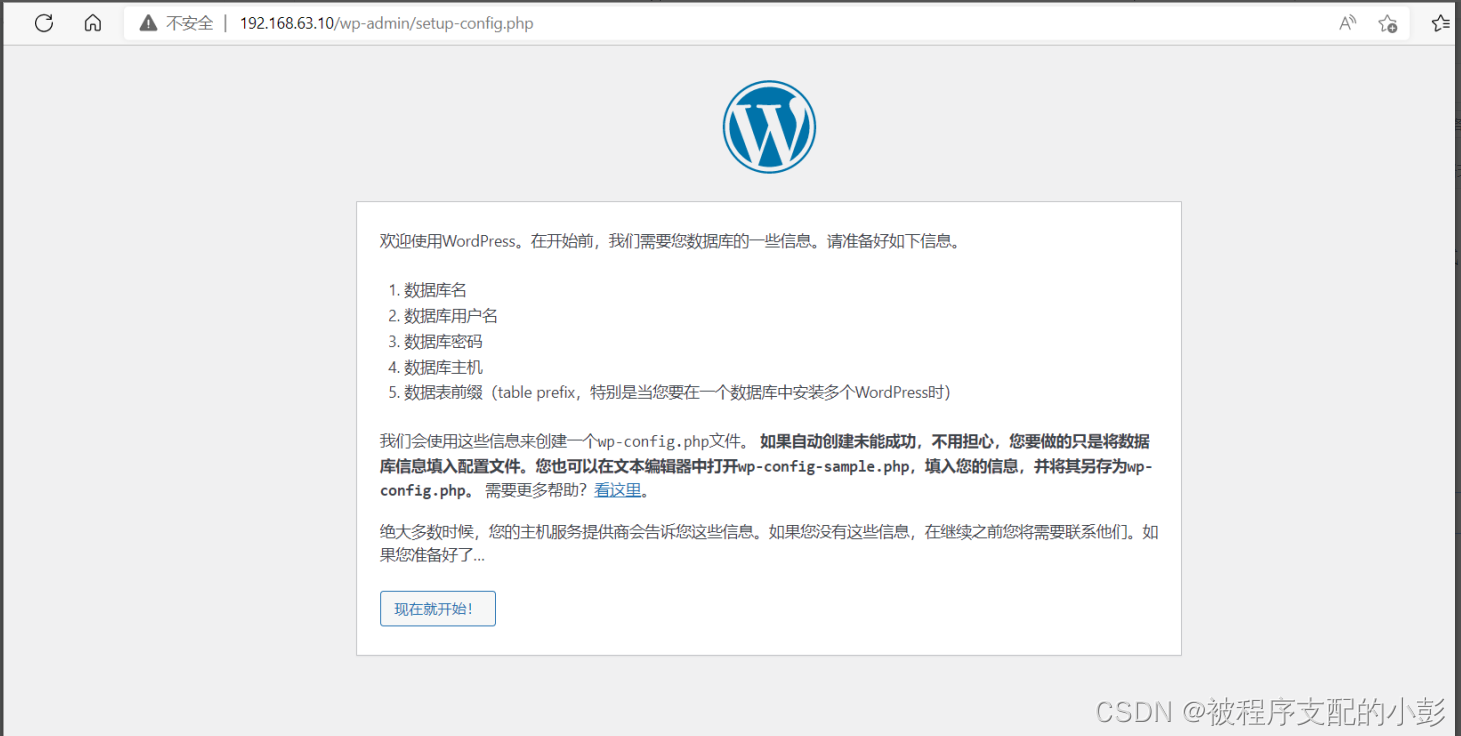
点击下载.tar.gz 我选择的版本是:wordpress-5.9.3-zh_CN.tar.gz 下载之后上传到虚拟机中,并解压 ,修改配置 [root@localhost local]# tar -zxf wordpress-5.9.3-zh_CN.tar.gz [root@localhost local]# mv wordpress /www //移动wordpress文件,路径要和nginx里配置的路径一样 cd /www/wordpress/ [root@localhost wordpress]# cp wp-config-sample.php wp-config.php //复制wp-config-sample.php 并改名 wp-config.php [root@localhost wordpress]# vim wp-config.php //根据自己设置的数据库,对应修改下面配置 (grant all on wordpress.* to 'root'@'localhost' identified by 'Wordpress123!';) /** The name of the database for WordPress */ define( 'DB_NAME', 'wordpress' ); /** Database username */ 用户名 define( 'DB_USER', 'root' ); /** Database password */ 密码 define( 'DB_PASSWORD', 'Wordpress123!' ); /** Database hostname */ (如果是localhost 最好写成IP 127.0.0.1 不然之后可能会报错) define( 'DB_HOST', '127.0.0.1' ); /** Database charset to use in creating database tables. */ define( 'DB_CHARSET', 'utf8' ); /** The database collate type. Don't change this if in doubt. */ define( 'DB_COLLATE', '' ); 最后保存退出 最后一步:进入浏览器http://ip 接着会出现下面的界面
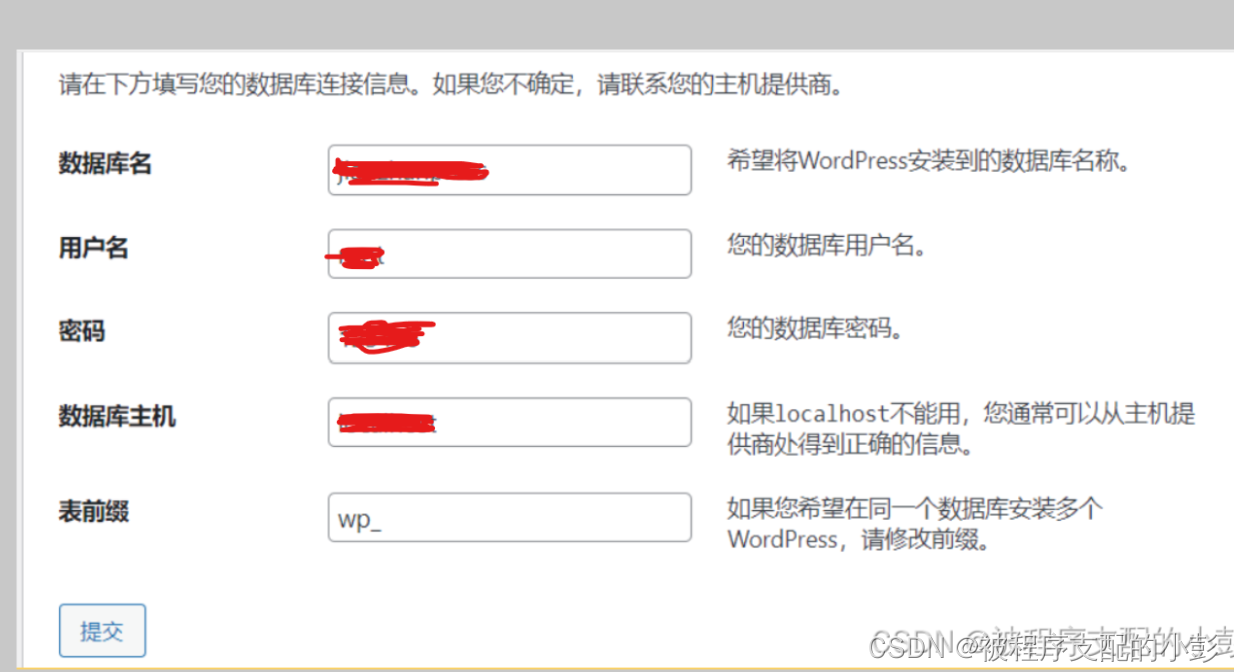
点击现在开始 会出现让你输入数据库名字等信息 (要和数据库,wp-config.php 配置内容一致) 因为我忘了截图,找了一张别人的图 数据库名 :wordpress 用户名:root 密码:Wordpress123! 数据库主机:127.0.0.1 表前缀 :wp_
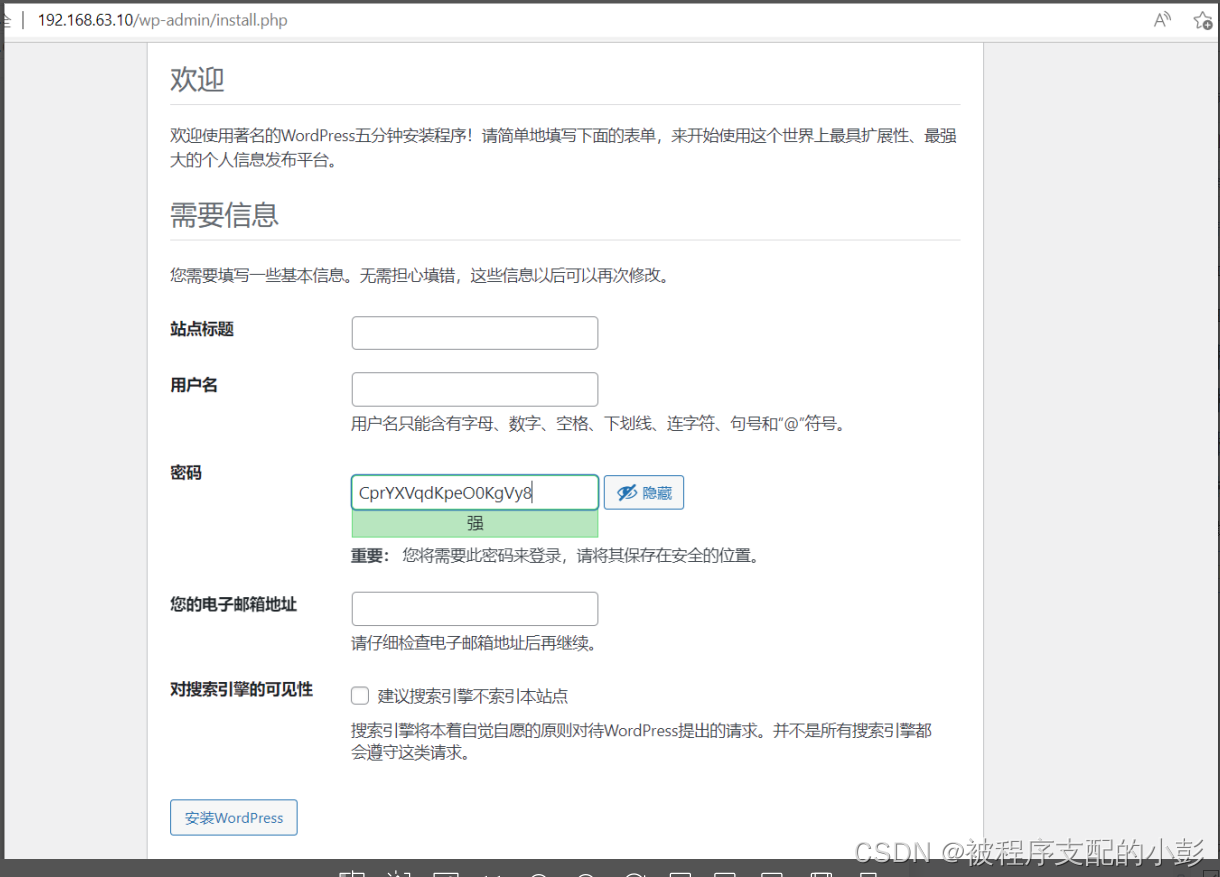
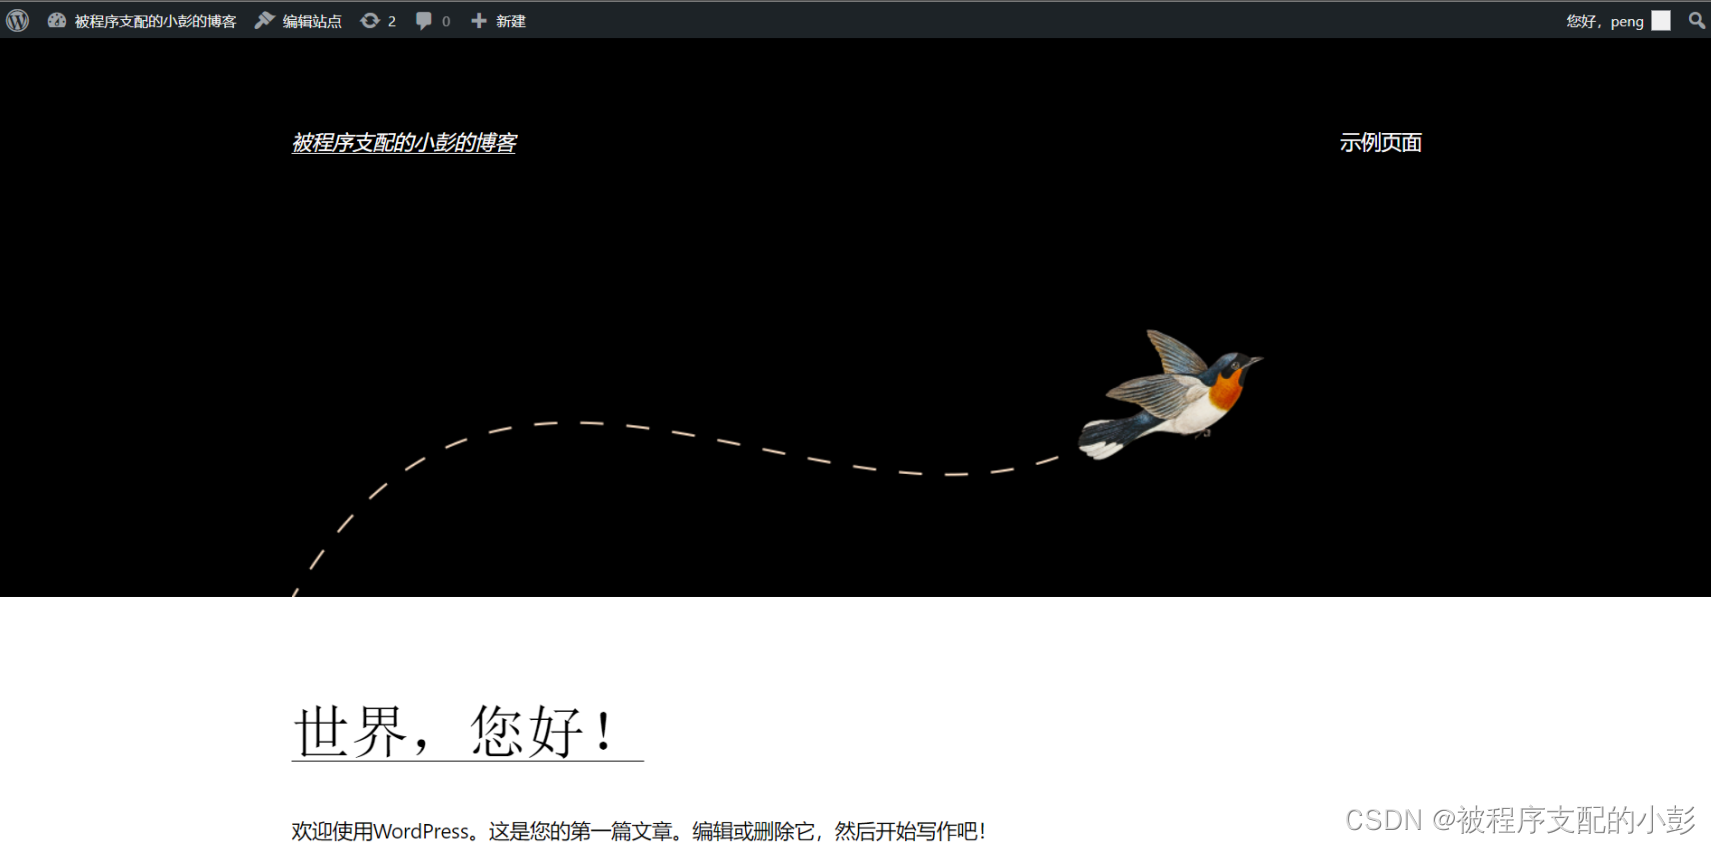
然后开始安装 (后续也忘了截图,只要不报错,一直继续就会出现下图)
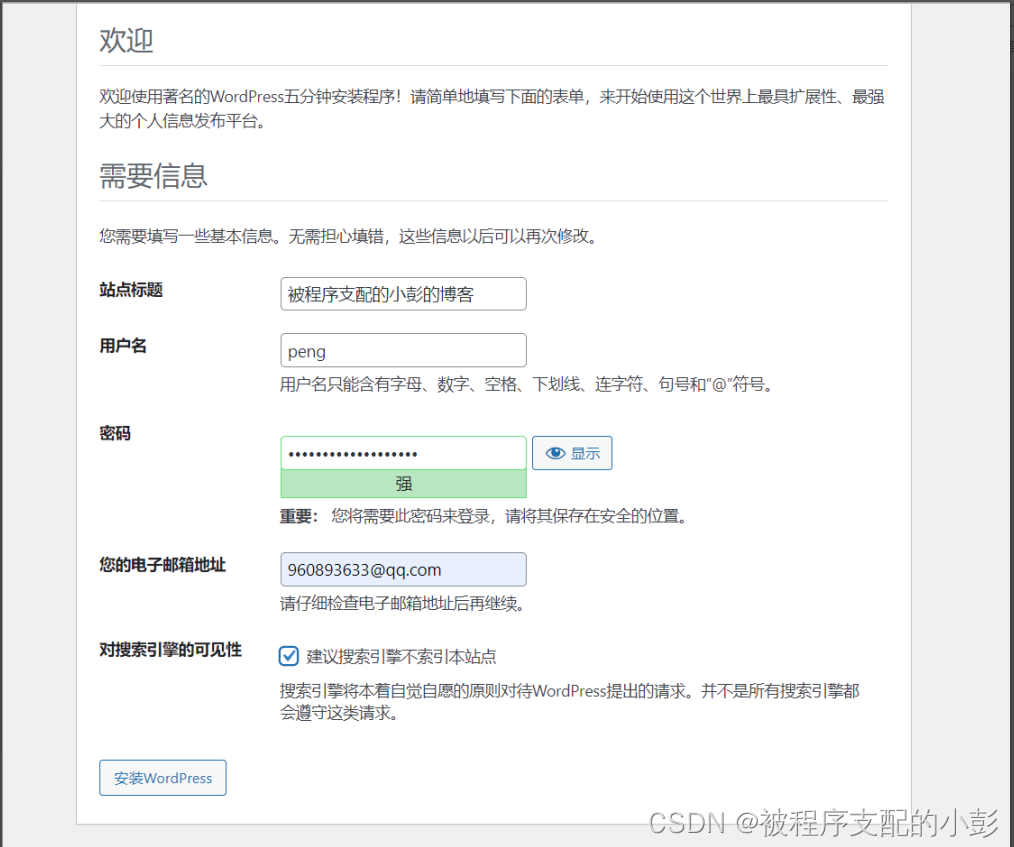
根据自己填写内容
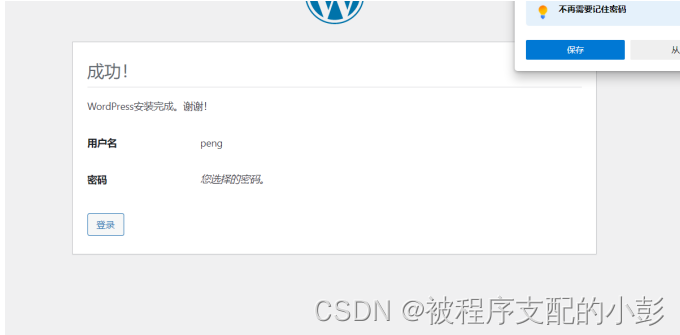
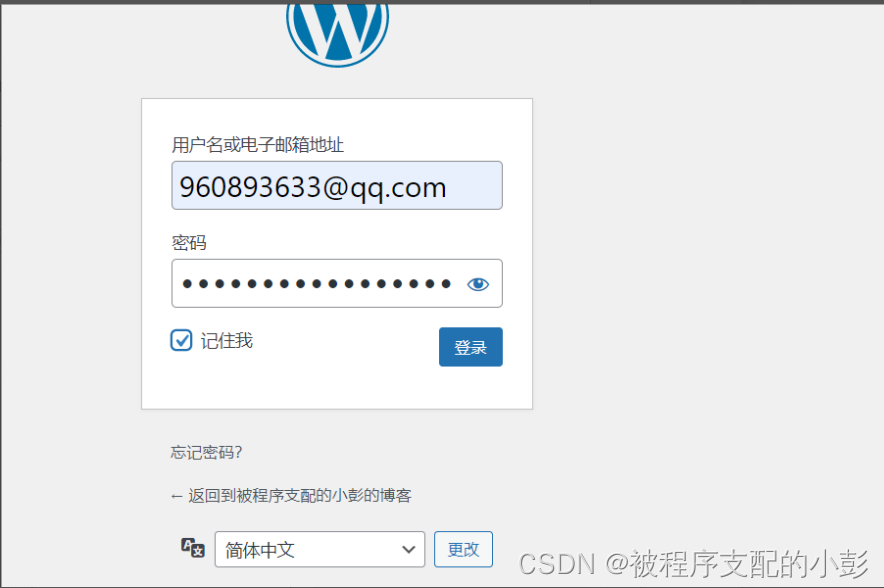
下一次登录
可以的话一键三连哦~~ 么么哒 |

【本文地址】