| idea插件开发(5) | 您所在的位置:网站首页 › swing中的窗体 › idea插件开发(5) |
idea插件开发(5)
|
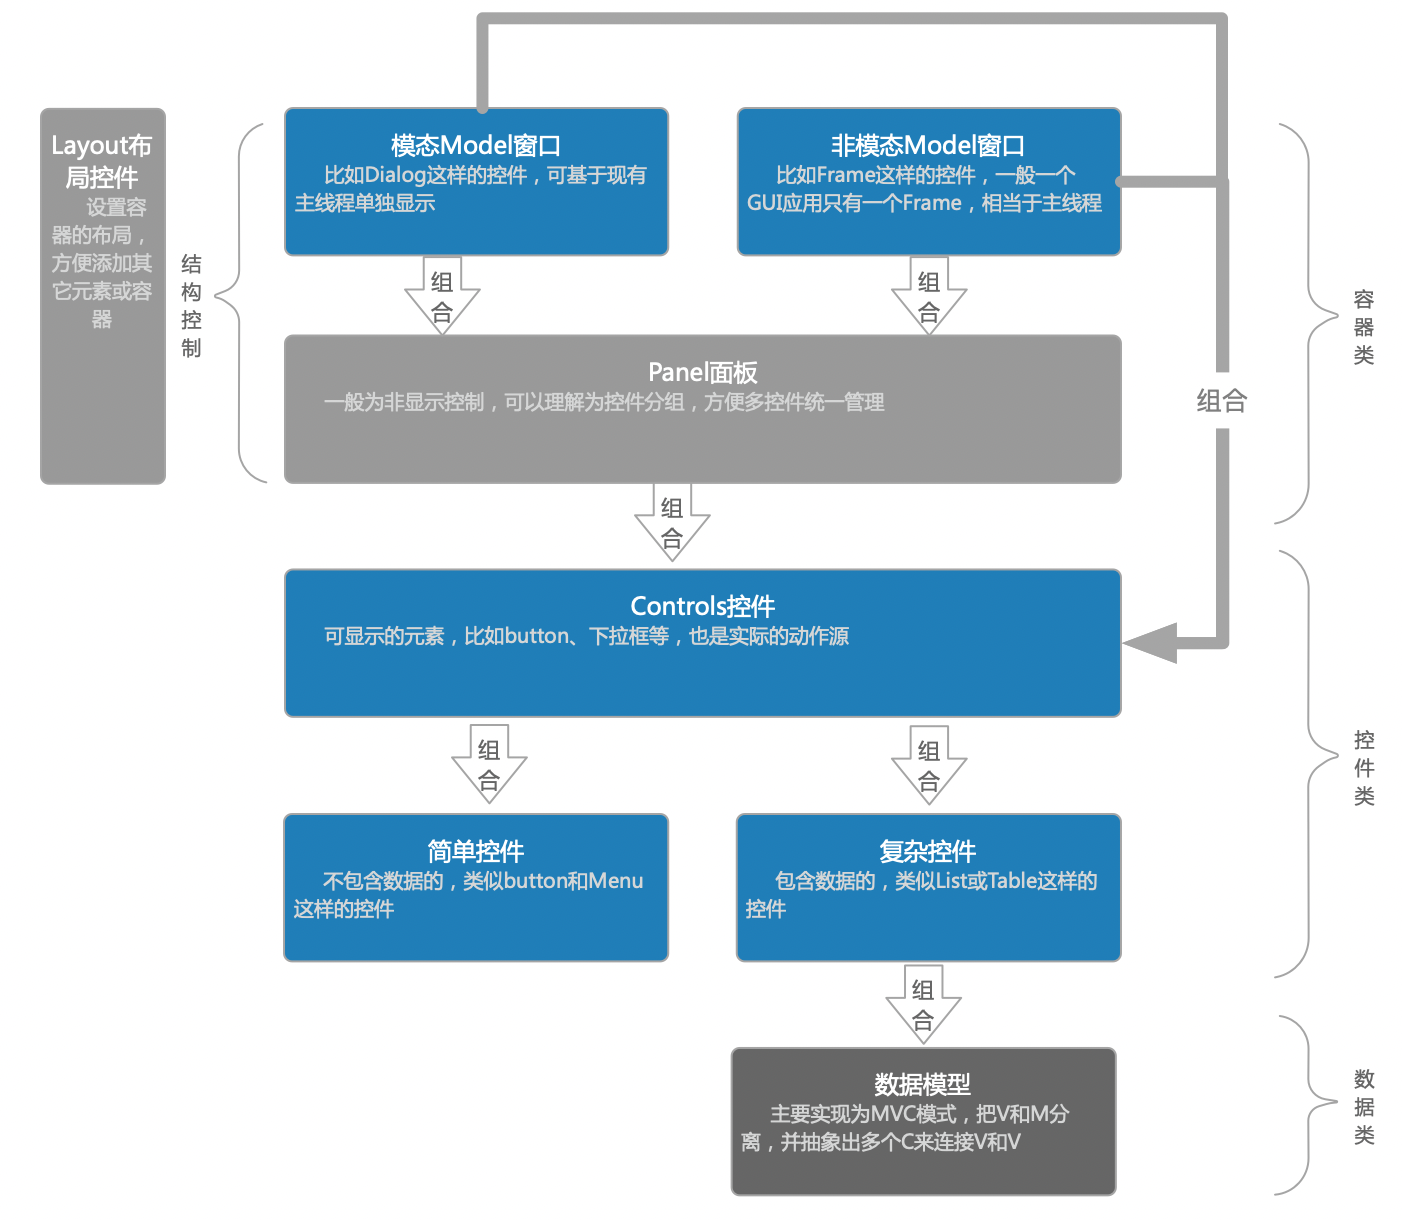
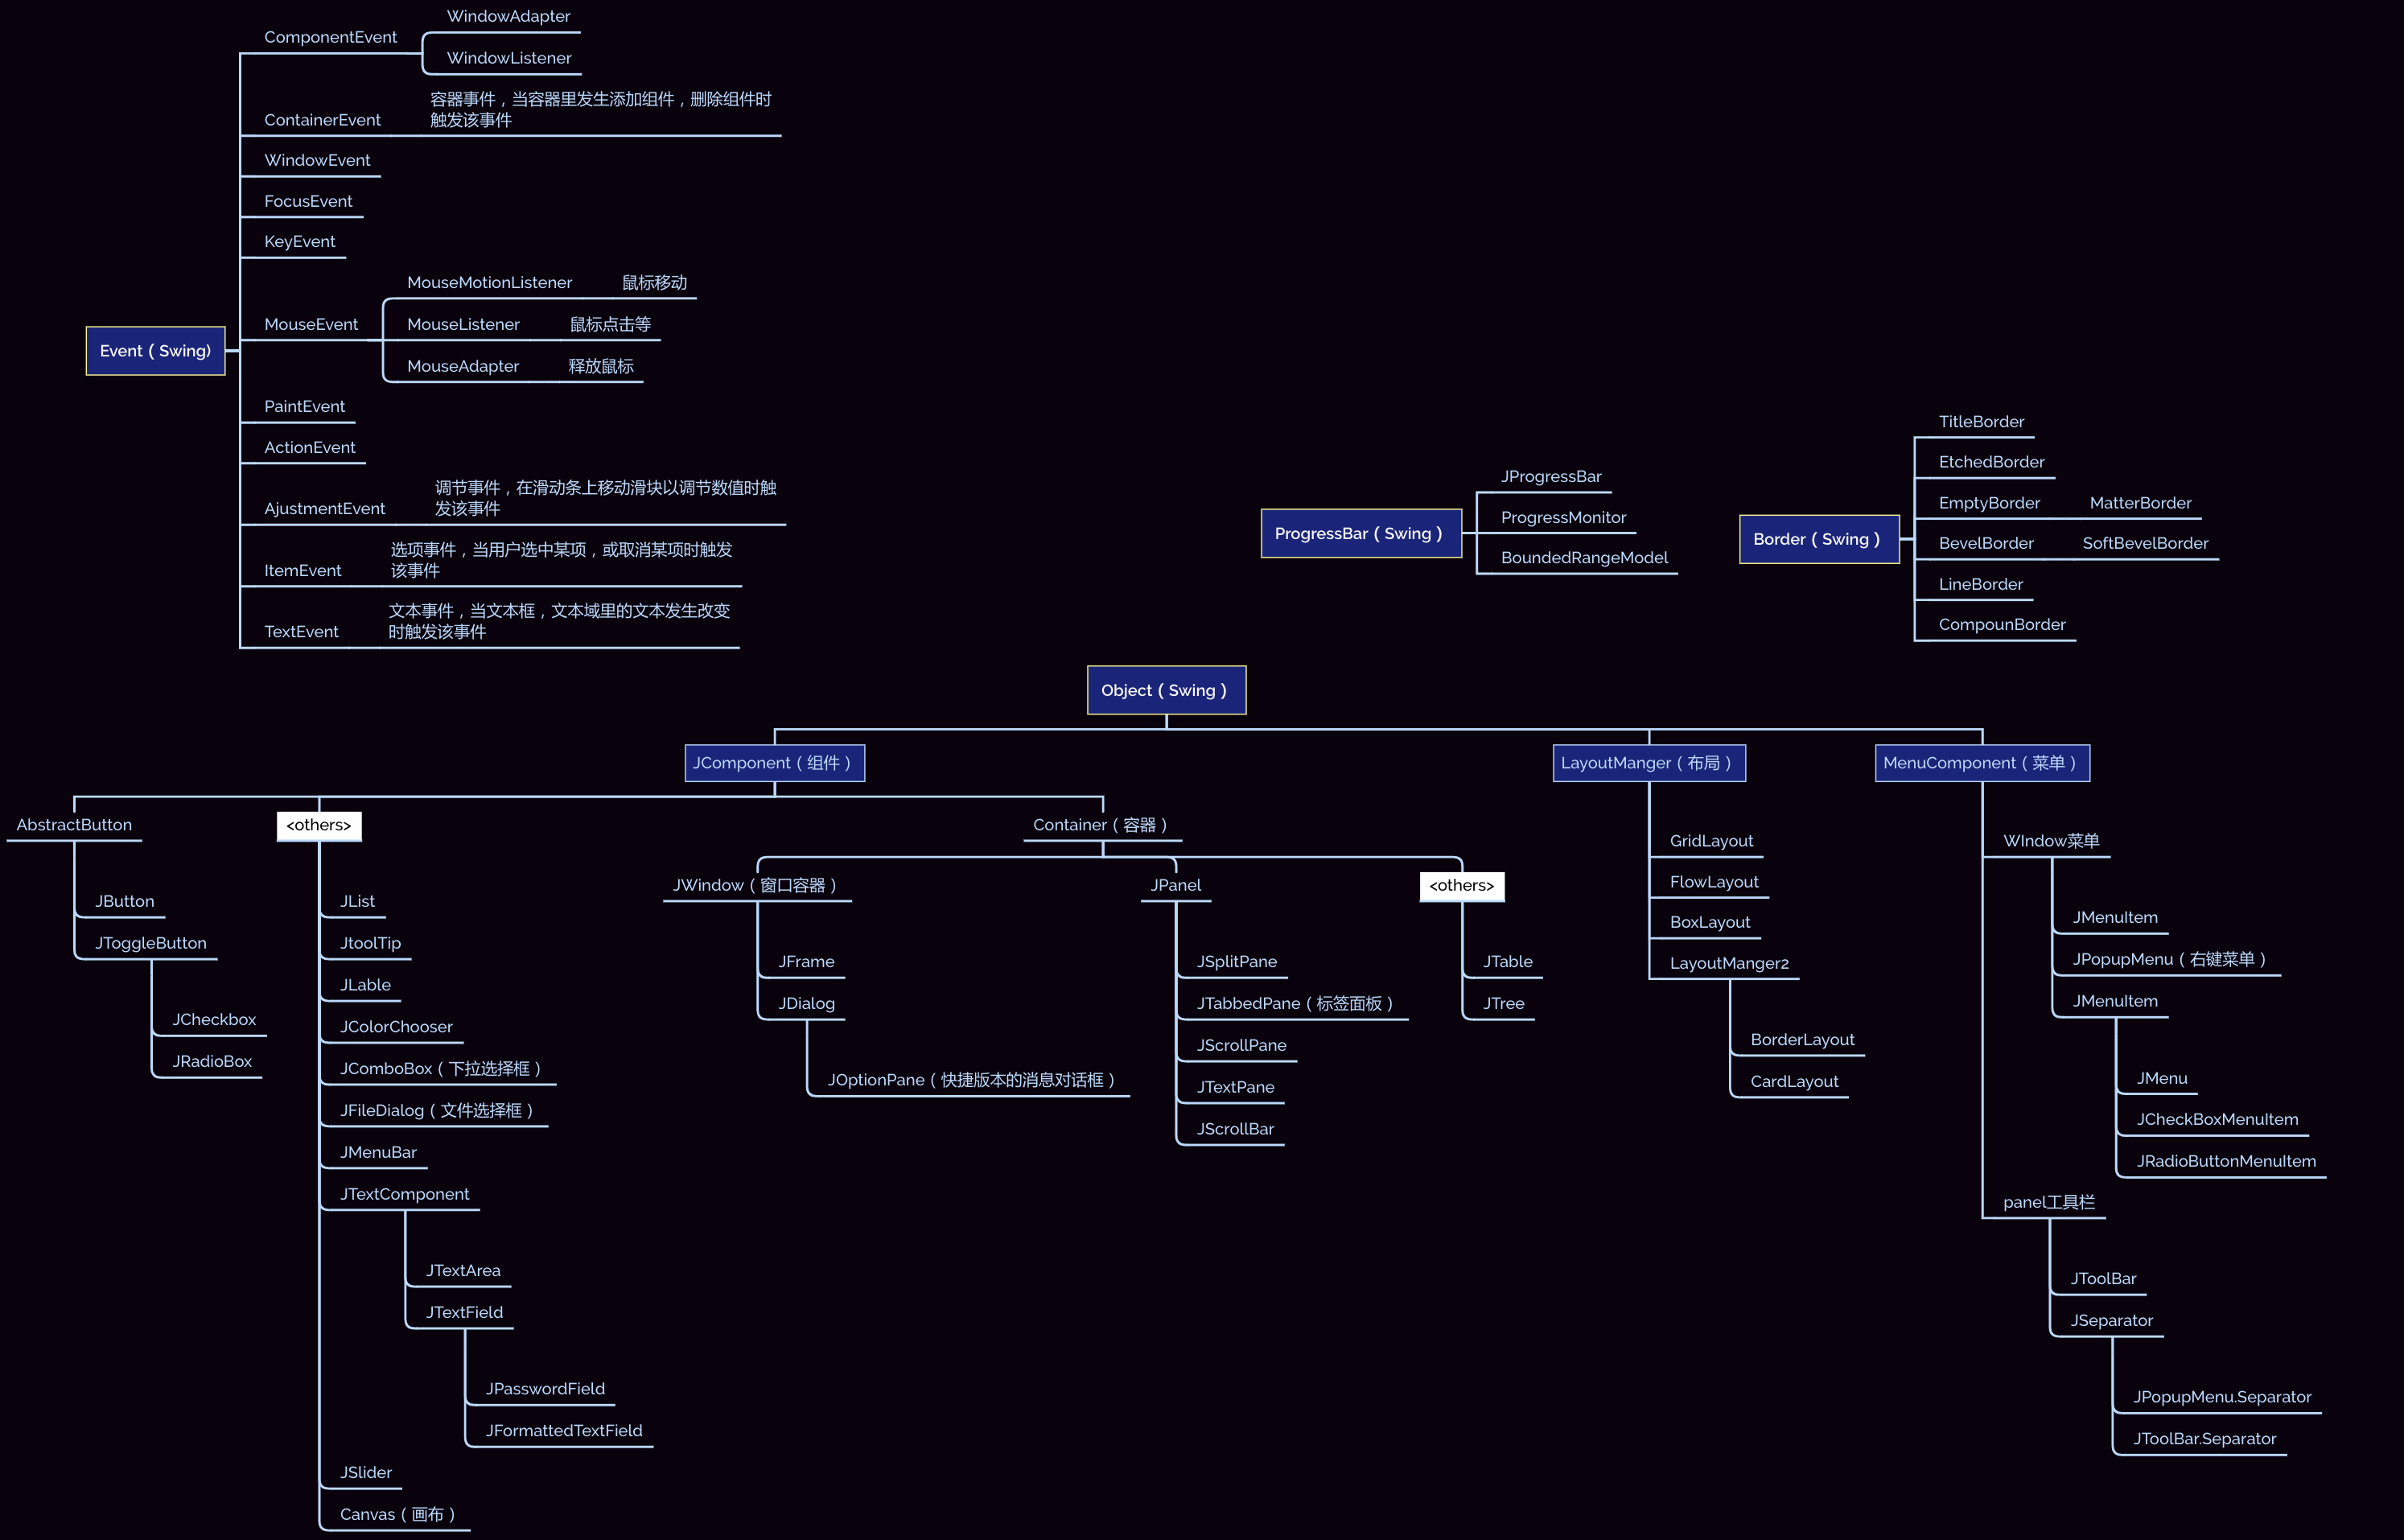
Java-GUI提供了两套设计AWT和Swing,其中Swing是基于AWT开发的,两者在功能上基本一样。发展至今天,最大的区别就是在显示样式上,AWT会匹配当前操作系统的UI而在不同平台下表现出不同的样式,但Swing不会。所以建议插件开发时采用Swing-GUI。 一、Idea-UI开发基础 1、UI控件架构Idea的图形界面是基于Swing开发的,官方文档也有推荐,详细的UI控件可查看官方文档IntelliJ Platform UI Guidelines ,虽说Swing内容比较多,但相对来讲比较简单。 所有GUI开发基本都遵循如下关系来设计:
idea控件开发只要了解这一张图即可,开发时参考此图再查相应的API文档。不需要太高深的技术(Canvas开发除外,那个涉及很多图形方面的专业知识。
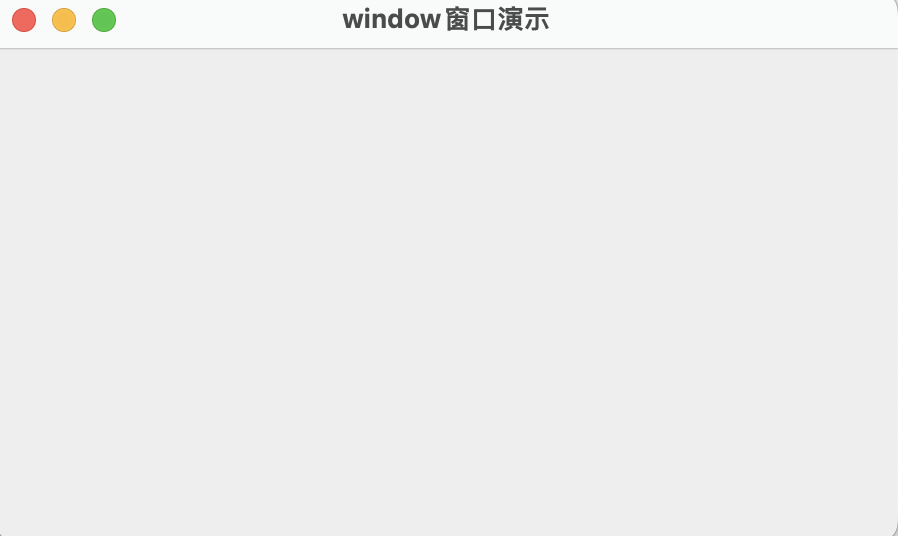
本章会从容器、布局、复杂控件几个方式给出一些示例。 1、JFrame显示一个空白窗口 public class Windowsdemo { public static void main(String[] args) { //1.创建一个窗口对象 JFrame frame = new JFrame("window窗口演示"); //2.指定窗口的位置,大小 frame.setLocation(100,100); frame.setSize(500,300); //3.设置窗口对象可见 frame.setVisible(true); } }
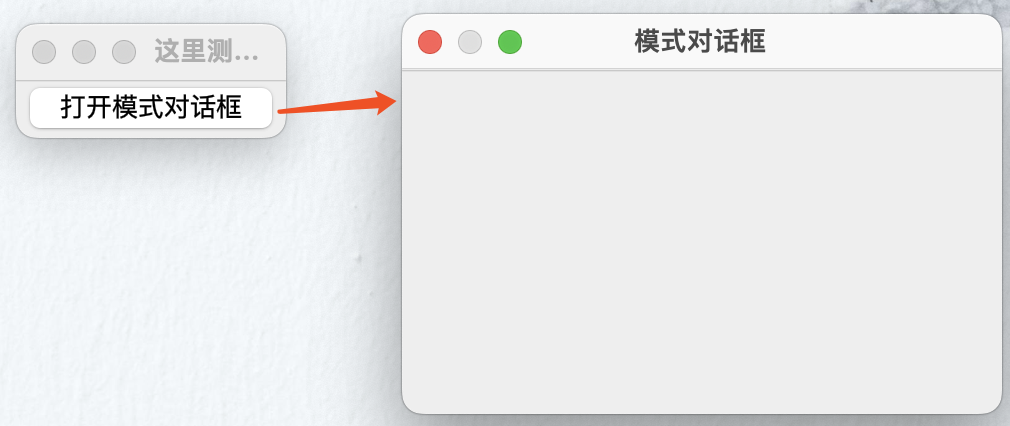
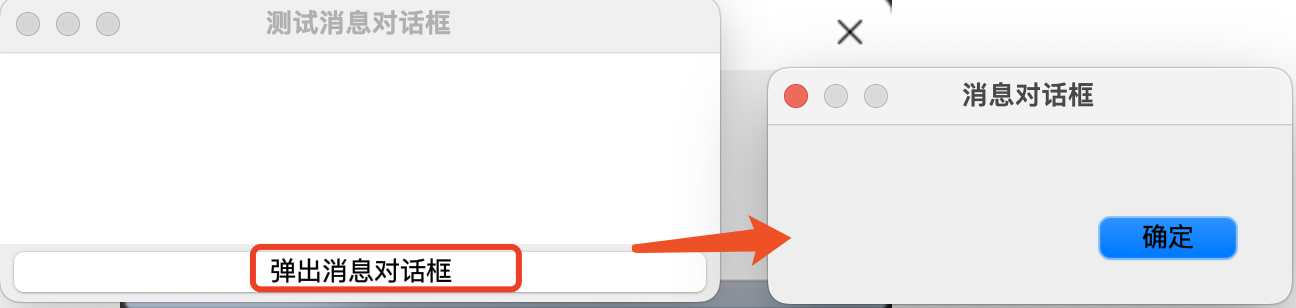
简化版本的弹出窗口确定框,注意这些Dialog全是模态化的。 public class MessageDialogTest { JFrame jf = new JFrame("测试消息对话框"); JTextArea jta = new JTextArea(6, 30); //声明按钮 JButton btn = new JButton(new AbstractAction("弹出消息对话框") { @Override public void actionPerformed(ActionEvent e) { //弹出一个消息对话框,并且显示 文本域中输入的内容 String text = jta.getText(); //参数:int messageType 指定消息对话框的类型: 错误消息,警告消息,问题消息... //JOptionPane.showMessageDialog(jf,text,"消息对话框",JOptionPane.ERROR_MESSAGE); //JOptionPane.showMessageDialog(jf,text,"消息对话框",JOptionPane.INFORMATION_MESSAGE); //JOptionPane.showMessageDialog(jf,text,"消息对话框",JOptionPane.WARNING_MESSAGE); //JOptionPane.showMessageDialog(jf,text,"消息对话框",JOptionPane.QUESTION_MESSAGE); //JOptionPane.showMessageDialog(jf,text,"消息对话框",JOptionPane.PLAIN_MESSAGE); JOptionPane.showMessageDialog(jf,text,"消息对话框",JOptionPane.WARNING_MESSAGE,new ImageIcon("E:\\GUISwing\\img\\component\\female.png")); } }); public void init(){ //组装视图 jf.add(jta); jf.add(btn, BorderLayout.SOUTH); jf.setDefaultCloseOperation(JFrame.EXIT_ON_CLOSE); jf.pack(); jf.setVisible(true); } public static void main(String[] args) { new MessageDialogTest().init(); }
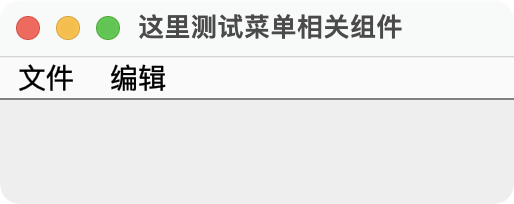
菜单分为两种:一种是嵌入到Frame中的,另一种是右键。 public class SimpleMenu { //创建窗口 private JFrame frame = new JFrame("这里测试菜单相关组件"); //创建菜单条 JMenuBar menuBar = new JMenuBar(); //创建菜单组件 JMenu fileMenu = new JMenu("文件"); JMenu editMenu = new JMenu("编辑"); //菜单项组件 JMenuItem copy = new JMenuItem("复制"); JMenuItem paste = new JMenuItem("粘贴"); public void init(){ //组装编辑菜单 editMenu.add(copy); editMenu.add(paste); //组装菜单条 menuBar.add(fileMenu); menuBar.add(editMenu); //把菜单条放入到Frame中 frame.setJMenuBar(menuBar); //设置frame最佳大小并可见 frame.pack(); frame.setVisible(true); } public static void main(String[] args) { new SimpleMenu().init(); } }
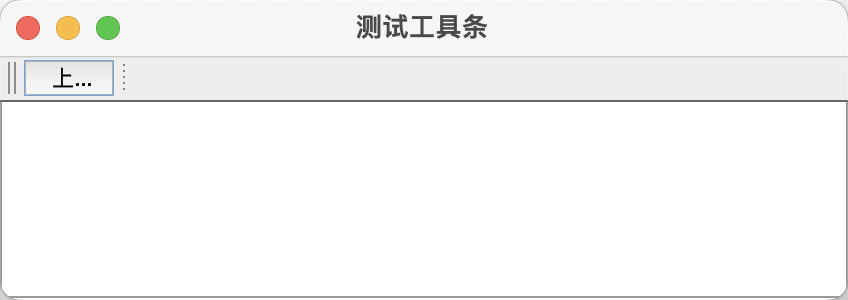
这个工具栏是可以拖动的。 public class JToolBarTest { JFrame jf = new JFrame("测试工具条"); JTextArea jta = new JTextArea(6,35); //声明工具条相关内容 JToolBar jToolBar = new JToolBar("播放工具条",SwingConstants.HORIZONTAL); //创建3个Action对象 //传递的参数,name和icon,最终在添加到工具条中时,会被拿出来作为按钮的名称和图标 Action pre = new AbstractAction("上一曲",new ImageIcon("E:\\GUISwing\\img\\component\\上一曲16.png")) { @Override public void actionPerformed(ActionEvent e) { jta.append("上一曲.\n"); } }; public void init(){ //通过Action对象来创建JButton JButton preBtn = new JButton(pre); jToolBar.add(preBtn); jToolBar.addSeparator(); //让工具条可以拖动 jToolBar.setFloatable(true); jf.add(jToolBar, BorderLayout.NORTH); //把一个组件设置到JScrollPane中,那么该组件就支持滚动条了 JScrollPane jScrollPane = new JScrollPane(jta); jf.add(jScrollPane); jf.setDefaultCloseOperation(JFrame.EXIT_ON_CLOSE); jf.pack(); jf.setVisible(true); } public static void main(String[] args) { new JToolBarTest().init(); } }
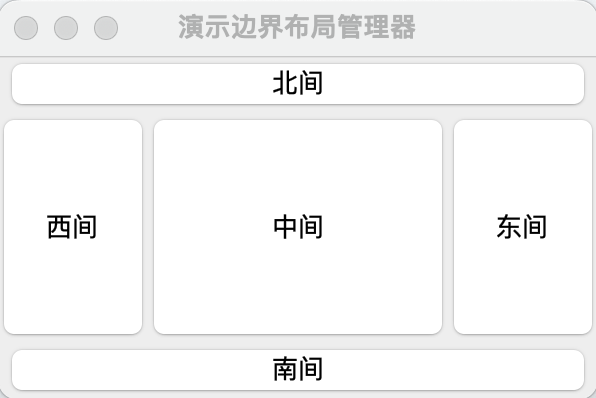
其中边上的4个方向可以不设置,这样就可以实现列和行布局模式了。 public class BorderLayoutTest extends JFrame { //0.继承JFrame public BorderLayoutTest() { //1. 创建组件 JButton jButton = new JButton("中间"); JButton jButton2 = new JButton("北间"); JButton jButton3 = new JButton("西间"); JButton jButton4 = new JButton("东间"); JButton jButton5 = new JButton("南间"); //2. 添加各个组件 this.add(jButton, BorderLayout.CENTER); //布局的中间 this.add(jButton2, BorderLayout.NORTH); //布局的北边 this.add(jButton3, BorderLayout.WEST); //布局的西边 this.add(jButton4, BorderLayout.EAST); //布局的东边 this.add(jButton5, BorderLayout.SOUTH); //布局的南边 //3. 设置窗体属性 this.setTitle("演示边界布局管理器"); this.setSize(300, 200); this.setLocation(200, 200); this.setVisible(true); this.setDefaultCloseOperation(JFrame.EXIT_ON_CLOSE); } public static void main(String[] args) { new BorderLayoutTest(); } }
一种流布局模式,控件会按添加顺序依次摆放,如果超过容器大小会自动换行。 public class FlowLayoutTest extends JFrame { //0.继承JFrame public FlowLayoutTest() { //1. 创建组件 JButton jButton1 = new JButton("A"); JButton jButton2 = new JButton("B"); JButton jButton3 = new JButton("C"); JButton jButton4 = new JButton("D"); JButton jButton5 = new JButton("E"); //2. 添加各个组件 this.add(jButton1); this.add(jButton2); this.add(jButton3); this.add(jButton4); this.add(jButton5); //设置流布局 this.setLayout(new FlowLayout(FlowLayout.LEFT)); //4. 设置窗体属性 this.setTitle("演示流布局管理器"); //设置标题 this.setSize(300, 200); //设置 this.setLocation(200, 200); //设置窗体出现的位置 this.setVisible(true); //设置窗体可见 this.setDefaultCloseOperation(JFrame.EXIT_ON_CLOSE); //设置窗体关闭的同时关闭jvm this.setResizable(false); //Resizable:可调整大小的,设置窗体大小不可变 } public static void main(String[] args) { new FlowLayoutTest(); } }
网格模式,适合比较复杂的布局方式。 public class GridLayoutTest extends JFrame { //定义组件 int size = 9; //定义按钮数组 JButton jButton[] = new JButton[size]; //构造函数 public GridLayoutTest() { //创建组件 for(int i = 0; i |

【本文地址】
公司简介
联系我们