|
vant组件的引入方式
这里接着上一篇(vue cli3脚手架创建vant项目环境)
1.全局导入所有组件
注意:配置 babel-plugin-import 插件后,将不允许以这种方式导入组件 在main.js里面写入
import Vue from 'vue';
import Vant from 'vant';
import 'vant/lib/index.css';
Vue.use(Vant);
在页面里面使用 这里拿按钮和Cell单元格举例:  运行效果如下: 运行效果如下: 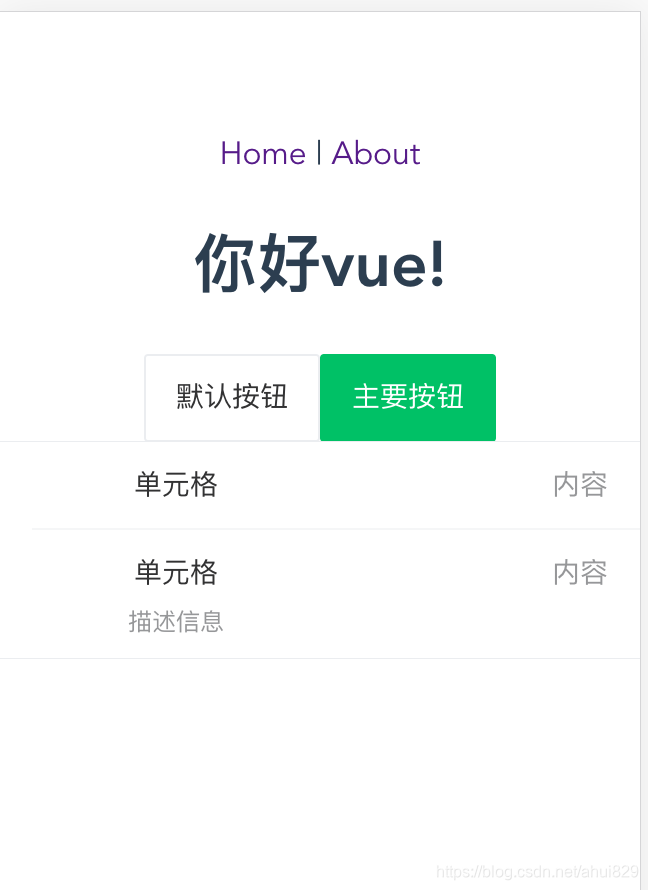
2.自动按需引入组件
首先安装 babel-plugin-import 插件 回到  搜索 babel-plugin-import 并安装 或者使用终端命令行安装 搜索 babel-plugin-import 并安装 或者使用终端命令行安装
npm install babel-plugin-import --save
1.在 babel.config.js里面配置plugins  2.按需使用 2.按需使用
{{ msg }}
警告按钮
危险按钮
import Vue from 'vue';
//按钮
import { Button } from 'vant';
Vue.use(Button);
//SwitchCell 开关单元格
import { SwitchCell } from 'vant';
Vue.use(SwitchCell);
import { Cell, CellGroup } from 'vant';
Vue.use(Cell).use(CellGroup);
export default {
data(){
return{
msg:'你好vue!!!',
checked: true,
}
}
}
运行效果如下: 
3.手动按需引入组件(不使用插件的情况下)
1.引入组件及样式
//按钮
import Button from 'vant/lib/button';
import 'vant/lib/button/style';
2.挂载组件 (注意:名字是与标签名对应的)
components:{
'van-button':Button,
'van-switch-cell':switchCell,
'van-cell-group':cellGroup
}
3.使用组件
警告按钮
危险按钮
这种方式看vant官方文档太简单的描述 着实没明白 原来想起来在vue学习笔记有写过组件引用方式 总算成功了。
这里我只描述了一个button组件 实际我引用了3个组件 方法一样就不赘述了 。 运行效果如下:  完整代码如下: 完整代码如下:
{{ msg }}
警告按钮
危险按钮
//按钮
import Button from 'vant/lib/button';
import 'vant/lib/button/style';
//SwitchCell 开关单元格
import switchCell from 'vant/lib/switch-cell';
import 'vant/lib/switch-cell/style';
//cell-group
import cellGroup from 'vant/lib/cell-group';
import 'vant/lib/cell-group/style';
export default {
data(){
return{
msg:'你好vue!!!',
checked: true,
}
},
components:{
'van-button':Button,
'van-switch-cell':switchCell,
'van-cell-group':cellGroup
}
}
用vant写了一个简单的案例:
  ok,vant组件库使用就写到这里。 ok,vant组件库使用就写到这里。
|