| python 3d绘图 | 您所在的位置:网站首页 › python3d图绘制 › python 3d绘图 |
python 3d绘图
|
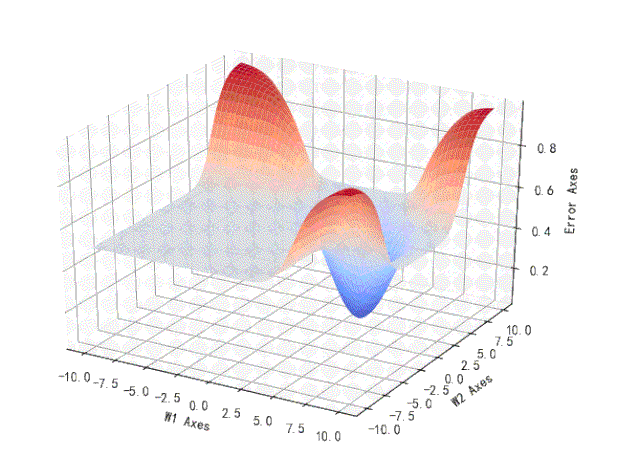
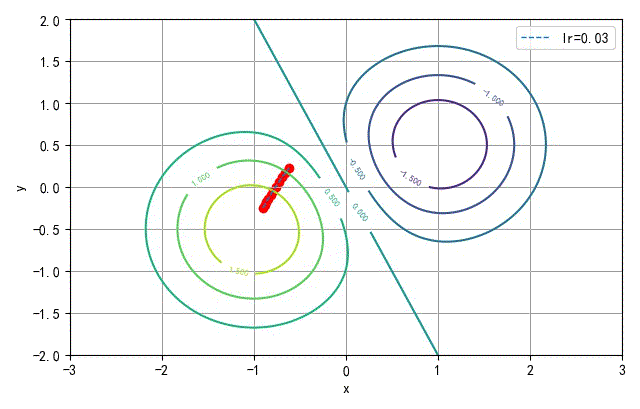
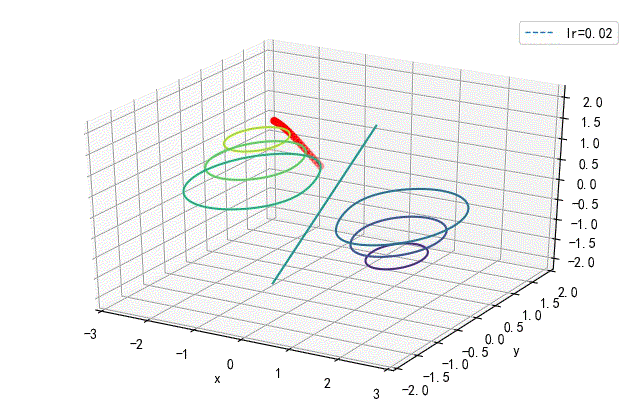
很多情况下,为了能够观察到数据之间的内部的关系,可以使用绘图来更好的显示规律。 比如在下面的几张动图中,使用matplotlib中的三维显示命令,使得我们可以对于logistic回归网络的性能与相关参数有了更好的理解。
下面的动图显示了在训练网络时,不同的学习速率对于算法收敛之间的影响。
下面给出了绘制这些动态曲线的相关的python指令: ➤01 3D plot 1.基本语法在安装matplotlib之后,自动安装有 mpl_toolkits.mplot3d。 #Importing Librariesimport matplotlib.pyplot as pltfrom mpl_toolkits.mplot3d import axes3d#3D Plottingfig = plt.figure()ax = plt.axes(projection="3d")#Labelingax.set_xlabel('X Axes')ax.set_ylabel('Y Axes')ax.set_zlabel('Z Axes')plt.show() 2.Python Cmd使用pythoncmd 插入相应的语句。 3.举例 (1) Ex1 #!/usr/local/bin/python# -*- coding: gbk -*-#******************************# TEST2.PY -- by Dr. ZhuoQing 2020-11-16## Note:#******************************from headm import *from mpl_toolkits.mplot3d import axes3dax = plt.axes(projection='3d')x = [1,2,3,4,5,6,7,8,9]y = [2,3,4,6,7,8,9,5,1]z = [5,6,2,4,8,6,5,6,1]ax.plot3D(x,y,z)ax.set_xlabel('X Axes')ax.set_ylabel('Y Axes')ax.set_zlabel('Z Axes')plt.show()#------------------------------------------------------------# END OF FILE : TEST2.PY#******************************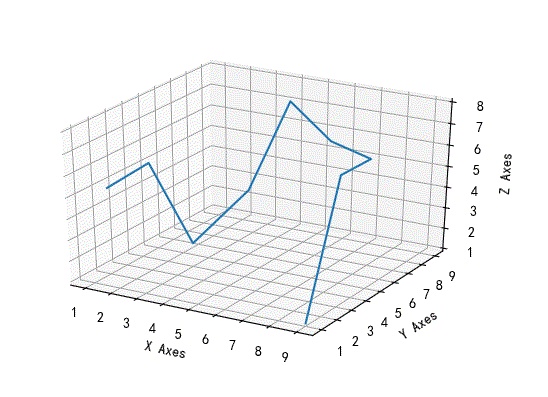 ▲ 3D plot的演示
(2) Ex2
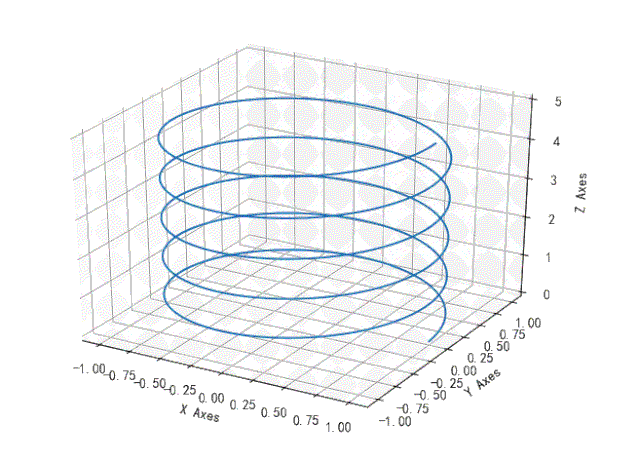
from mpl_toolkits.mplot3d import axes3dax = plt.axes(projection='3d')angle = linspace(0, 2*pi*5, 400)x = cos(angle)y = sin(angle)z = linspace(0, 5, 400)ax.plot3D(x,y,z)ax.set_xlabel('X Axes')ax.set_ylabel('Y Axes')ax.set_zlabel('Z Axes')plt.show()
▲ 3D plot的演示
(2) Ex2
from mpl_toolkits.mplot3d import axes3dax = plt.axes(projection='3d')angle = linspace(0, 2*pi*5, 400)x = cos(angle)y = sin(angle)z = linspace(0, 5, 400)ax.plot3D(x,y,z)ax.set_xlabel('X Axes')ax.set_ylabel('Y Axes')ax.set_zlabel('Z Axes')plt.show()
 ▲ 3D绘制的例子
(3) Ex3
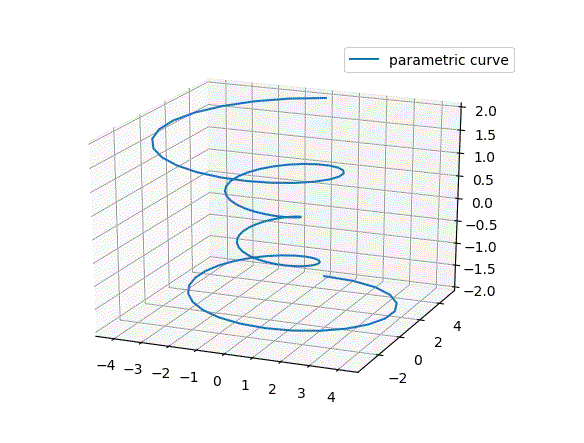
import matplotlib as mplfrom mpl_toolkits.mplot3d import Axes3Dimport numpy as npimport matplotlib.pyplot as pltmpl.rcParams['legend.fontsize'] = 10fig = plt.figure()ax = fig.gca(projection='3d')theta = np.linspace(-4 * np.pi, 4 * np.pi, 100)z = np.linspace(-2, 2, 100)r = z**2 + 1x = r * np.sin(theta)y = r * np.cos(theta)ax.plot(x, y, z, label='parametric curve')ax.legend()plt.show()
▲ 3D绘制的例子
(3) Ex3
import matplotlib as mplfrom mpl_toolkits.mplot3d import Axes3Dimport numpy as npimport matplotlib.pyplot as pltmpl.rcParams['legend.fontsize'] = 10fig = plt.figure()ax = fig.gca(projection='3d')theta = np.linspace(-4 * np.pi, 4 * np.pi, 100)z = np.linspace(-2, 2, 100)r = z**2 + 1x = r * np.sin(theta)y = r * np.cos(theta)ax.plot(x, y, z, label='parametric curve')ax.legend()plt.show()
 ➤02 绘制Scatter
利用和上面的相同的绘制命令,将原来的plot3D修改成为 scatter即可。 from mpl_toolkits.mplot3d import axes3dax = plt.axes(projection='3d')angle = linspace(0, 2*pi*5, 40)x = cos(angle)y = sin(angle)z = linspace(0, 5, 40)ax.scatter(x,y,z, color='b')ax.set_xlabel('X Axes')ax.set_ylabel('Y Axes')ax.set_zlabel('Z Axes')plt.show()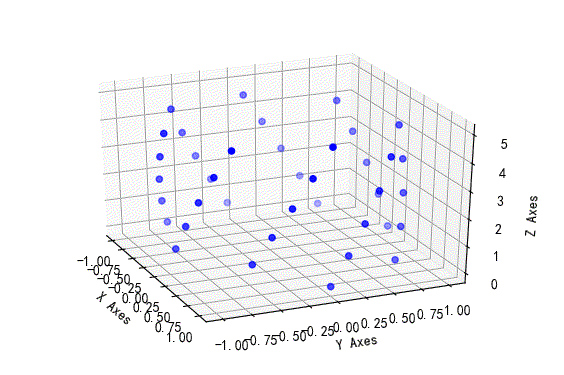 ▲ Scatter 的例子
➤03 绘制3D Surface
(1) Ex1
▲ Scatter 的例子
➤03 绘制3D Surface
(1) Ex1
 ▲ 3D surface例子
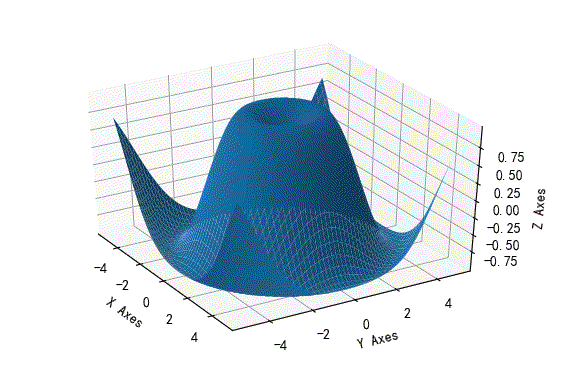
#!/usr/local/bin/python# -*- coding: gbk -*-#******************************# TEST2.PY -- by Dr. ZhuoQing 2020-11-16## Note:#******************************from headm import *from mpl_toolkits.mplot3d import axes3dax = plt.axes(projection='3d')x = arange(-5, 5, 0.1)y = arange(-5, 5, 0.1)x,y = meshgrid(x, y)R = sqrt(x**2+y**2)z = sin(R)ax.plot_surface(x, y, z)ax.set_xlabel('X Axes')ax.set_ylabel('Y Axes')ax.set_zlabel('Z Axes')plt.show()#------------------------------------------------------------# END OF FILE : TEST2.PY#******************************
▲ 3D surface例子
#!/usr/local/bin/python# -*- coding: gbk -*-#******************************# TEST2.PY -- by Dr. ZhuoQing 2020-11-16## Note:#******************************from headm import *from mpl_toolkits.mplot3d import axes3dax = plt.axes(projection='3d')x = arange(-5, 5, 0.1)y = arange(-5, 5, 0.1)x,y = meshgrid(x, y)R = sqrt(x**2+y**2)z = sin(R)ax.plot_surface(x, y, z)ax.set_xlabel('X Axes')ax.set_ylabel('Y Axes')ax.set_zlabel('Z Axes')plt.show()#------------------------------------------------------------# END OF FILE : TEST2.PY#******************************
 ▲ 3D 绘制Surface
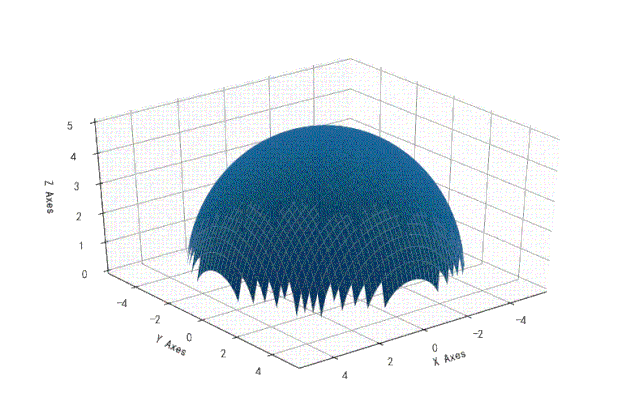 ▲ 绘制3D球表面
(2) 举例
'''***********3D surface (color map)***********Demonstrates plotting a 3D surface colored with the coolwarm color map.The surface is made opaque by using antialiased=False.Also demonstrates using the LinearLocator and custom formatting for thez axis tick labels.'''from mpl_toolkits.mplot3d import Axes3Dimport matplotlib.pyplot as pltfrom matplotlib import cmfrom matplotlib.ticker import LinearLocator, FormatStrFormatterimport numpy as npfig = plt.figure()ax = fig.gca(projection='3d')# Make data.X = np.arange(-5, 5, 0.25)Y = np.arange(-5, 5, 0.25)X, Y = np.meshgrid(X, Y)R = np.sqrt(X**2 + Y**2)Z = np.sin(R)# Plot the surface.surf = ax.plot_surface(X, Y, Z, cmap=cm.coolwarm, linewidth=0, antialiased=False)# Customize the z axis.ax.set_zlim(-1.01, 1.01)ax.zaxis.set_major_locator(LinearLocator(10))ax.zaxis.set_major_formatter(FormatStrFormatter('%.02f'))# Add a color bar which maps values to colors.fig.colorbar(surf, shrink=0.5, aspect=5)plt.show()
▲ 绘制3D球表面
(2) 举例
'''***********3D surface (color map)***********Demonstrates plotting a 3D surface colored with the coolwarm color map.The surface is made opaque by using antialiased=False.Also demonstrates using the LinearLocator and custom formatting for thez axis tick labels.'''from mpl_toolkits.mplot3d import Axes3Dimport matplotlib.pyplot as pltfrom matplotlib import cmfrom matplotlib.ticker import LinearLocator, FormatStrFormatterimport numpy as npfig = plt.figure()ax = fig.gca(projection='3d')# Make data.X = np.arange(-5, 5, 0.25)Y = np.arange(-5, 5, 0.25)X, Y = np.meshgrid(X, Y)R = np.sqrt(X**2 + Y**2)Z = np.sin(R)# Plot the surface.surf = ax.plot_surface(X, Y, Z, cmap=cm.coolwarm, linewidth=0, antialiased=False)# Customize the z axis.ax.set_zlim(-1.01, 1.01)ax.zaxis.set_major_locator(LinearLocator(10))ax.zaxis.set_major_formatter(FormatStrFormatter('%.02f'))# Add a color bar which maps values to colors.fig.colorbar(surf, shrink=0.5, aspect=5)plt.show()
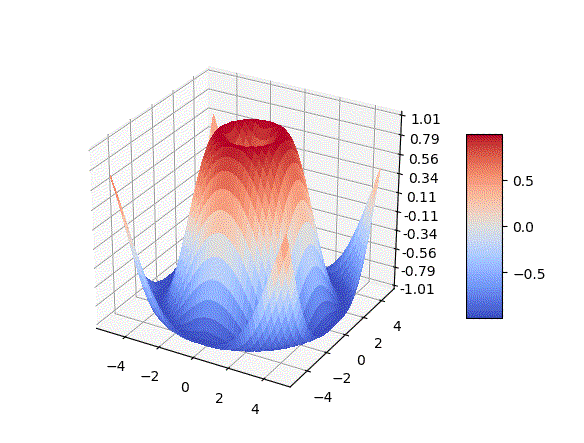 ▲ 彩色表面绘制
|

【本文地址】
公司简介
联系我们