| How to Use Puff Vinyl HTV with your Cricut...EASY! | 您所在的位置:网站首页 › puff工资 › How to Use Puff Vinyl HTV with your Cricut...EASY! |
How to Use Puff Vinyl HTV with your Cricut...EASY!
|
Instructions
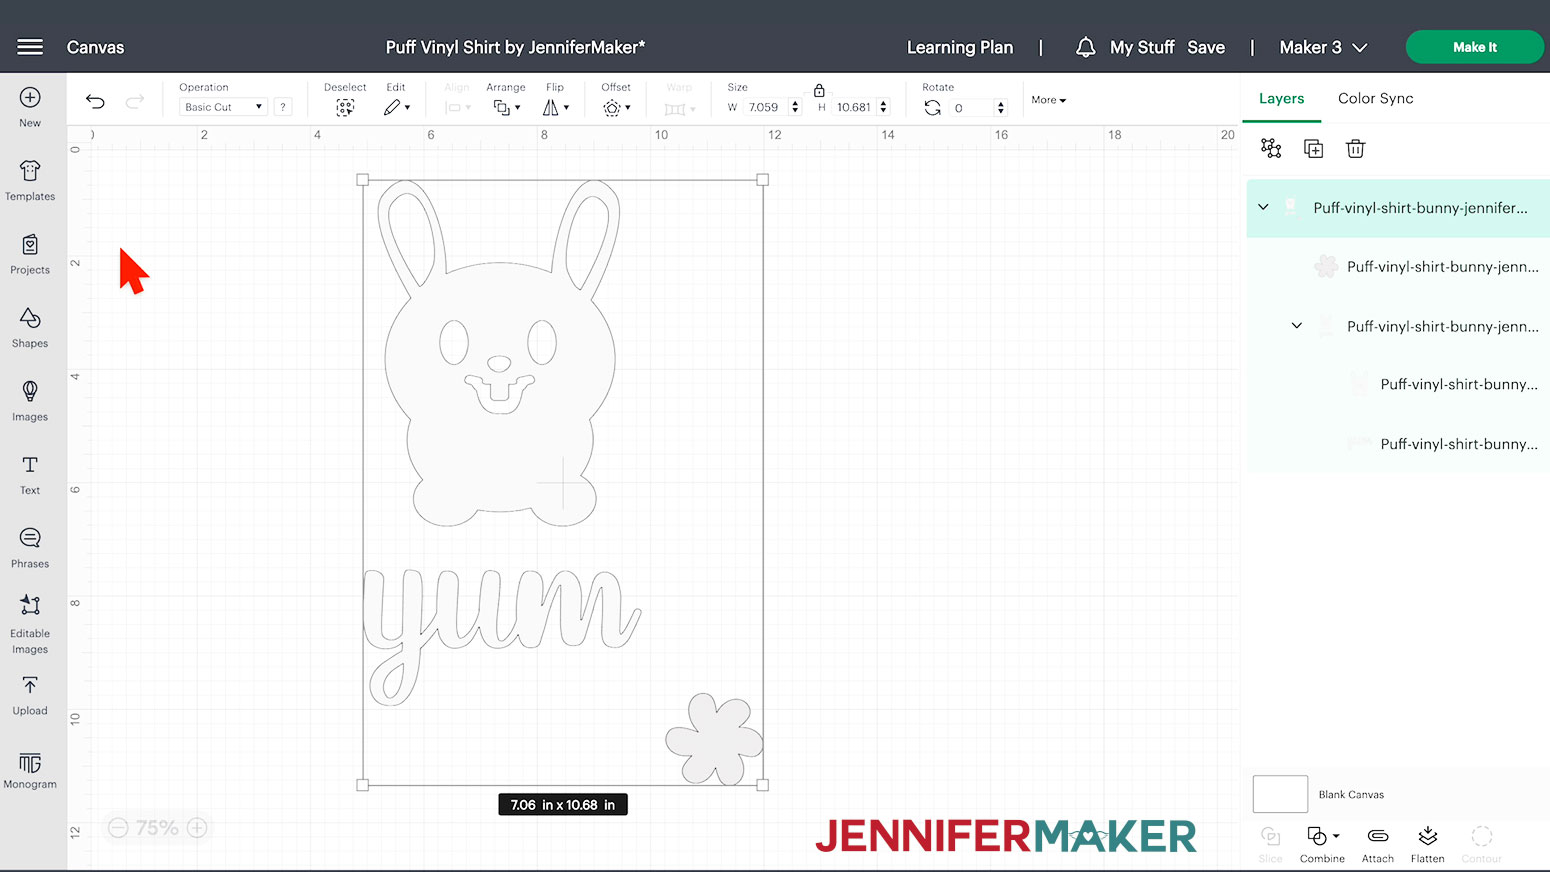
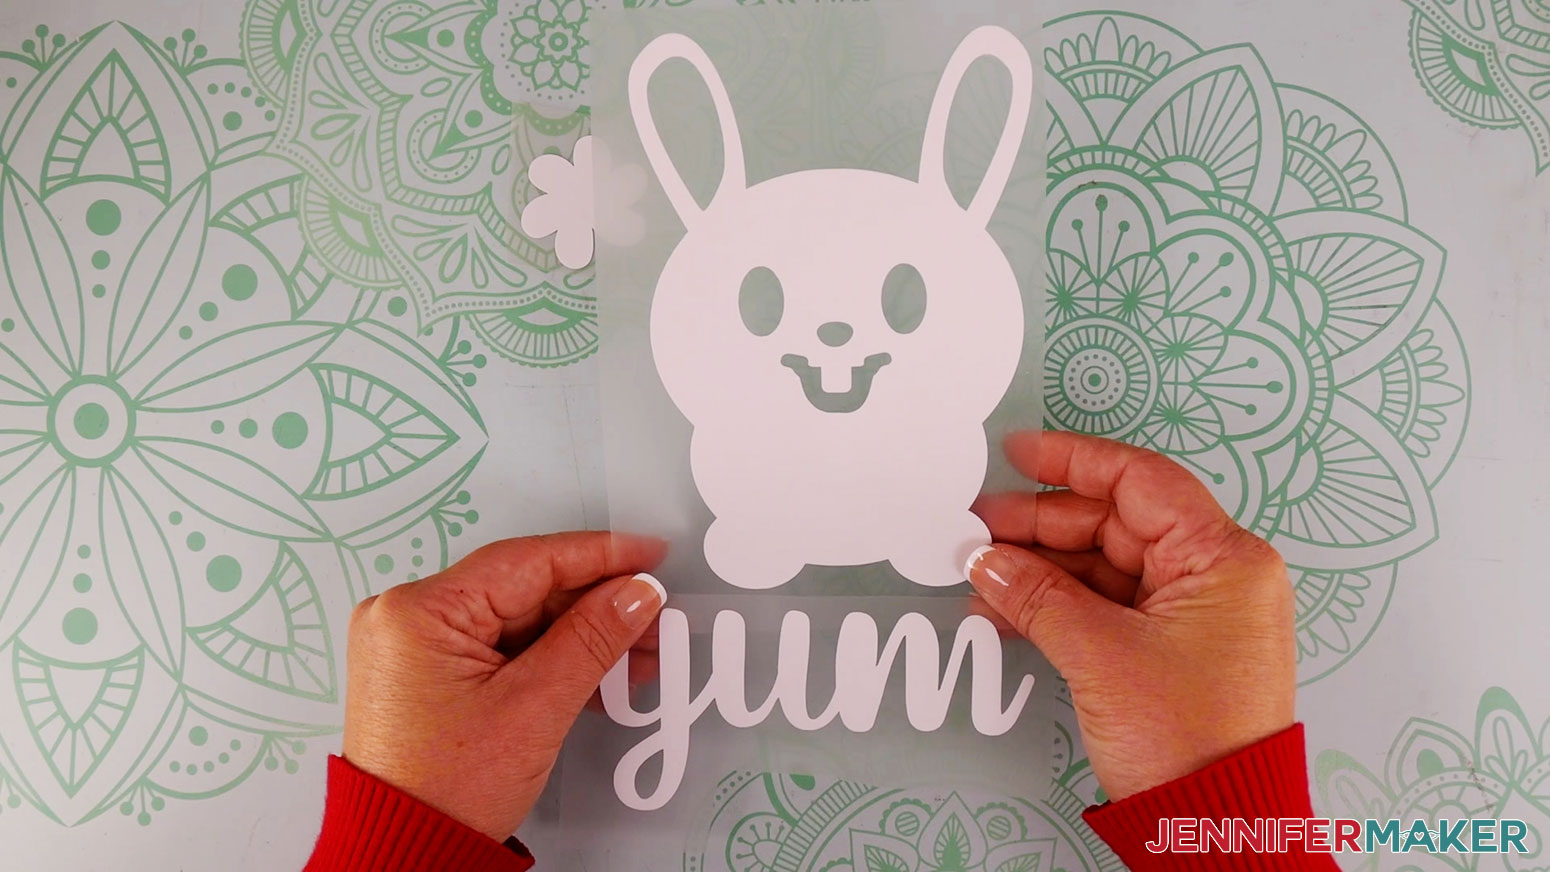
STEP 1: GET MY FREE VINYL DESIGN FILES First, download my free How to Use Puff Vinyl SVG/PDF/DXF files from my resource library -- it's Design #484. The download folder includes a PDF to cut by hand, and DXF or SVG files for use with a cutting machine. I'll show you how to use the SVGs with a Cricut. Upload the SVG file to Cricut Design Space and add it to your Canvas. I'll add this cute bunny, but I've also included another file with a porcupine. The bunny has a small test flower shape, and the porcupine has a small test flower shape. TIP: If you are not sure how to upload an SVG cut file to Cricut Design Space, watch this helpful video training series I made. If you are on an iPad or iPhone, here is how to download and upload SVG files to the Cricut Design Space app. STEP 2: PREPARE THE DESIGN FILEClick on New Project, then click on Templates in the upper left corner. Choose “Classic T-Shirt” and pick a style, size and color. The template will help you size your design so it looks good on your T-shirt, but the template is not part of the design and will not be cut -- it is for reference only. This is what my bunny SVG file looks like on my Canvas. You can zoom out to see all of the design by clicking on the minus (-) sign on the lower left.
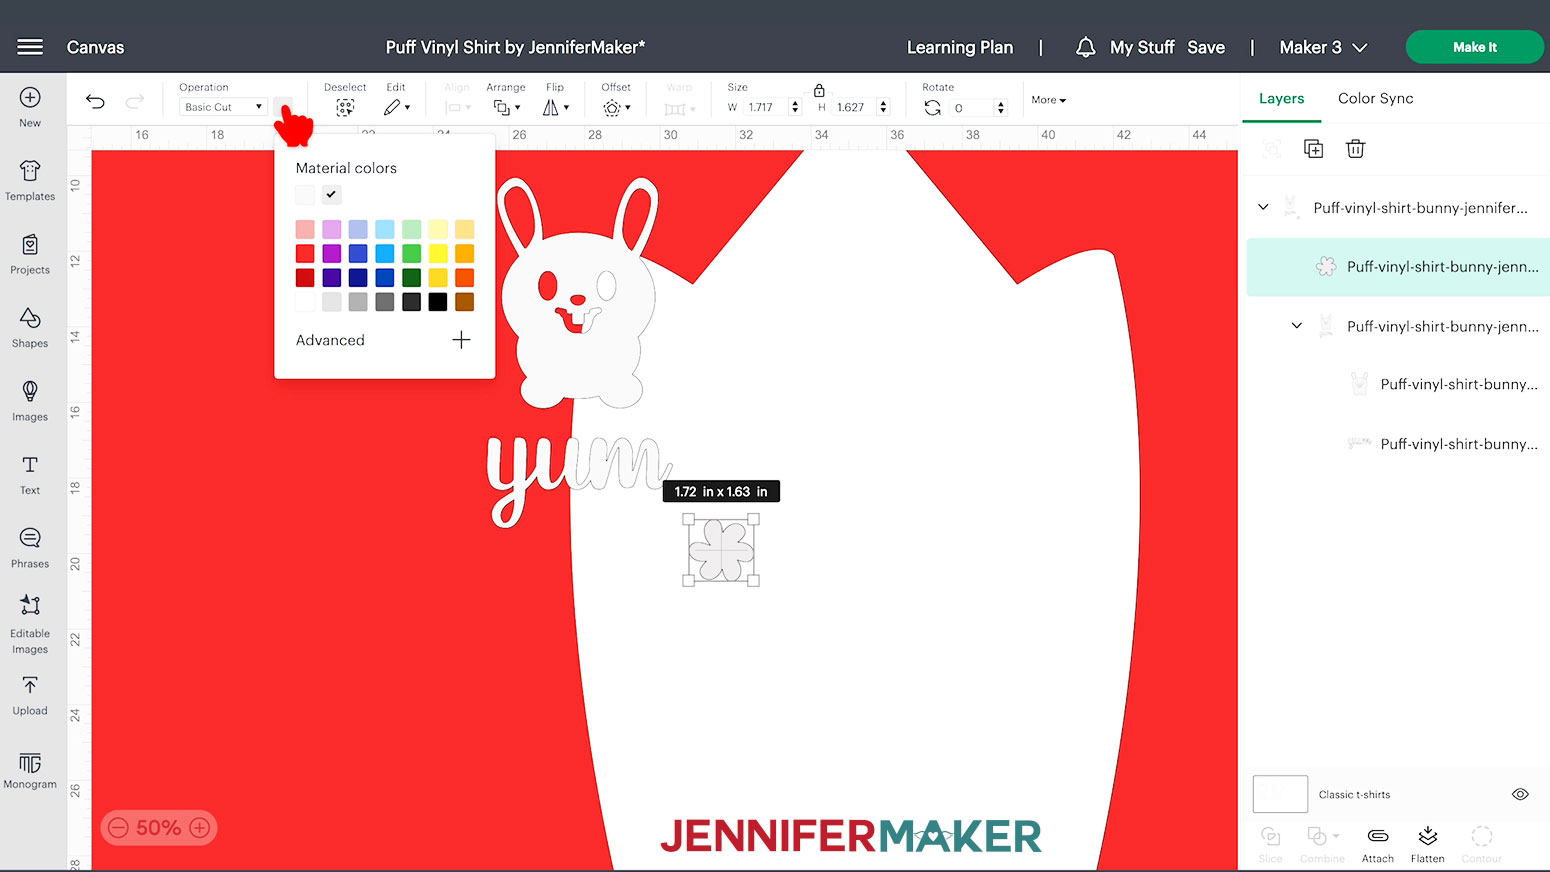
You will see one layer for the bunny, and one layer for the text. Select the layer that contains the bunny and the layer with the word 'yum'. Confirm the lock icon is closed, and make sure the height is 9.75". This is the perfect height for our women's medium sized shirt. I often size my decals based on width, but since these designs are taller, I'll use the height as the measurement. We don't want our designs too low on our shirt, or the designs too tall. Select the layer containing the test flower and move it off to the side. I've set this to a different grey color in the SVG file so we don't accidentally include it in the other puff layer. But we will cut the flower on the same mat as the other white puff pieces, so let's change the color of the flower to the lighter grey.
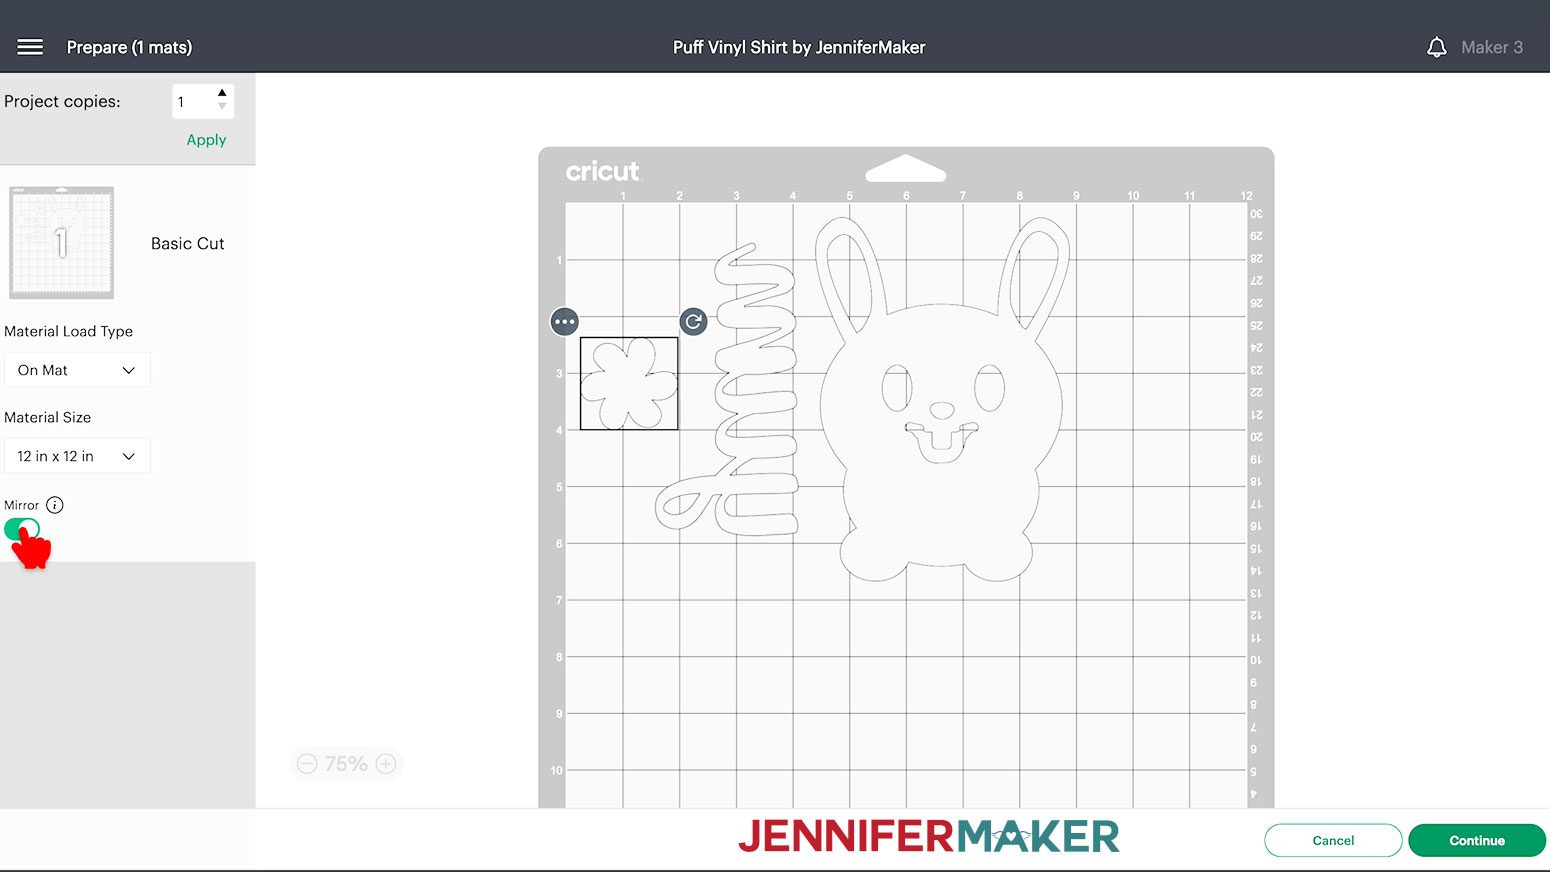
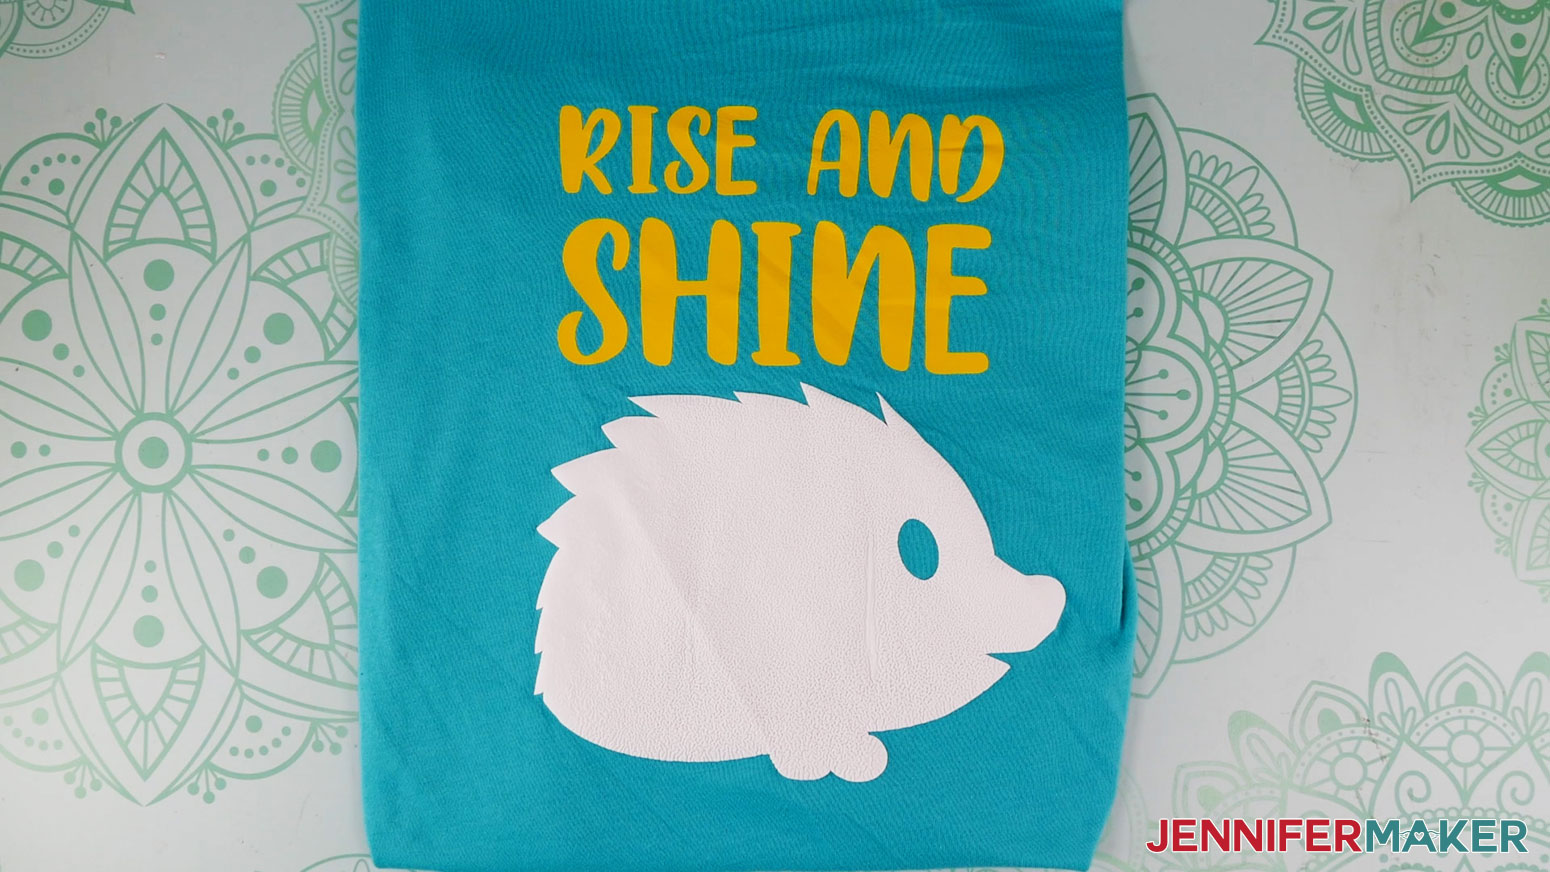
We will cut the bunny, the text layers, and test flower using Siser EasyPuff white vinyl or VTS SuperPuff. I've also included the word 'yum' in Timberly Script, which I am cutting using the white puff HTV vinyl from Siser or VTS. If you wish to cut the porcupine, I used yellow Everyday vinyl on the words 'rise and shine', and VTS SuperPuff on the cute porcupine. It is possible to layer puff vinyl on top of Everyday vinyl, but make sure you test first. The design is ready to cut! STEP 3: CUT AND WEED THE DESIGNWhen you are ready, make sure the correct machine is selected - I'm using my Maker 3. Now click the green “Make It” button in the upper right corner. If you are asked if you are cutting your designs without a mat, on a mat, or multiple ways, select "On Mat" and "12 x 12." Click "Confirm." On the Prepare screen, keep the "Material Size" at 12" x 12". On the Prepare screen, make sure the correct design pieces are on the right mats if you're cutting them out of the same material. If you see a mistake, click Cancel to go back and fix it. Then, toggle "Mirror" ON for every mat. That way, the decals will face the right direction when we flip them over and apply them on to the t-shirt.
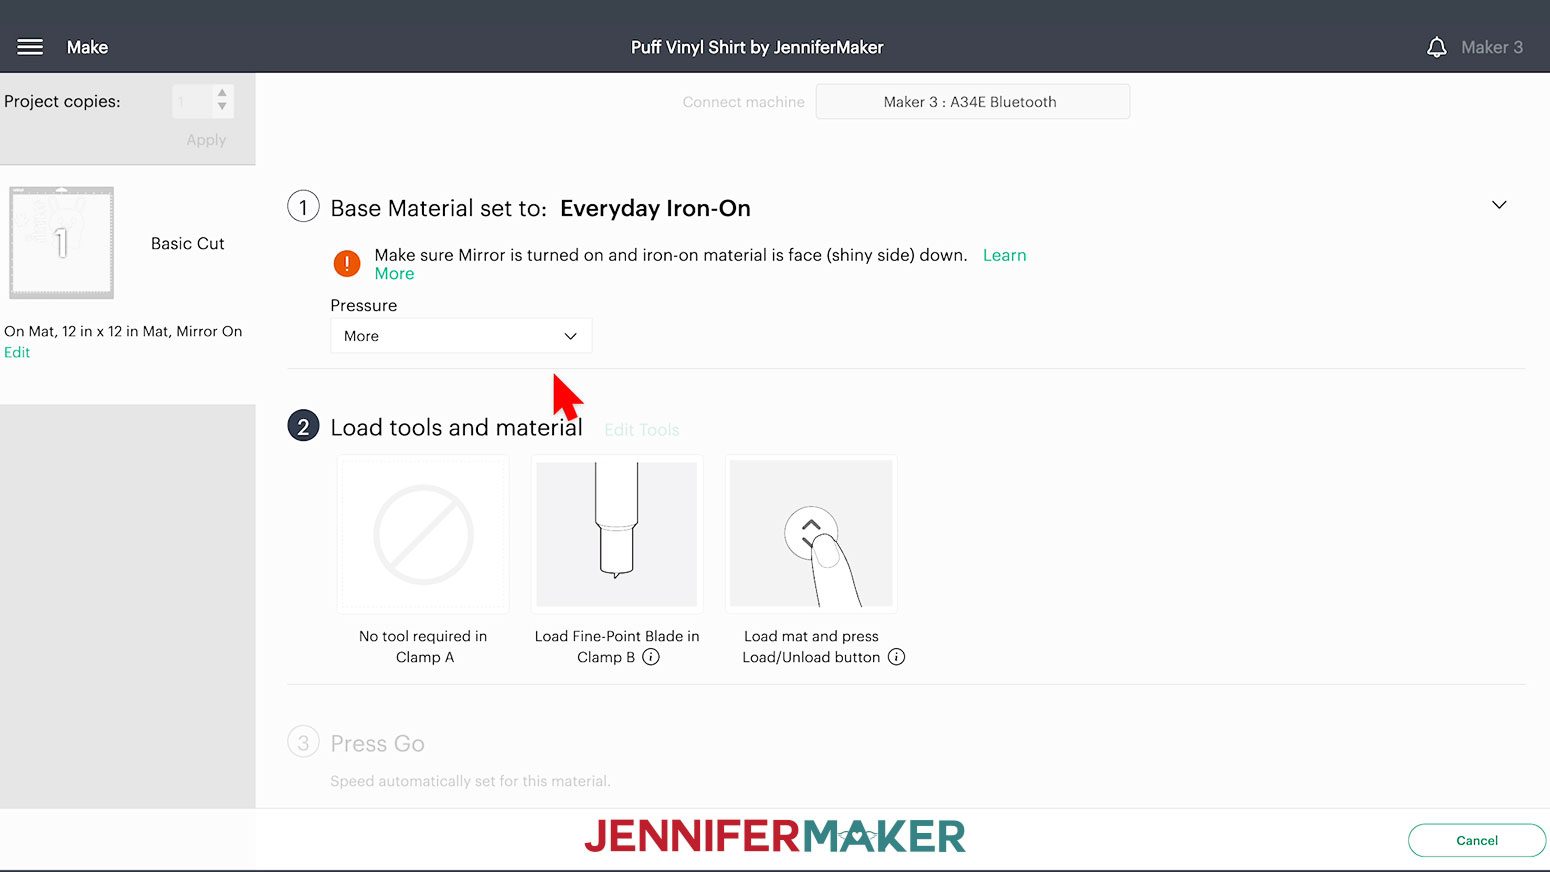
Click Continue. Note: You can use Cricut Smart Iron-on instead of Cricut Everyday Iron-on, but remember to use the correct settings for either. On the Make screen, set your Base Material to "Everyday Iron-On" and set the Pressure at "More". You will use this material setting for both the Cricut Everyday and Siser EasyPuff vinyls. There is not an available material setting for Puff Vinyl, but the Everyday Iron-On setting worked great. Double check that your design is mirrored on both mats.
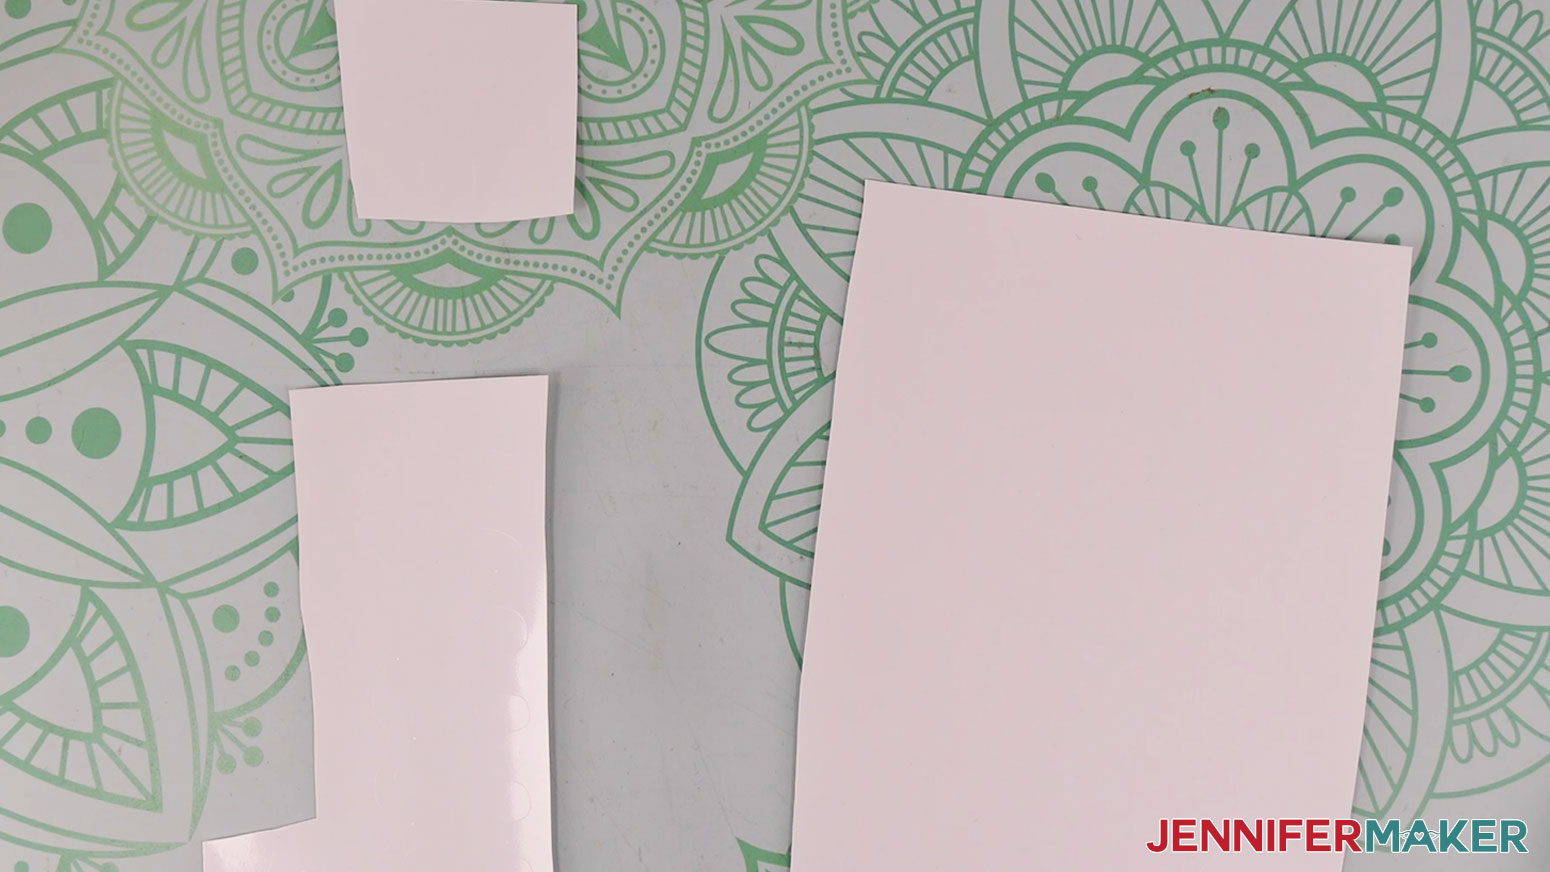
Cut down your white puff vinyl to 12" X 8" (no need for 12" X 12"...we don't want to waste any material) or 10" X 12" for the VTS SuperPuff. The puff vinyl will cut on the same mat with the bunny layer, text, and test flower. Note: move your test out within the 10" wide area if using the VTS SuperPuff, we don't want to forget it. If you are using Siser EasyPuff the flower is ok, since the materials is a little bit larger at 12" wide. Make sure your Fine-Point Blade is clean and in clamp B. Load the mat into your Cricut and press the flashing button to load the material. Press the "Go" button to cut the vinyl. Use your brayer to apply the white puff vinyl to a green standard grip mat shiny side UP. NOTE: The puff vinyl is applied to the mat with the shiny side UP. This is the opposite of everyday iron on. The puff vinyl's carrier sheet is more dull than other iron on vinyls, so it should be easy to tell which side is which. Use caution when weeding, and avoid using intricate designs as the puff will expand after pressing and fill up small openings in text and designs. Make sure to keep all the elements within the mat area, or within 10" wide if using Super Puff vinyl, as I only found it available at 10" wide, not 12". Unload the mat. Flip it over on your work surface and gently roll a corner back to release the vinyl. If you want to cut the porcupine, you will need 8" of puff vinyl to cut the porcupine and the test flower. Don't forget to mirror. Now, use your scissors to trim away excess material around the design, text, and test shape.
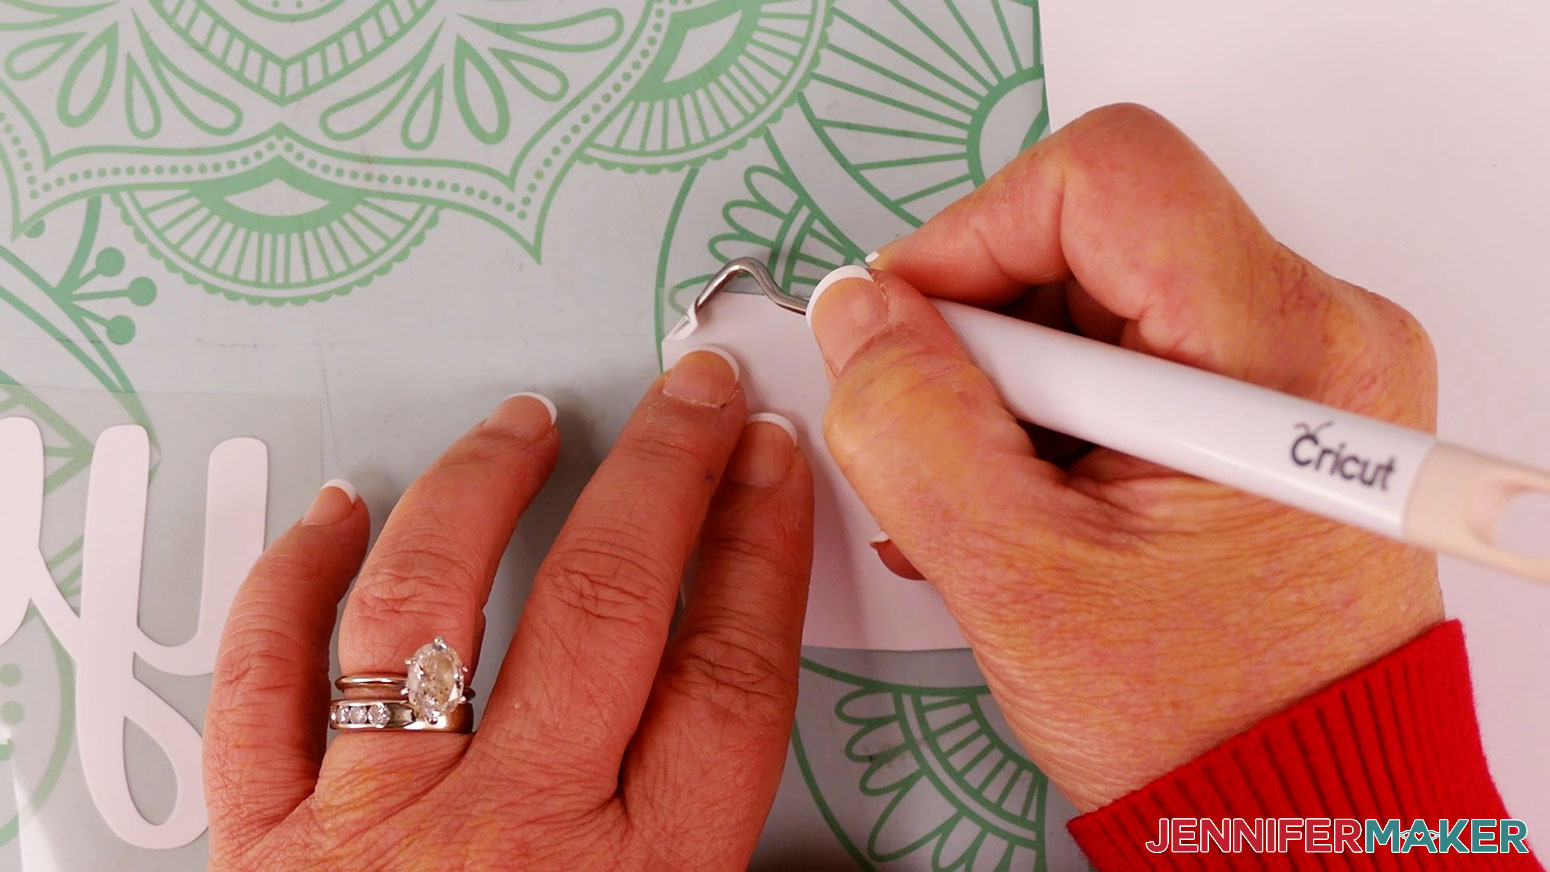
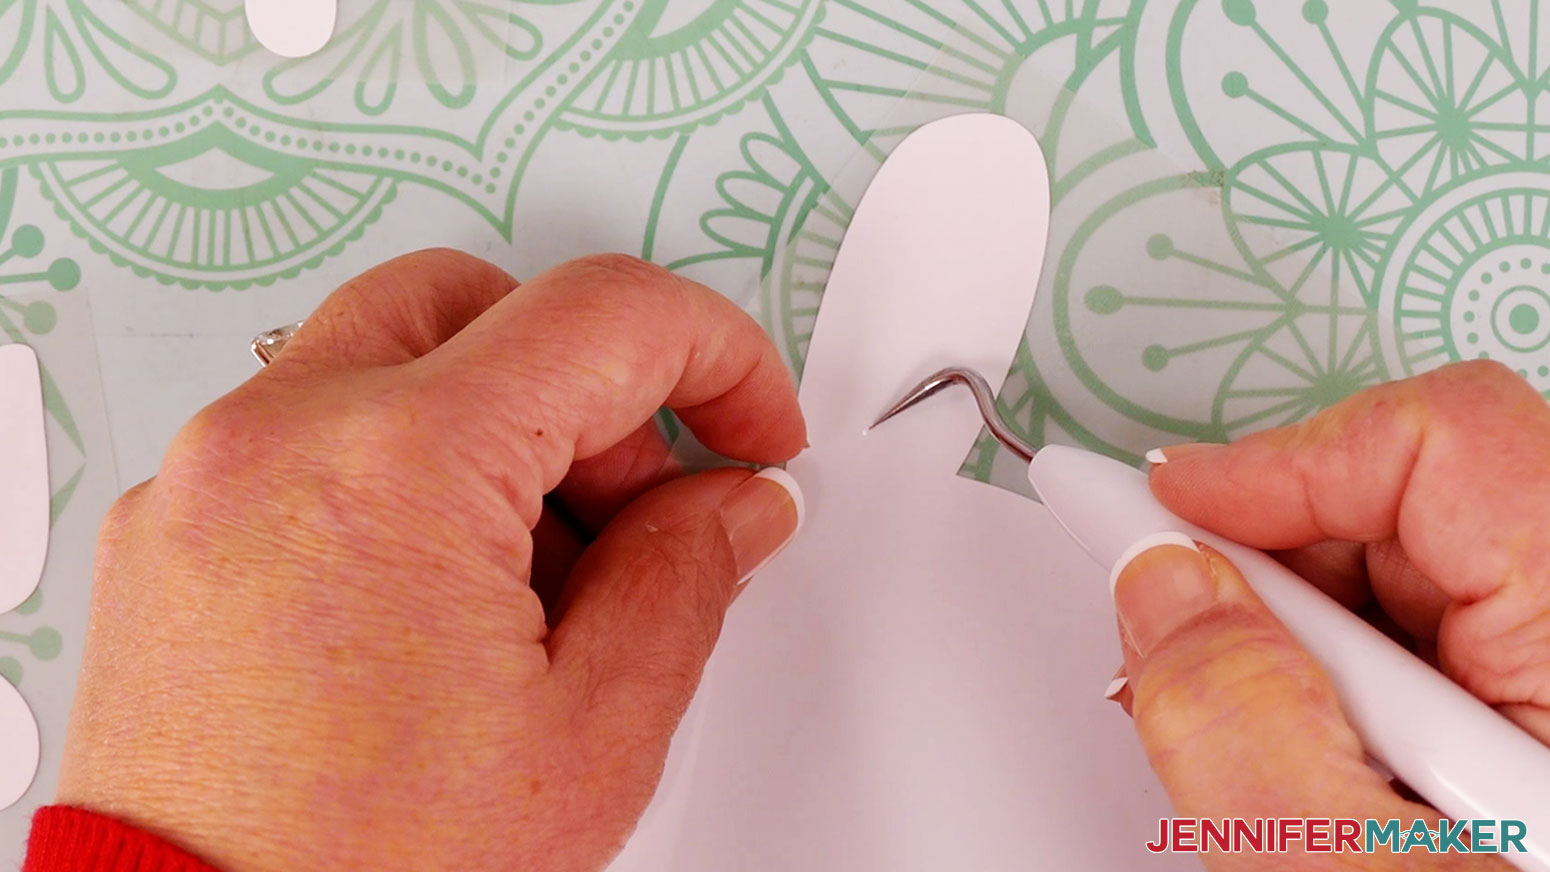
TIP: If you have any trouble cutting the vinyl, check out my Cricut Tips & Tricks for Cleaner Cuts. Next, use a brayer to adhere the yellow Everyday iron-on vinyl to the mat shiny side DOWN, for the text. Now, it is time to weed! Weeding means removing the extra vinyl away from around, and within the design. Using a weeding tool, pull up a corner of the vinyl. Remember we are weeding from the back since we mirrored our design, so the bunny and text will appear backwards as you weed.
I like to work from larger to smaller sections during weeding. Using a weeding tool, very carefully peel away the extra background vinyl - also referred to as the negative space, or the part of the vinyl we don’t want to include in our finished design.
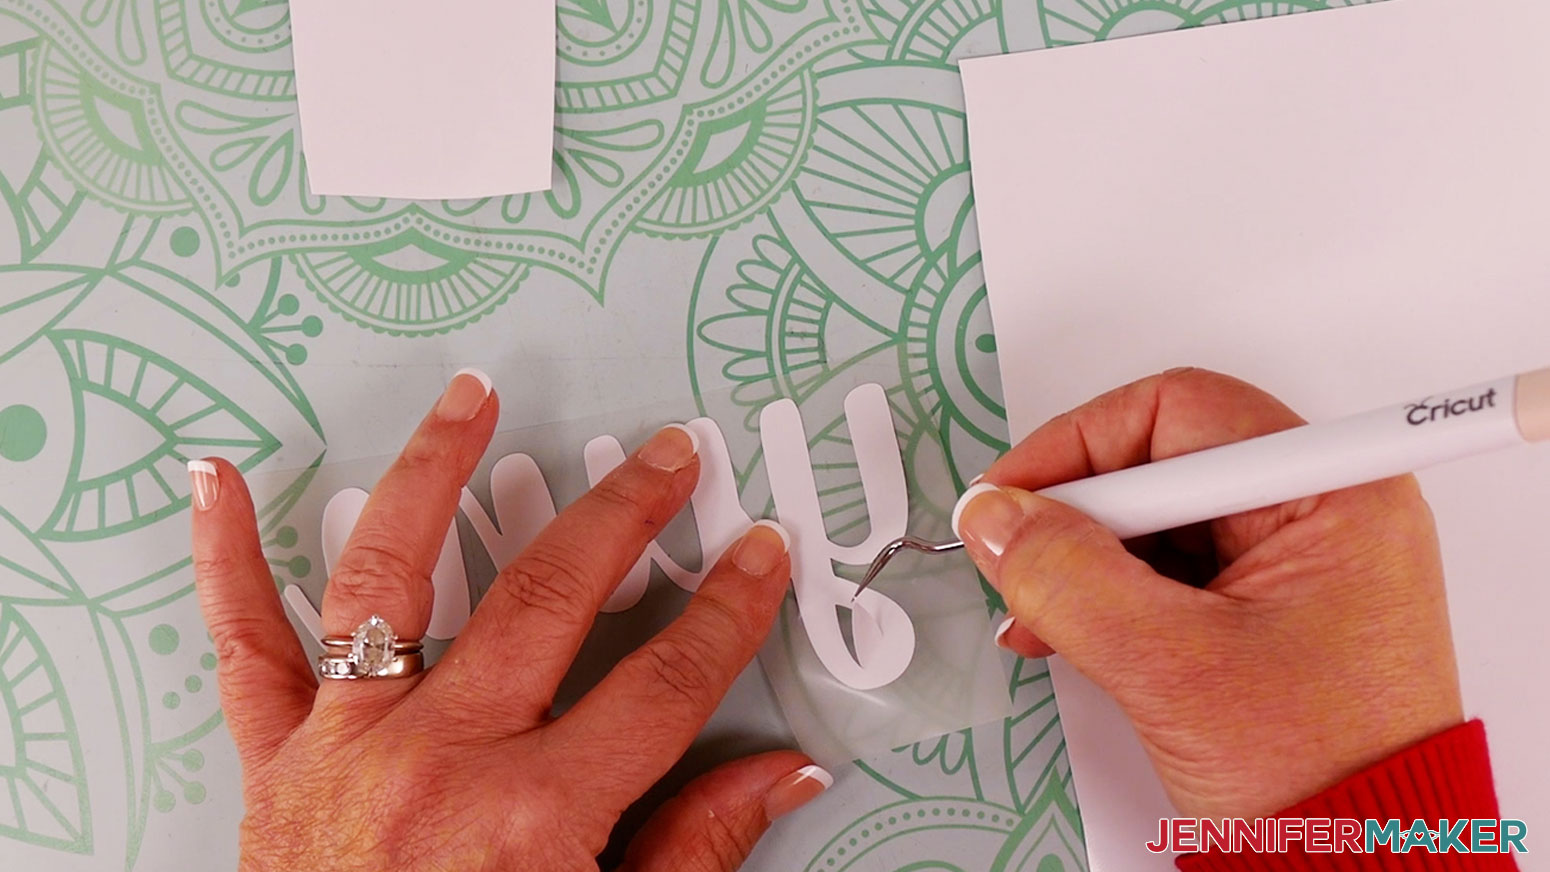
Poke your weeding tool into each section you want to remove. Gently lift it away from the design. Make sure you do not pull up any pieces you want to keep. If they come up, gently pat them back in place and try again. Don't forget the middle parts of the letters! It’s also a good idea, especially with large designs, to cut off the excess vinyl as you go. That way it doesn’t end up sticking to the parts of the vinyl you want to keep. Don't forget the middle part of the 'y' in 'yum'. Make sure to remove any stray bits of vinyl from the carrier sheet after weeding, as they can get accidentally transferred to your shirt...and we don't want that!
Remember, once the weeding is complete, the design will look backwards since it was cut with MIRROR on. Here's how the design looks fully weeded.
Now, vertically crease your design, as we will use this line later for perfect positioning on the shirt with the T-Shirt ruler. Only crease the carrier sheet and NOT the puff vinyl.
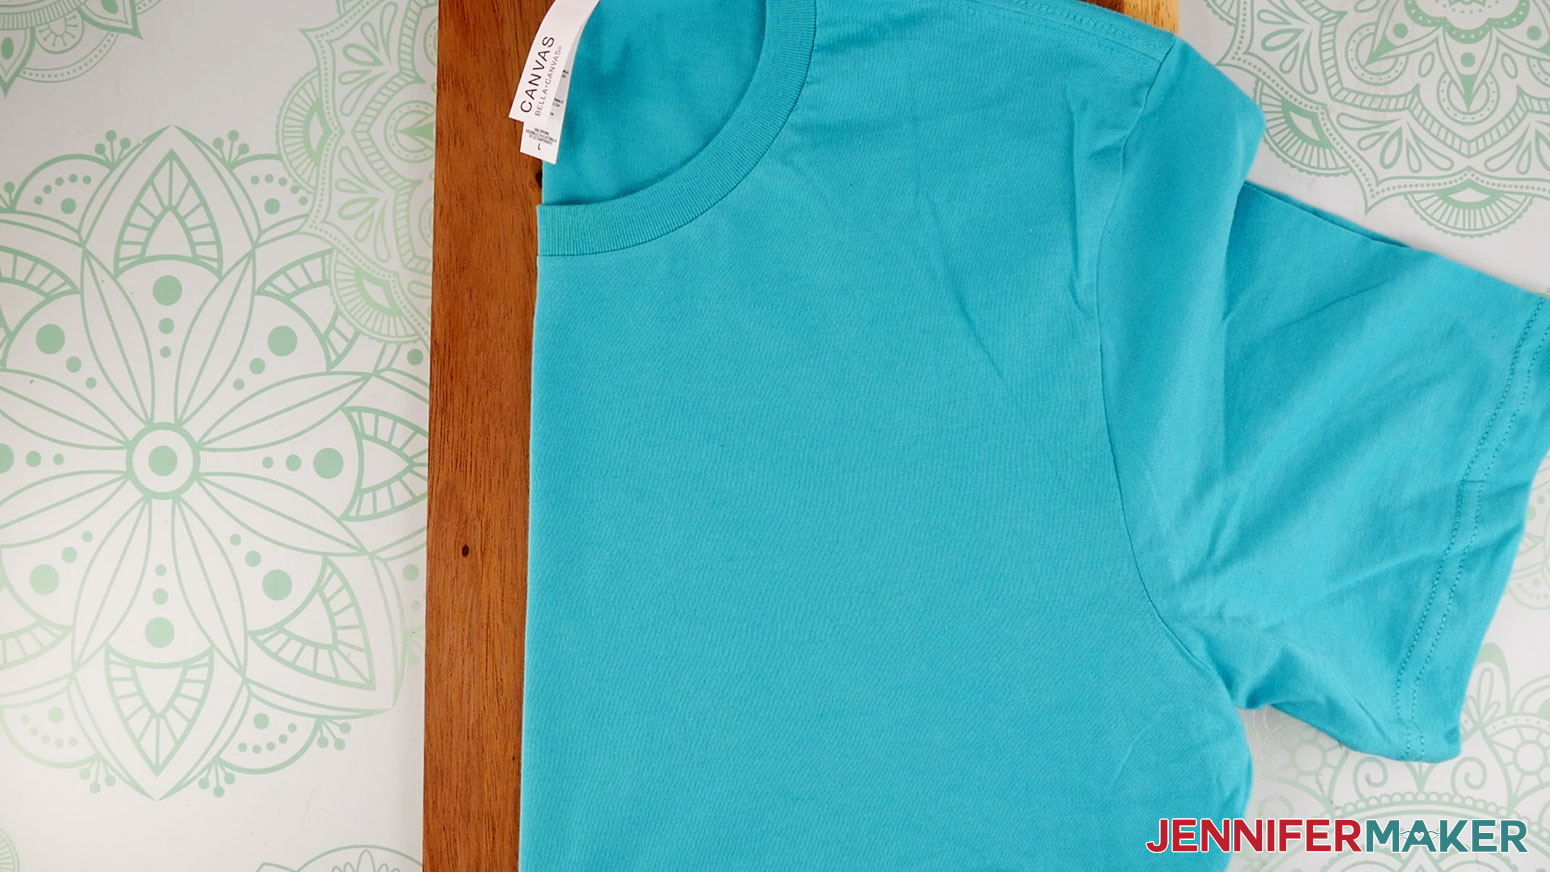
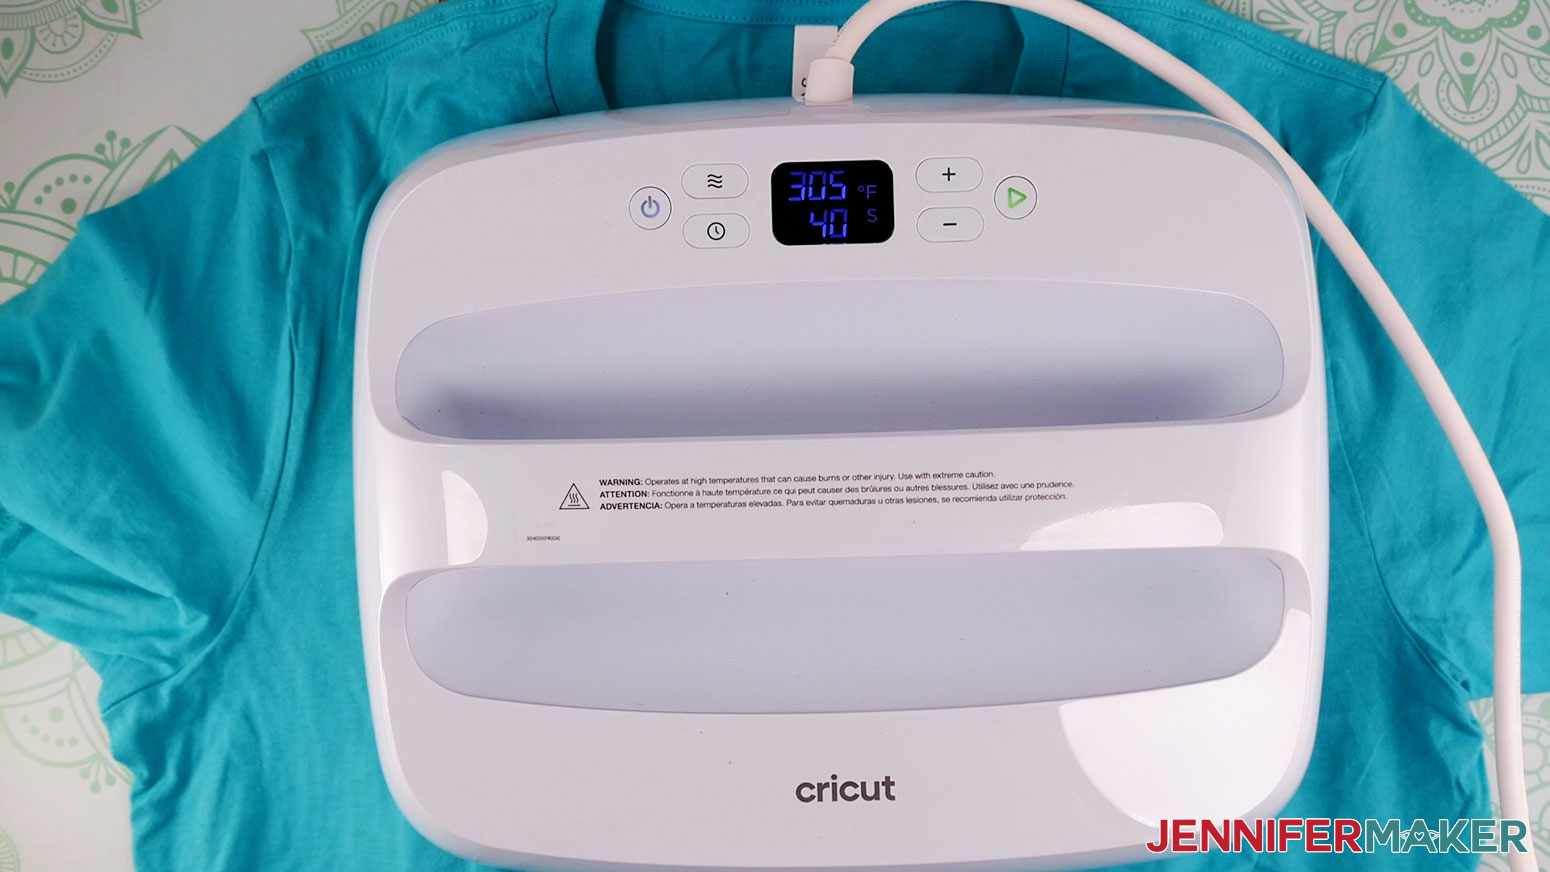
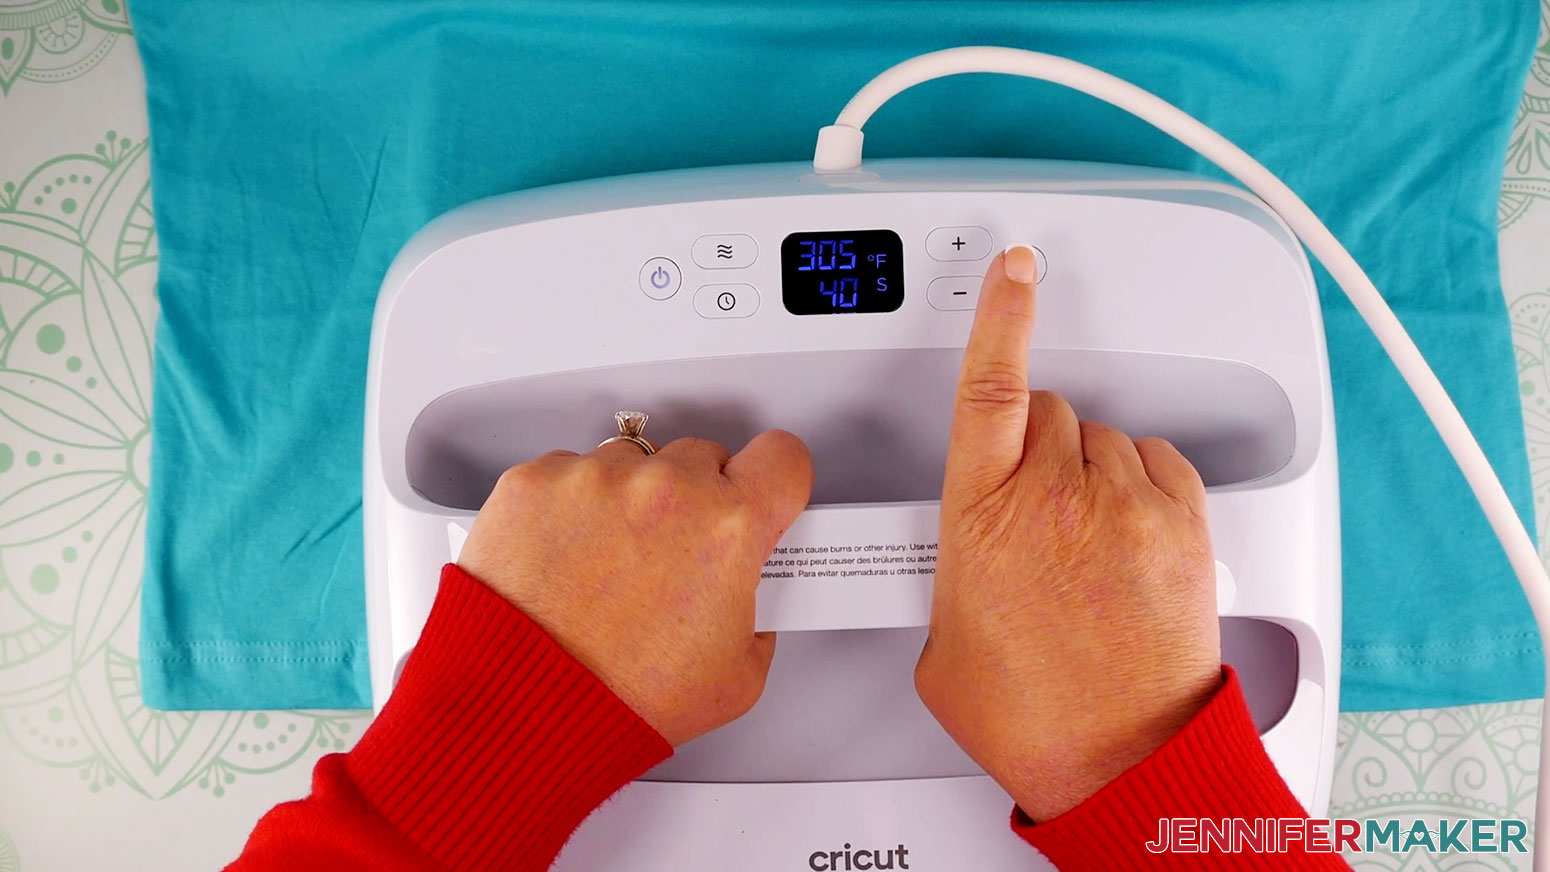
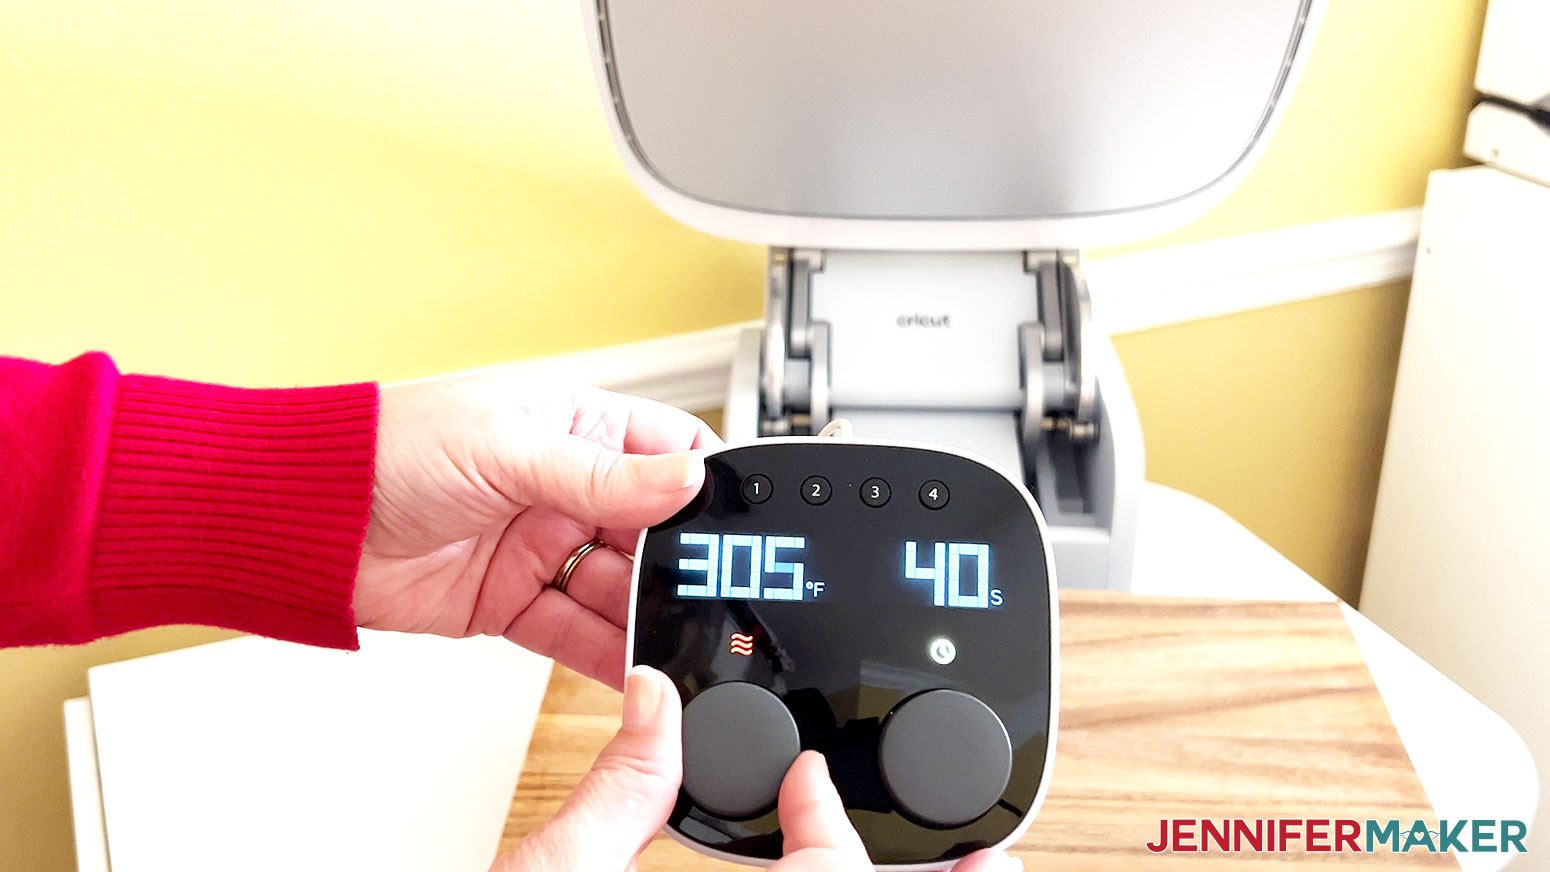
I really like to do a test before making a mistake on a shirt. So, let's start by using the small flower test design to perform a test to confirm we have the right time and heat settings. There is a small test flower if you are making the porcupine, and will use the same materials and pressing setting as the bunny. Make sure to pre-wash your shirt before pressing on the design. I tried with a brand new and pre-washed shirt, and the pre-washed shirt applied more evenly and will last longer. The white puff vinyl (and yellow Everyday iron-on for the porcupine) really pops off of this shirt...So cute for springtime! You DON'T need to get your pressing mat ready, as we won't be using it here. The pressing mat adds unwanted texture to puff vinyl, so I used only a wooden cutting board under my shirt. Lint roll the front of the shirt to remove any debris. Open the shirt and lay it face up, flat on the cutting board. Make sure your EasyPress is plugged in and set to 305° F (152° C). Always use caution and use the provided stand and avoid contact with your skin as the high temperatures can burn you. And remember to let it cool down between vinyls since we are applying the Everyday vinyl first, which has a higher temperature than the puff vinyl. Press for 30-40 seconds to remove any moisture and pre-heat the material. You'll want to remove more moisture than normal for puff vinyl, as pre-pressing the shirt longer is important since the steam can escape from below and cause the puff vinyl to wrinkle. Completely removing any moisture from the garment really helps the puff vinyl stay smooth.
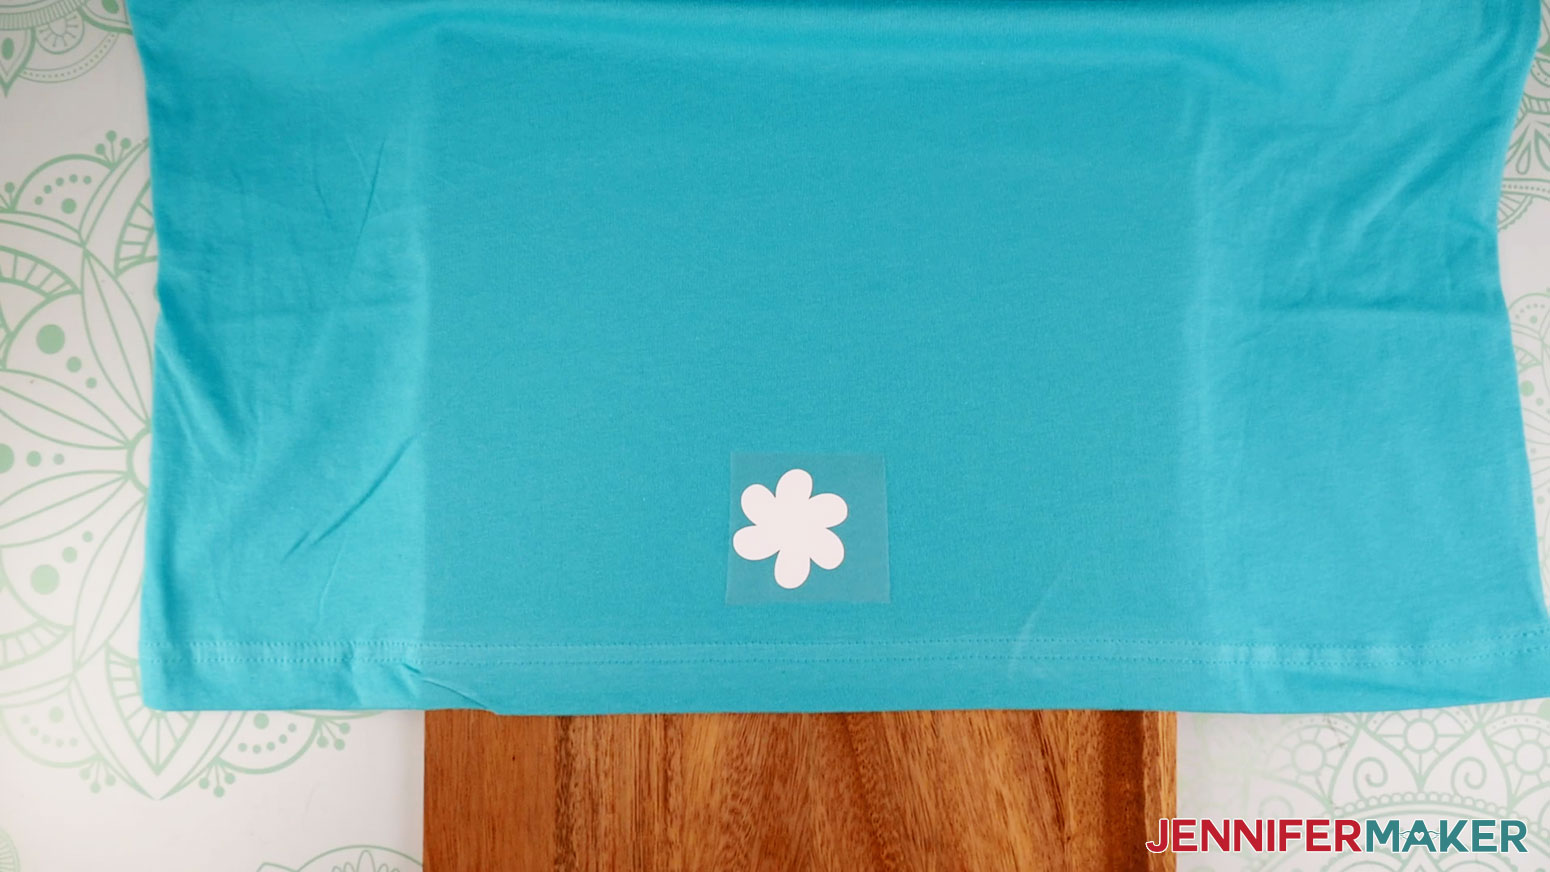
To find the center of your shirt, fold it in half by matching up your sleeves. Using your EasyPress, put a little crease on the fold. Hold for 5-10 seconds. Now, when you open your shirt you can see exactly where the center is, and you can use the T-Shirt ruler as a guide for perfect design placement. I've created this design so the top is aligned and works well with the T-Shirt ruler. Note: Click here for the Cricut Heat Guide in case you are using a different pressing method. Test FlowerPosition your cutting board on a sturdy surface. Place the test flower on the shirt. The bottom of the test flower should be about 1" above the bottom of an adult shirt.
Note: First the cutting board, then the shirt, then the test flower design, then the EasyPress. Apply firm pressure with the EasyPress over the flower for 10 seconds at 305° F (152° C). I had the puffiest results when using firm pressure. Use both hands on opposite ends of the EasyPress 2's handle and press down hard.
Pull the carrier sheet up and sideways. Sometimes the carrier sheet on everyday vinyl needs a little more time to cool, or needs some more heat applied. But the Siser puff vinyl or VTS super puff I tried does not need additional pressings with the carrier sheet still applied. The carrier sheet should come off easily when the right amount of time is used and heat is applied. If you made your flower from puff vinyl, the carrier sheet should come right off.
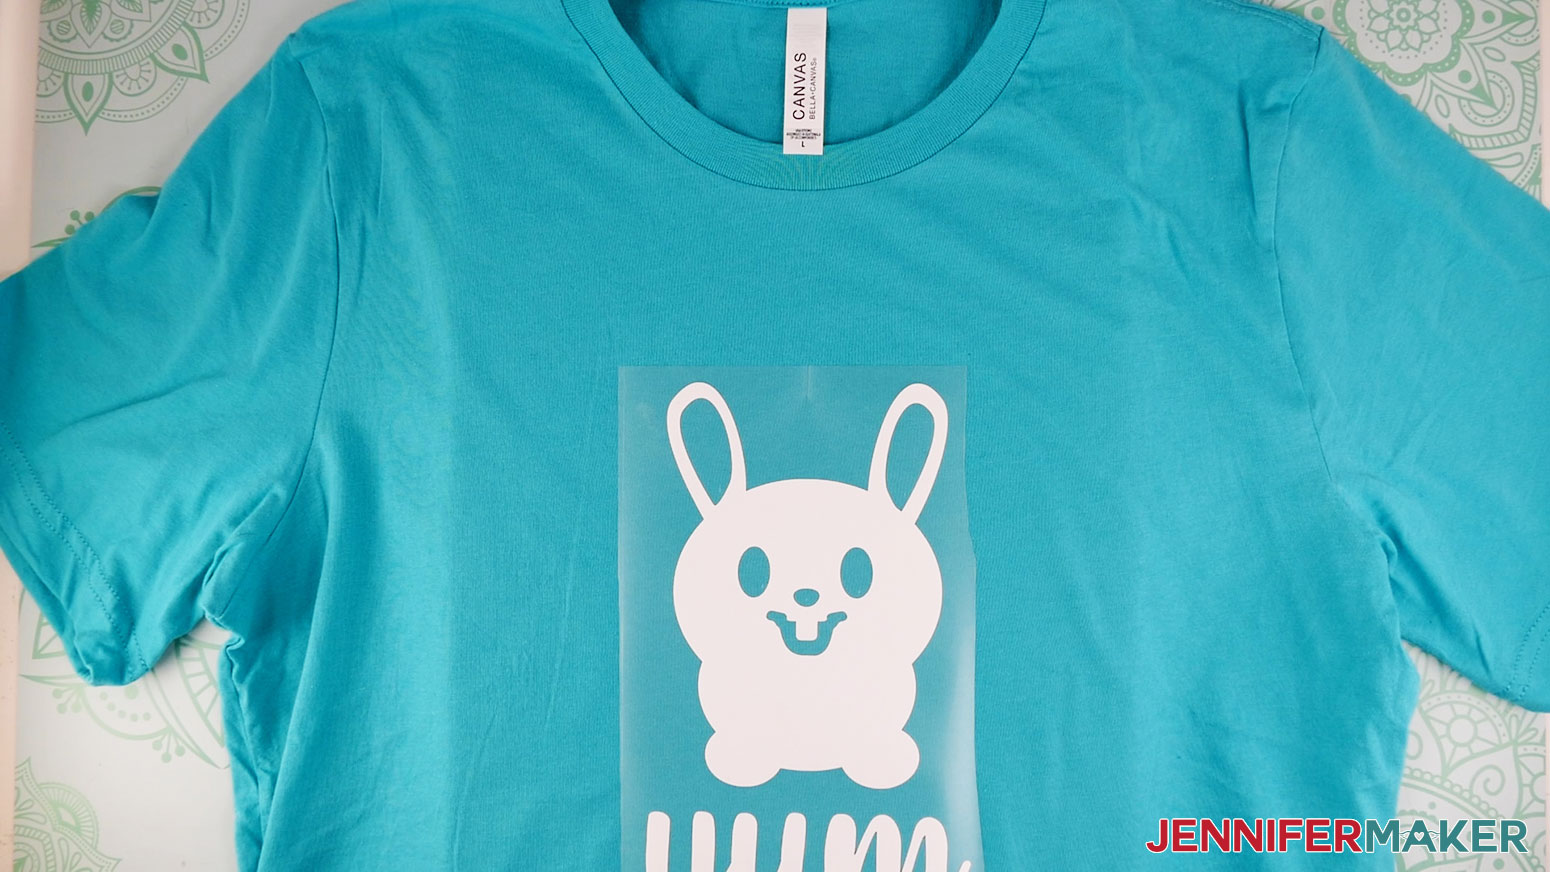
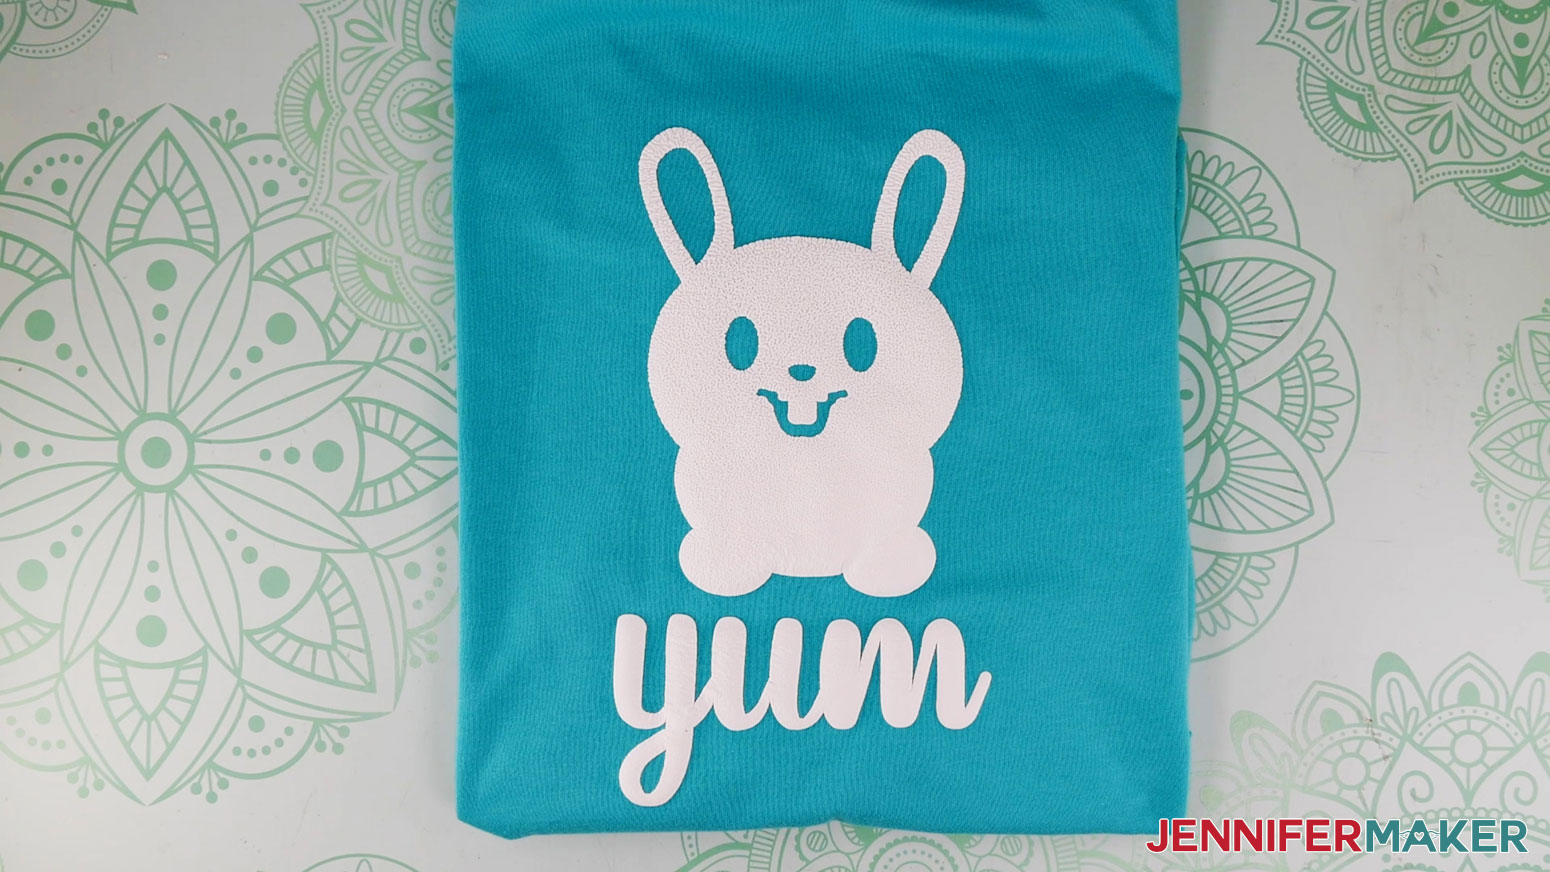
If the flower stuck well, we are ready for the main design. It worked! Your flower should be smooth and puffed up off the materials if the time, heat setting, and surface are all correct. If you find the puff vinyl too textured, you can apply a second press to smooth things out, but it does lower the puff effect slightly. Transfer the Bunny DesignNow we are ready to transfer on the bunny design. Note that the bunny uses its ears to align to the top of the shirt and ruler, but the porcupine has the text above and we use the 'rise and' text to align to the top of the shirt and ruler.
Make sure your wood cutting board is still on a sturdy surface, as you should already have it setup from the test flower.
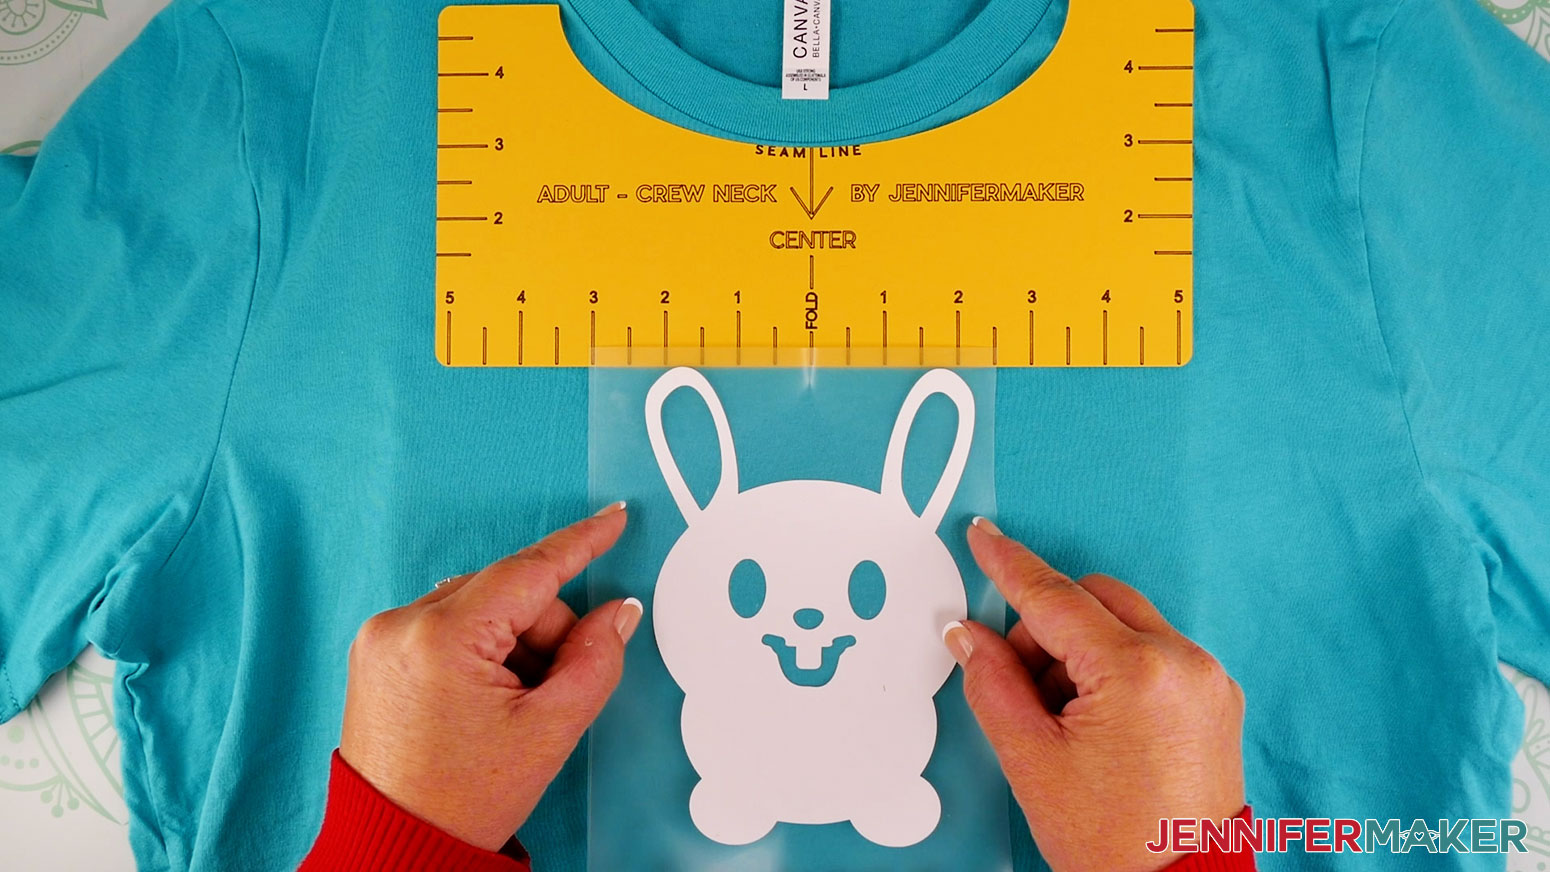
Note: Puff vinyl can be layered on top of other HTV's, but the texture of the layer behind will affect the puff's texture on top. I've tested layered puff vinyl on top of glitter iron on, and it looks more textured. The puff vinyl texture appears more smooth when applying on top of everyday iron on. Use our T-Shirt ruler guide tutorial for reference. I'm using a Medium sized shirt for this tutorial, and sized the full design at 9.75" high. Any smaller we might lose details as the puff vinyl slightly expands after pressing. Any larger may look awkward on your shirt, but check on the shirt size first. Use the bunny ears as a top guideline for placement with the T-Shirt ruler.
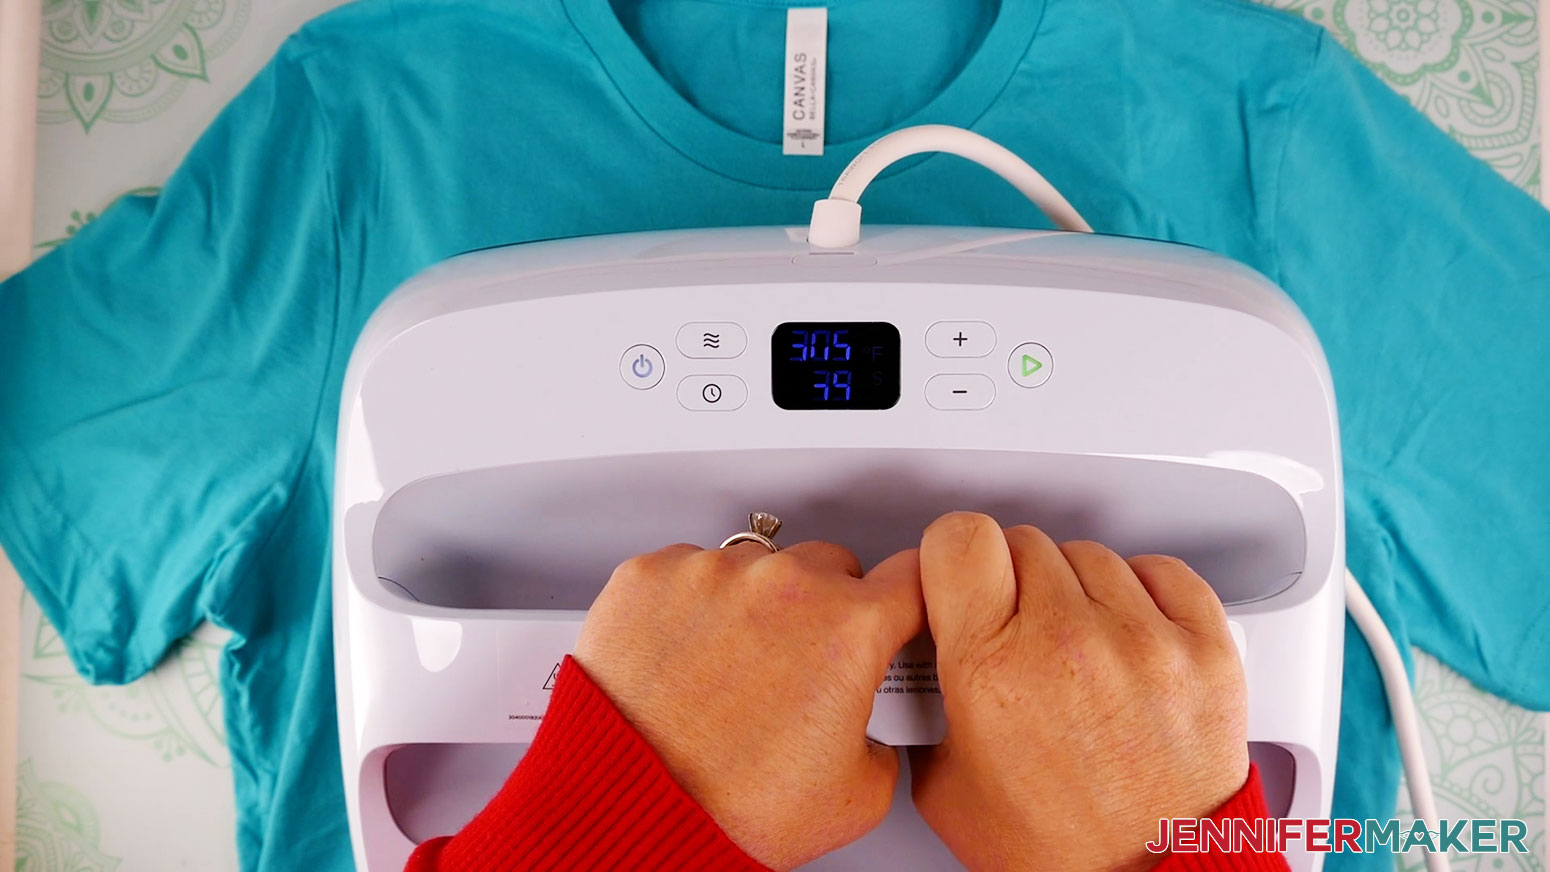
Note: First the cutting board, then the shirt, then the design, then the EasyPress. Apply firm pressure with the EasyPress over the design for 10 seconds at 305° F (152° C).
Pull the carrier sheet up and sideways. Sometimes the carrier sheet on Everyday vinyl needs a little more time to cool, or needs some more heat applied. The carrier sheet should come off easily when the right amount of time is used and heat is applied.
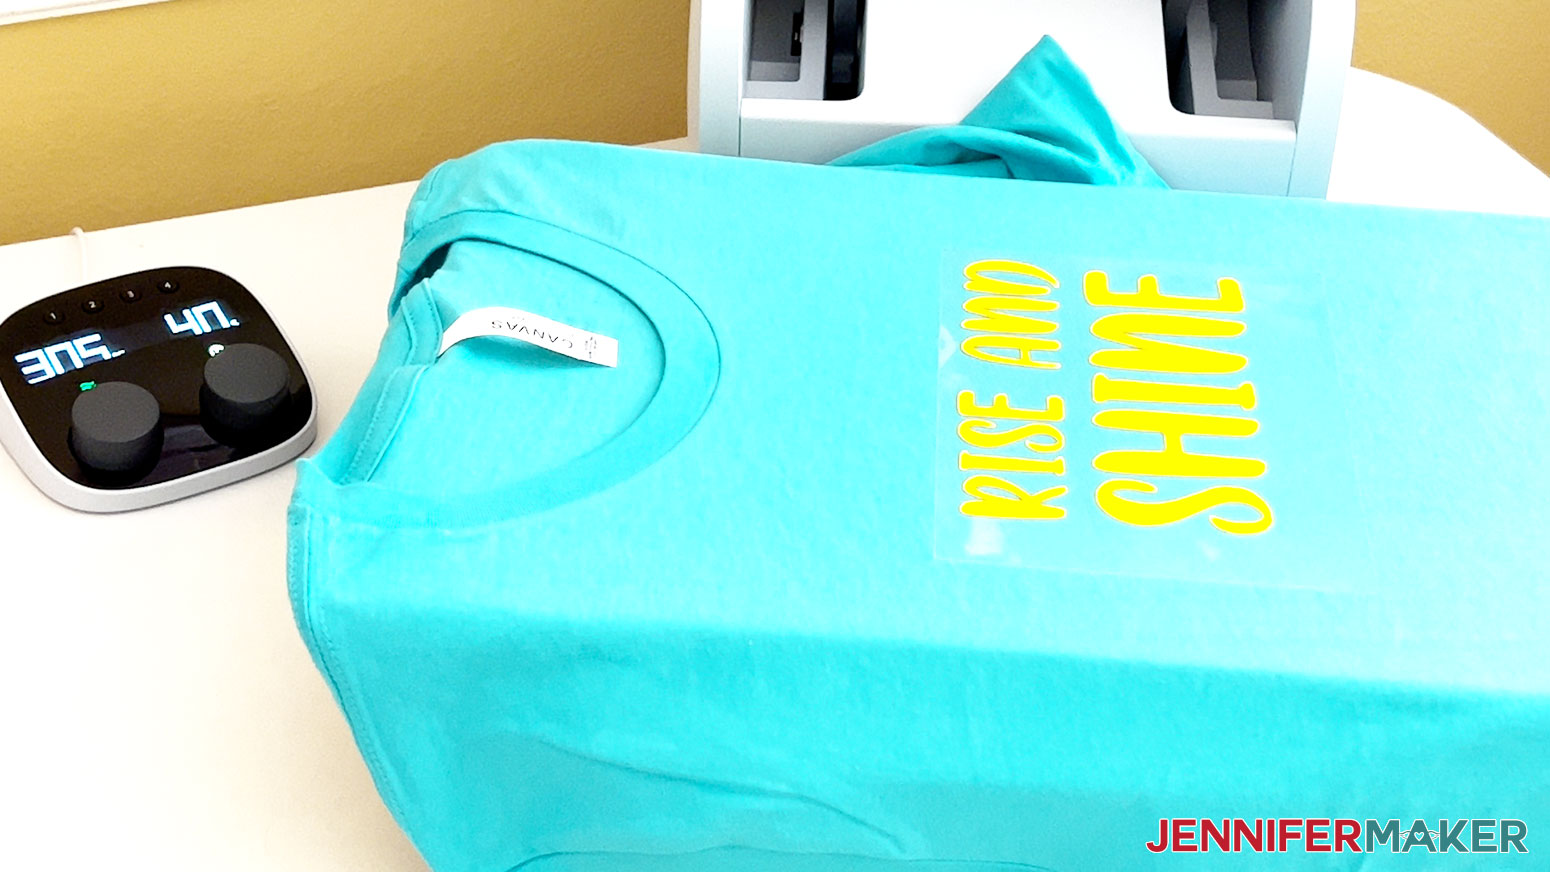
If you want to make the porcupine version, the application steps are the same as the bunny. Remember that the Cricut Everyday Iron-On is applied longer and with more heat the the puff vinyls. Apply firm pressure with the EasyPress over the text for 30 seconds at 315° F (157° C).
Then place the puff vinyl porcupine under the text. Apply firm pressure with the EasyPress over the porcupine for 10 seconds at 305° F (152° C). If the puff vinyl is slightly wrinkled, you can press a second time. It does smooth out the texture, but you loose a slight amount of the height. Also note to apply even pressure. I've found that wrinkles occurred when pressing too light, too hard, or inconsistently. However, this can be done with an EasyPress! Don't the puff vinyl look great? Especially on this t-shirt. 100% cotton works fine for any HTV project. STEP 5: TAKE CARE OF YOUR NEW T-SHIRTAllow 24 hours after applying your vinyl before washing. Turn your shirt inside out before washing without bleach and air/line dry. STEP 6: SHOW THEM OFF!Don't these shirts look amazing? I love the way puff vinyl appears to have a 3D effect. Isn't is lovely to the touch? Don't you just love the memories these bring back?
|


【本文地址】