|
1. 准备
VS Code已安装:VS Code:搭建C/C++编译调试运行环境OepnCV已编译:学习OpenCV3:Cmake+MinGW编译OpenCV
2. 环境配置
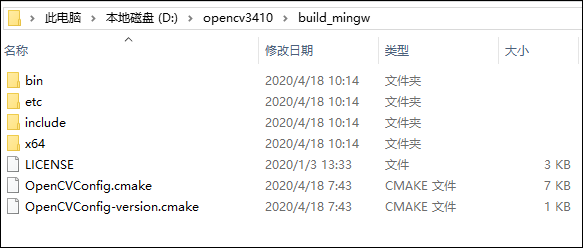
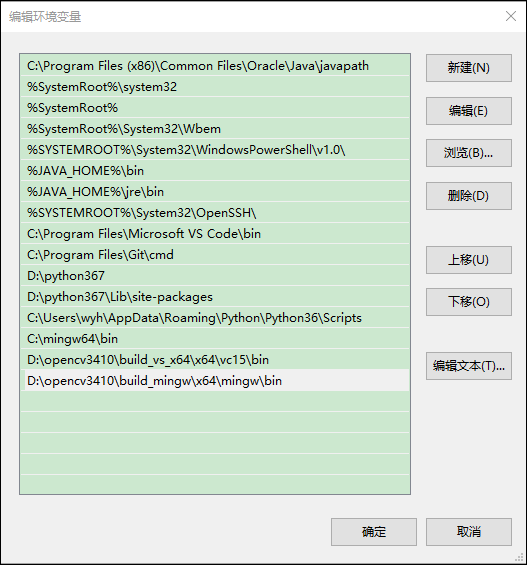
在电脑的环境变量path中添加OpenCV目录。
D:\opencv3410\build_mingw\x64\mingw\bin
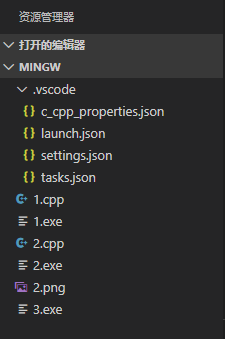
3. VS Code配置
在VS Code中配置如下4个文件。其中c_cpp_properties.json用来添加OpenCV包含目录,settings.json用来配置Run Code的执行命令,launch.json和tasks.json来配置程序调试命令。
c_cpp_properties.json:在"includePath"中添加OpenCV的include目录。
{
"configurations": [{
"name": "Win32",
"includePath": [
"${workspaceFolder}/**",
"D:/opencv3410/build_mingw/include"
],
"defines": [
"_DEBUG",
"UNICODE",
"_UNICODE"
],
"windowsSdkVersion": "10.0.18362.0",
"compilerPath": "C:/Program Files (x86)/Microsoft Visual Studio/2019/Community/VC/Tools/MSVC/14.24.28314/bin/Hostx64/x64/cl.exe",
"cStandard": "c11",
"cppStandard": "c++17",
"intelliSenseMode": "msvc-x64"
}],
"version": 4
}
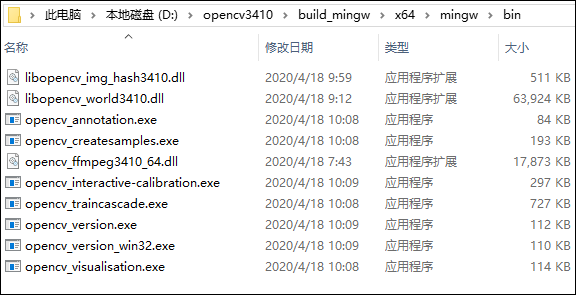
settings.json:在"code-runner.executorMap"添加"cpp"的编译命令。注意:库文件是从D:/opencv3410/build_mingw/x64/mingw/lib得到,且不能带有后缀名;不同编译方式,其生成的库文件可能不同。

// -I 后跟包含目录 D:/opencv3410/build_mingw/include
// -L 后跟库目录 D:/opencv3410/build_mingw/x64/mingw/lib
// -l 后跟库文件 libopencv_world3410 libopencv_img_hash3410
{
"code-runner.executorMap": {
"cpp": "g++ $fileName -I D:/opencv3410/build_mingw/include -L D:/opencv3410/build_mingw/x64/mingw/lib -l libopencv_world3410 -l libopencv_img_hash3410 -o $fileNameWithoutExt.exe && ./$fileNameWithoutExt.exe",
}
}
launch.json和tasks.json: launch.json的"preLaunchTask"需与tasks.json的"label"保持一致
// launch.json
{
// 使用 IntelliSense 了解相关属性。
// 悬停以查看现有属性的描述。
// 欲了解更多信息,请访问: https://go.microsoft.com/fwlink/?linkid=830387
"version": "0.2.0",
"configurations": [
{
"name": "g++.exe",
"type": "cppdbg",
"request": "launch",
"program": "${fileDirname}\\${fileBasenameNoExtension}.exe",
"args": [],
"stopAtEntry": false,
"cwd": "${workspaceFolder}",
"environment": [],
"externalConsole": false,
"MIMode": "gdb",
"miDebuggerPath": "C:\\mingw64\\bin\\gdb.exe",
"setupCommands": [
{
"description": "为 gdb 启用整齐打印",
"text": "-enable-pretty-printing",
"ignoreFailures": true
}
],
"preLaunchTask": "g++.exe build active file"
}
]
}
// tasks.json
{
"tasks": [
{
"type": "shell",
"label": "g++.exe build active file",
"command": "C:\\mingw64\\bin\\g++.exe",
"args": [
"-g",
"${file}",
"-I",
"D:/opencv3410/build_mingw/include",
"-L",
"D:/opencv3410/build_mingw/x64/mingw/lib",
"-l",
"libopencv_world3410",
"-l",
"libopencv_img_hash3410",
"-o",
"${fileBasenameNoExtension}.exe"
],
"options": {
"cwd": "C:\\mingw64\\bin"
}
}
],
"version": "2.0.0"
}
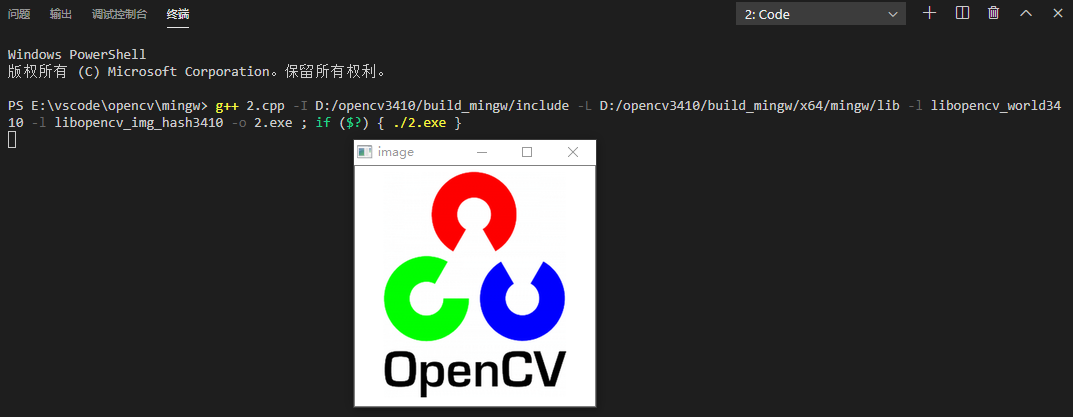
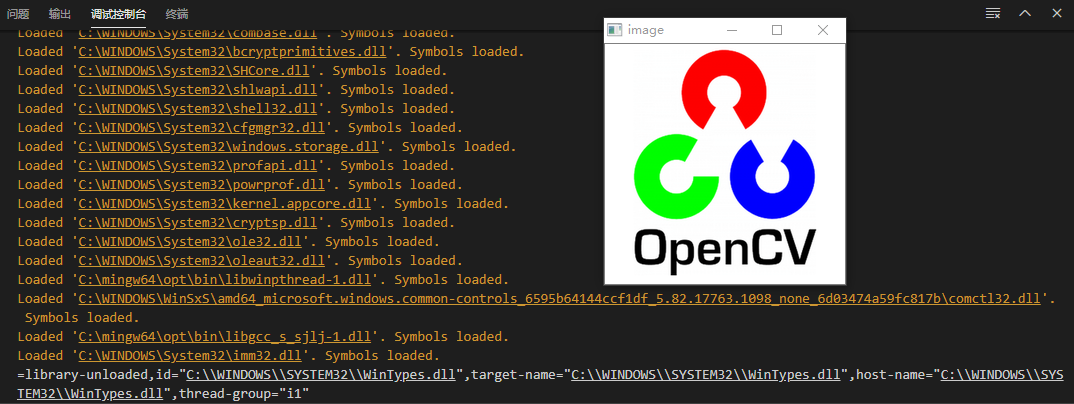
4. 运行程序
测试程序:
#include
#include
using namespace cv;
int main()
{
Mat img = imread("2.png");
cv::imshow("image", img);
cv::waitKey();
return 0;
}
Run Code运行(快捷键:Ctrl+Alt+N)
调试运行(快捷键:F5)

|