| Qt QListView详解 | 您所在的位置:网站首页 › listview单选框 › Qt QListView详解 |
Qt QListView详解
|
一.常用接口
1.添加数据 QStringListModel *model; model = new QStringListModel(this); model->setStringList(QStringList()setIndexWidget(index,lineEdit);
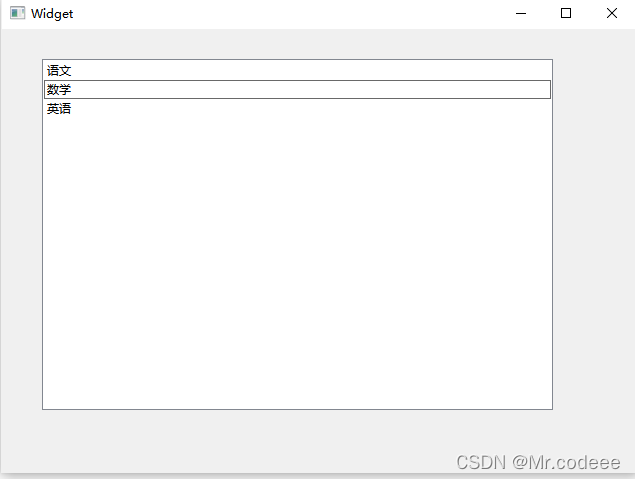
3.设置默认哪一行选中 QModelIndex index2 = model->index(2); ui->listView->setCurrentIndex(index2); 二.信号以下信号经常使用 void activated(const QModelIndex &index) void clicked(const QModelIndex &index) void doubleClicked(const QModelIndex &index) void entered(const QModelIndex &index) void pressed(const QModelIndex &index)简单相应点击的信号,点击后打印text void Widget::on_listView_clicked(const QModelIndex &index) { qDebug()listView->setContextMenuPolicy(Qt::CustomContextMenu); //右键菜单 menu = new QMenu(ui->listView); menu->addAction("添加"); menu->addAction("删除"); //响应右键菜单信号槽 connect(ui->listView,&QListView::customContextMenuRequested, this,&Widget::slotCustomContextMenuRequested); void Widget::slotCustomContextMenuRequested(const QPoint &pos) { menu->exec(ui->listView->mapToGlobal(pos)); } 四.设置QSS QListView { show-decoration-selected: 1; /* make the selection span the entire width of the view */ } QListView::item:alternate { background: #EEEEEE; } QListView::item:selected { border: 1px solid #6a6ea9; } QListView::item:selected:!active { background: qlineargradient(x1: 0, y1: 0, x2: 0, y2: 1, stop: 0 #ABAFE5, stop: 1 #8588B2); } QListView::item:selected:active { background: qlineargradient(x1: 0, y1: 0, x2: 0, y2: 1, stop: 0 #6a6ea9, stop: 1 #888dd9); } QListView::item:hover { background: qlineargradient(x1: 0, y1: 0, x2: 0, y2: 1, stop: 0 #FAFBFE, stop: 1 #DCDEF1); } //适用于开启交替颜色 QListWidget#listWidget { alternate-background-color:blue;background:yellow }调用setStyleSheet即可 五.源码QListView详解-C++文档类资源-CSDN下载 |
【本文地址】
公司简介
联系我们