| 23 | 您所在的位置:网站首页 › js给body添加样式 › 23 |
23
|
style属性的获取和修改
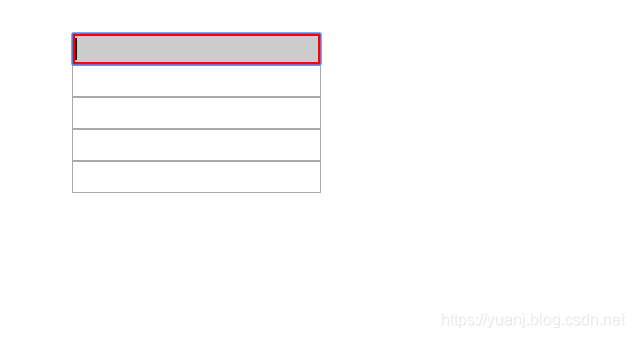
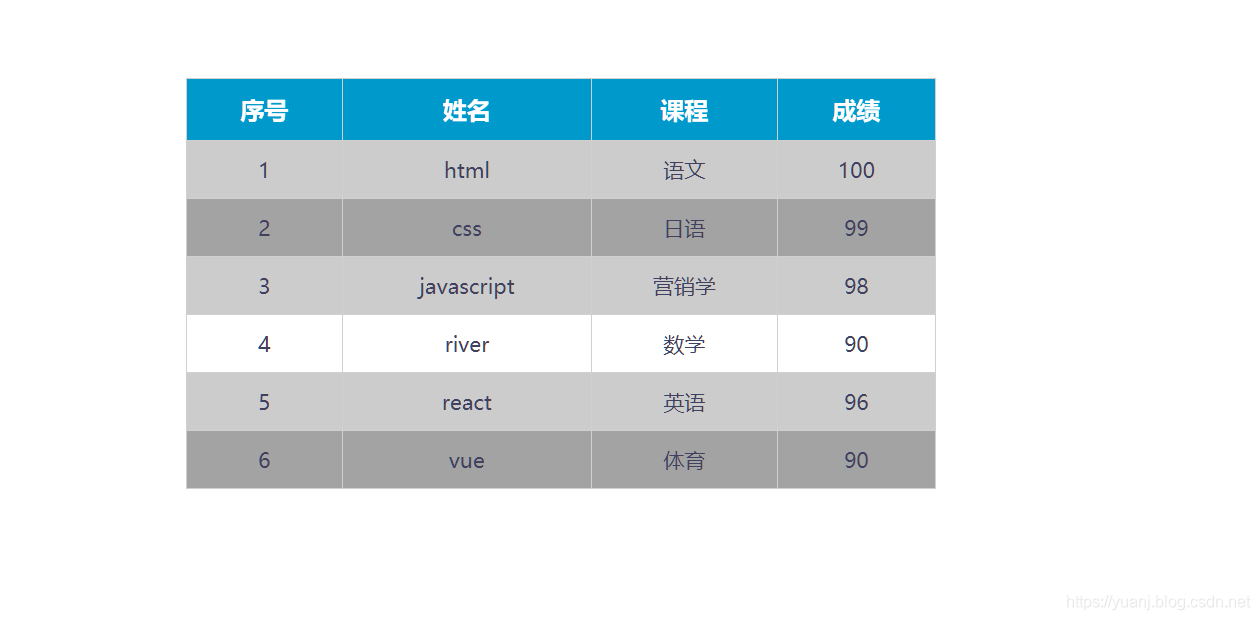
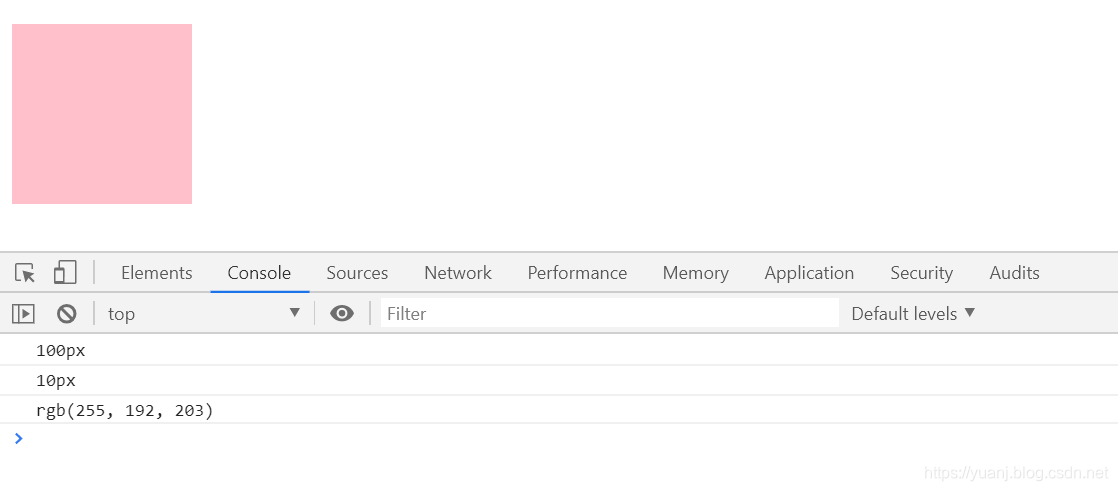
在DOM当中,如果想设置样式,有两种形式: className(针对内嵌样式) style(针对行内样式) 这篇文章,我们就来讲一下style。 需要注意的是:style是一个对象,只能获取行内样式,不能获取内嵌的样式和外链的样式。例如: 示例 div { border: 6px solid rebeccapurple; } var box1 = document.getElementsByTagName("div")[0]; console.log(box1.style.backgroundColor); console.log(box1.style.border); //没有打印结果,因为这个属性不是行内样式 console.log(typeof box1.style); //因为是对象,所以打印结果是Object console.log(box1.style); //打印结果是对象打印结果: 语法:(方式一) 元素.style.样式名备注:我们通过style属性读取的样式都是行内样式。 语法:(方式二) 元素.style["属性"]; //格式 box.style["width"]; //举例方式二最大的优点是:可以给属性传递参数。 通过 js 修改元素的样式语法: 元素.style.样式名 = 样式值;举例: box1.style.width = "300px"; box1.style.backgroundColor = "red"; // 驼峰命名法备注:我们通过style属性设置的样式都是行内样式,而行内样式有较高的优先级。但是如果在样式中的其他地方写了!important,则此时!important会有更高的优先级。 style属性的注意事项style属性需要注意以下几点: (1)样式少的时候使用。 (2)style是对象。我们在上方已经打印出来,typeof的结果是Object。 (3)值是字符串,没有设置值是“”。 (4)命名规则,驼峰命名。 (5)只能获取行内样式,和内嵌和外链无关。 (6)box.style.cssText = “字符串形式的样式”。 cssText这个属性,其实就是把行内样式里面的值当做字符串来对待。在上方代码的基础之上,举例: var box1 = document.getElementsByTagName("div")[0]; //通过cssText一次性设置行内样式 box1.style.cssText = "width: 300px;height: 300px;background-color: green;"; console.log(box1.style.cssText); //这一行更加可以理解,style是对象打印结果: style的常用属性包括: backgroundColor backgroundImage color width height border opacity 设置透明度 (IE8以前是filter: alpha(opacity=xx)) 注意DOM对象style的属性和标签中style内的值不一样,因为在JS中,-不能作为标识符。比如: DOM中:backgroundColor CSS中:background-color style属性的举例我们针对上面列举的几个style的样式,来举几个例子: 举例1、改变div的大小和透明度 举例2、当前输入的文本框高亮显示 举例3、高级隔行变色、高亮显示 下面来逐一实现。 举例1:改变div的大小和透明度代码举例: var div = document.getElementsByTagName("div")[0]; div.onmouseover = function() { div.style.width = "200px"; div.style.height = "200px"; div.style.backgroundColor = "black"; div.style.opacity = "0.2"; //设置背景色的透明度。单位是0.1 div.style.filter = "alpha(opacity=20)"; //上一行代码的兼容性写法。注意单位是百进制 };显示结果如下 代码实现: 示例 input { display: block; } //需求:让所有的input标签获取焦点后高亮显示 //1.获取事件源 var inpArr = document.getElementsByTagName("input"); //2.绑定事件 //3.书写事件驱动程序 for (var i = 0; i this.style.border = "2px solid red"; this.style.backgroundColor = "#ccc"; }; //绑定onblur事件,取消样式 inpArr[i].onblur = function() { this.style.border = ""; this.style.backgroundColor = ""; }; }显示结果如下 实现的效果如下: 上方代码中,我们用到了计数器myColor来记录每一行最原始的颜色(赋值白色之前)。如果不用计数器,可能很多人以为代码是写的:(错误的代码) //需求:让tr各行变色,鼠标放入tr中,高亮显示。 //1.隔行变色。 var tbody = document.getElementById("target"); var trArr = tbody.children; //循环判断并各行赋值属性(背景色) for (var i = 0; i trArr[i].style.backgroundColor = "#a3a3a3"; } else { trArr[i].style.backgroundColor = "#ccc"; } //鼠标进入高亮显示 //难点:鼠标移开的时候要回复原始颜色。 //计数器(进入tr之后,立刻记录颜色,然后移开的时候使用记录好的颜色) trArr[i].onmouseover = function () { this.style.backgroundColor = "#fff"; } trArr[i].onmouseout = function () { this.style.backgroundColor = "#a3a3a3"; } }这种错误的代码,实现的效果却是:(未达到效果) 我们在上面的内容中,通过元素.style.className的方式只能获取行内样式。但是,有些元素,只写了内嵌样式或外链样式。 既然样式有这么种,那么,如何获取元素当前显示的样式(包括行内样式、内嵌样式、外链样式)呢?我们接下来看一看。 获取元素当前正在显示的样式(1)w3c的做法: window.getComputedStyle("要获取样式的元素", "伪元素");两个参数都是必须要有的。参数二中,如果没有伪元素就用 null 代替(一般都传null)。 (2)IE和opera的做法: obj.currentStyle;注意: 如果当前元素没有设置该样式,则获取它的默认值。 该方法会返回一个对象,对象中封装了当前元素对应的样式,可以通过对象.样式名来读取具体的某一个样式。 通过currentStyle和getComputedStyle()读取到的样式都是只读的,不能修改,如果要修改必须通过style属性。 综合上面两种写法,就有了一种兼容性的写法,同时将其封装。代码举例如下: 示例 div { background-color: pink; /*border: 1px solid #000;*/ padding: 10px; } var div1 = document.getElementsByTagName("div")[0]; console.log(getStyle(div1, "width")); console.log(getStyle(div1, "padding")); console.log(getStyle(div1, "background-color")); //兼容方法获取元素样式 function getStyle(ele, attr) { if (window.getComputedStyle) { return window.getComputedStyle(ele, null)[attr]; } return ele.currentStyle[attr]; }打印结果: |
 上图显示,因为border属性不是行内样式,所以无法通过style对象获取。
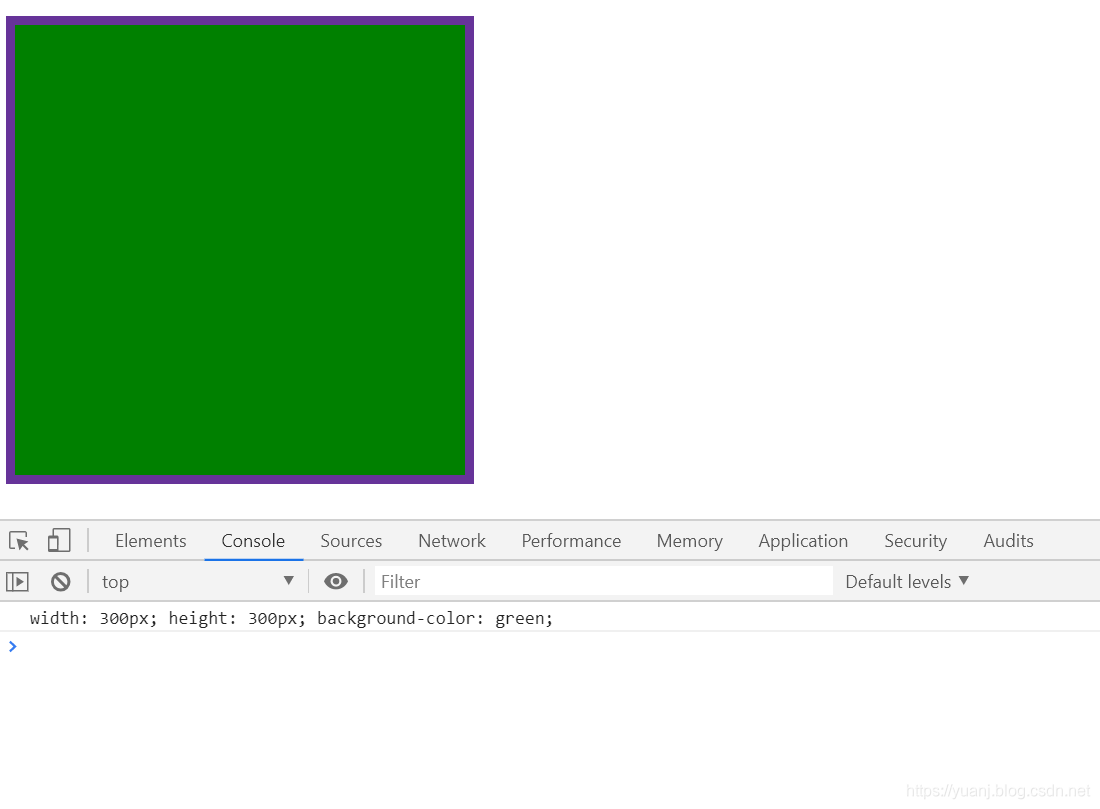

 代码解释:
代码解释:
【本文地址】