| How to install Cloudflare SSL on GoDaddy: Complete Guide | 您所在的位置:网站首页 › cloudflaressl和宝塔ssl › How to install Cloudflare SSL on GoDaddy: Complete Guide |
How to install Cloudflare SSL on GoDaddy: Complete Guide
|
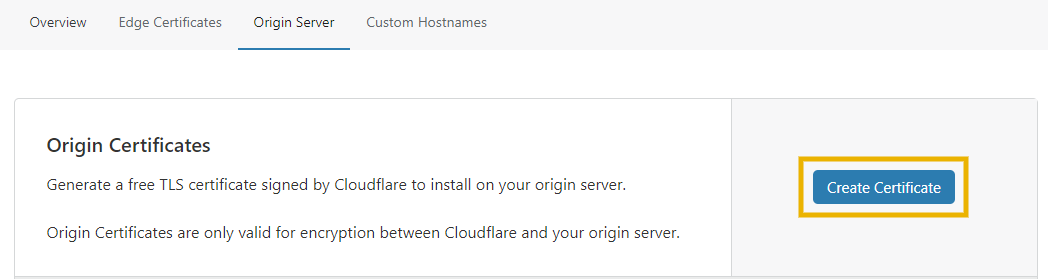
Next, you will have to create a free TLS certificate signed by Cloudflare to install on your GoDaddy web hosting server. To do this, go to the “Origin Server” tab under SSL/TLS settings and click on “Create Certificate”
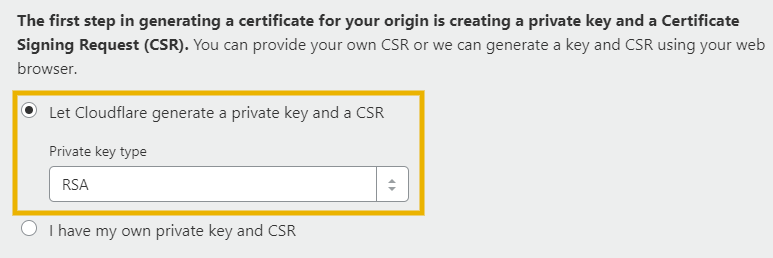
To generate a certificate for your origin server, you will first have to create a private key and a Certificate Signing Request (CSR). Select “Let Cloudflare generate a private key and a CSR” and set the “Private key type” to “RSA”, as illustrated here:
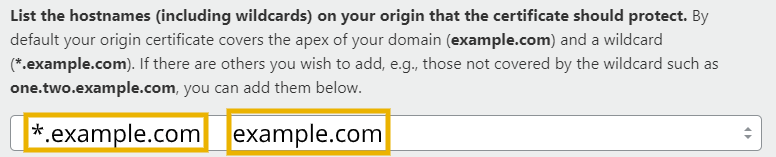
You should then list all the hostnames, including any wildcards if applicable, that you want the SSL certificate to protect.
We recommend adding “example.com” and “*.example.com” at least if you want to secure all the subdomains in addition to the primary domain. Adding “*.example.com” will also secure “www.example.com” and all other subdomains. Just remember to replace “example.com” with your own domain! Choose how long you want the certificate to be valid for and proceed to the next step.
On the next window, your private key and the certificate will be displayed. Make sure that the “Key format” is set to “PEM (Default)” as shown in the screenshot below:
Note: the Certificate file starts with “—–BEGIN CERTIFICATE—–” while the SSL Certificate Key File starts with “—–BEGIN PRIVATE KEY—–” We recommend that you save the Certificate and the Key into two separate text documents and keep them somewhere safe. Do not close the Cloudflare window yet as we will be using the Certificate and the Key soon. |


【本文地址】