| Springboot+jpa+thymelea+layui管理页面项目流程 | 您所在的位置:网站首页 › axure9添加多个页面 › Springboot+jpa+thymelea+layui管理页面项目流程 |
Springboot+jpa+thymelea+layui管理页面项目流程
|
Springboot+jpa+thymelea+layui管理页面项目流程
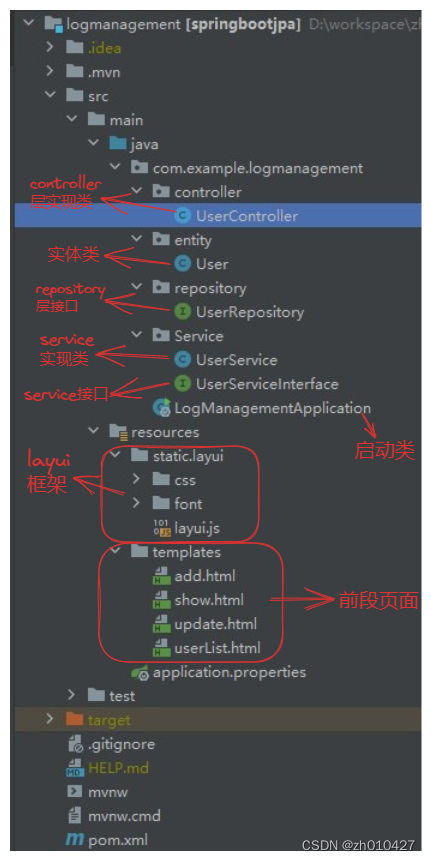
小白刚做的,大佬勿喷 gitee:https://gitee.com/cold-saury/logmanagement.git 项目结构
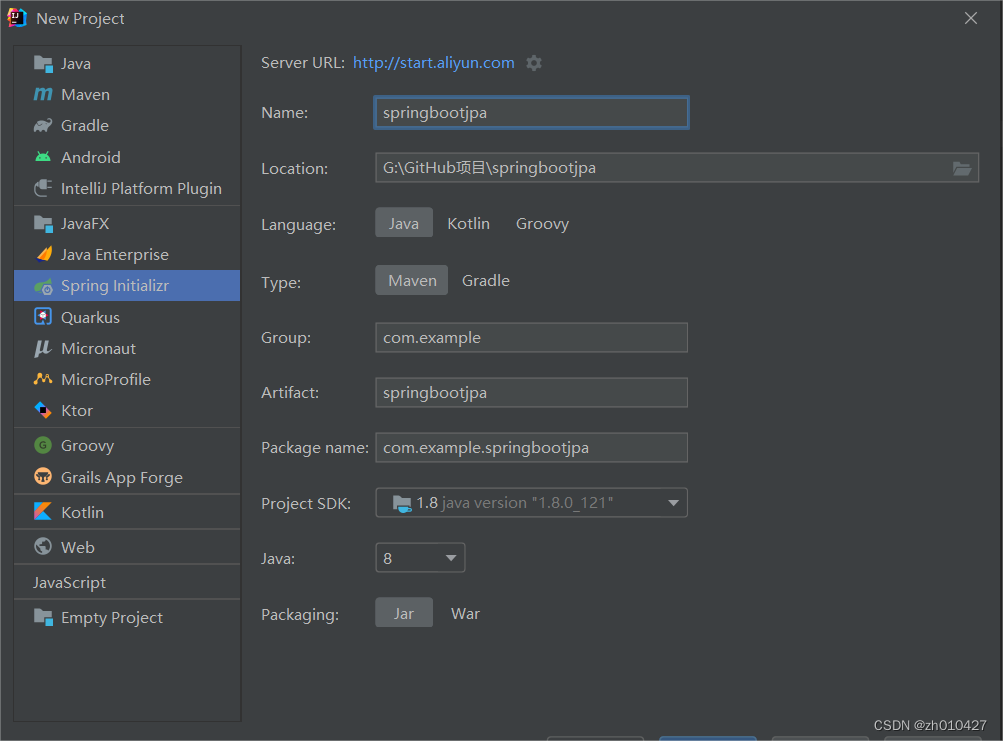
一.新建springboot工程
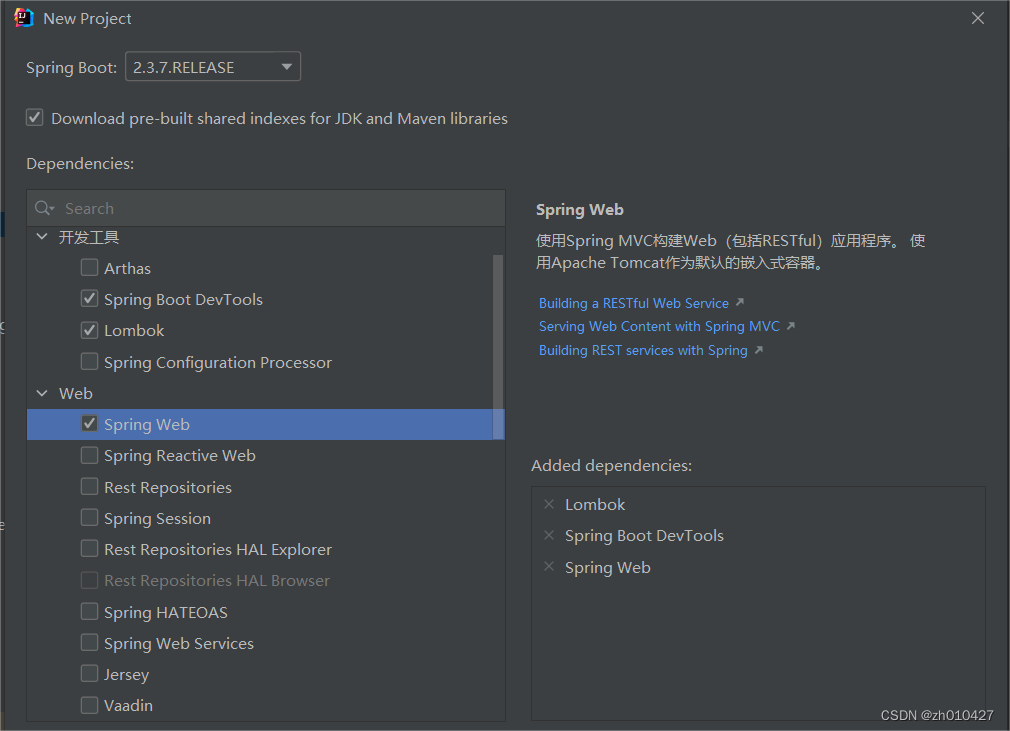
二.勾选依赖lombok,spring Web和Spring Boot DevTools
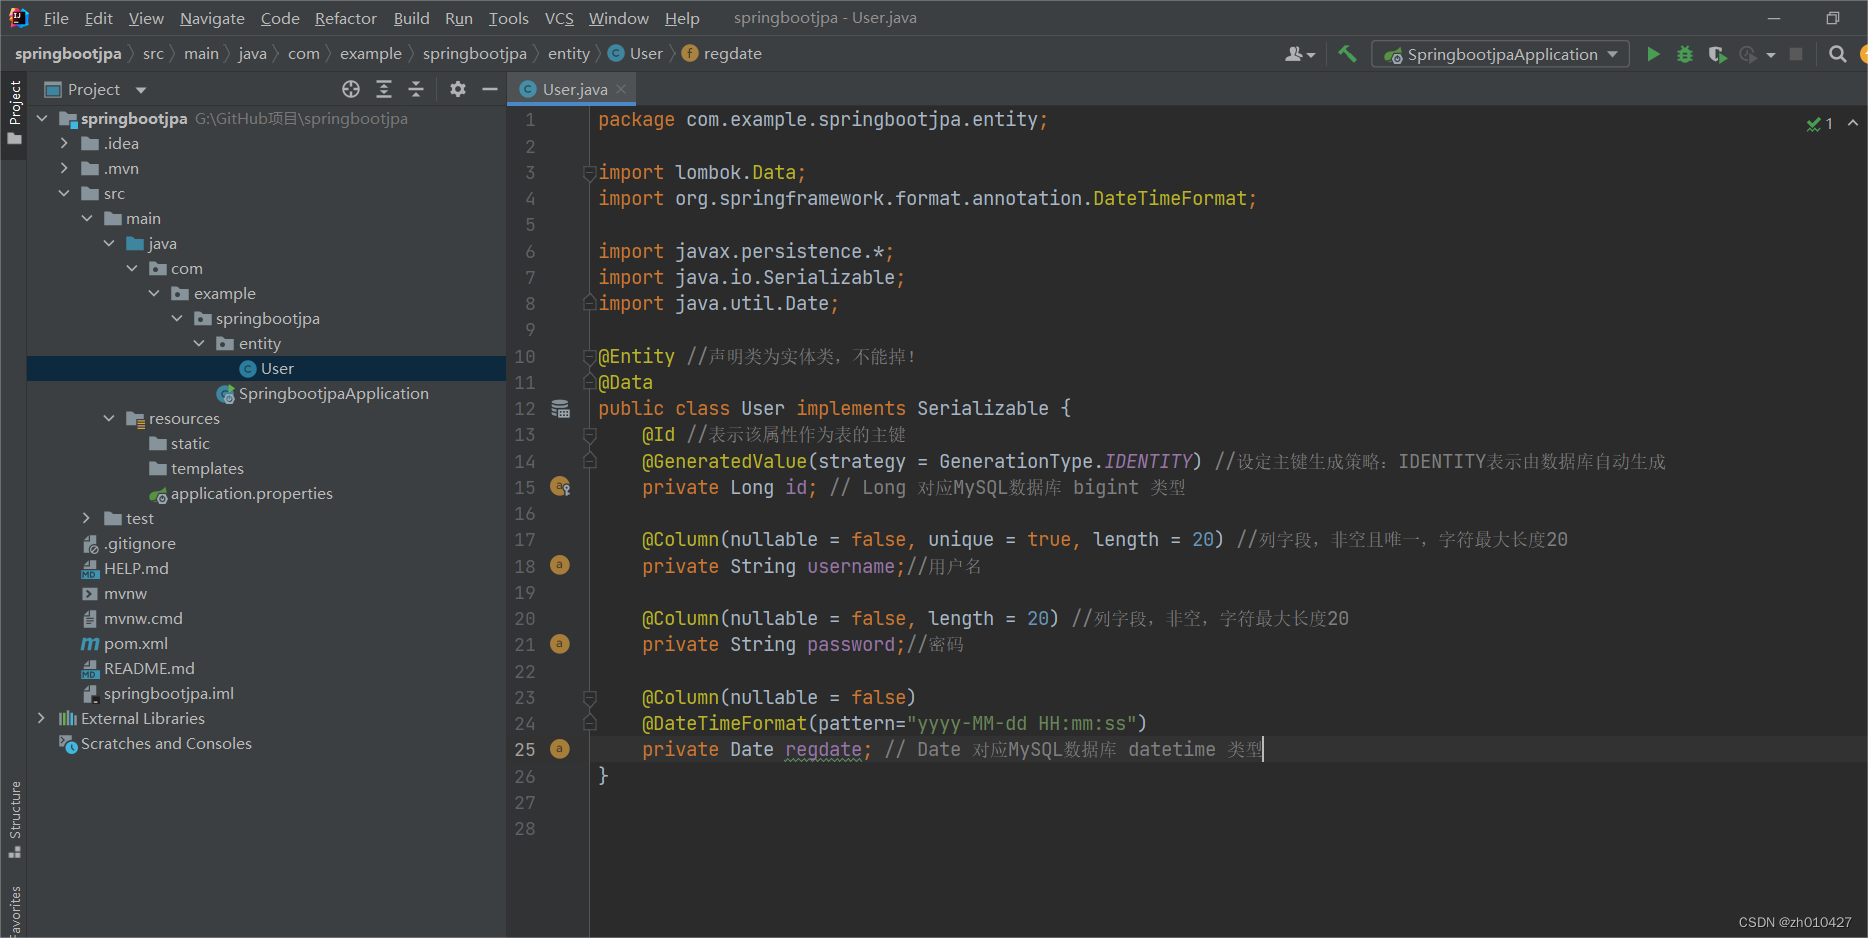
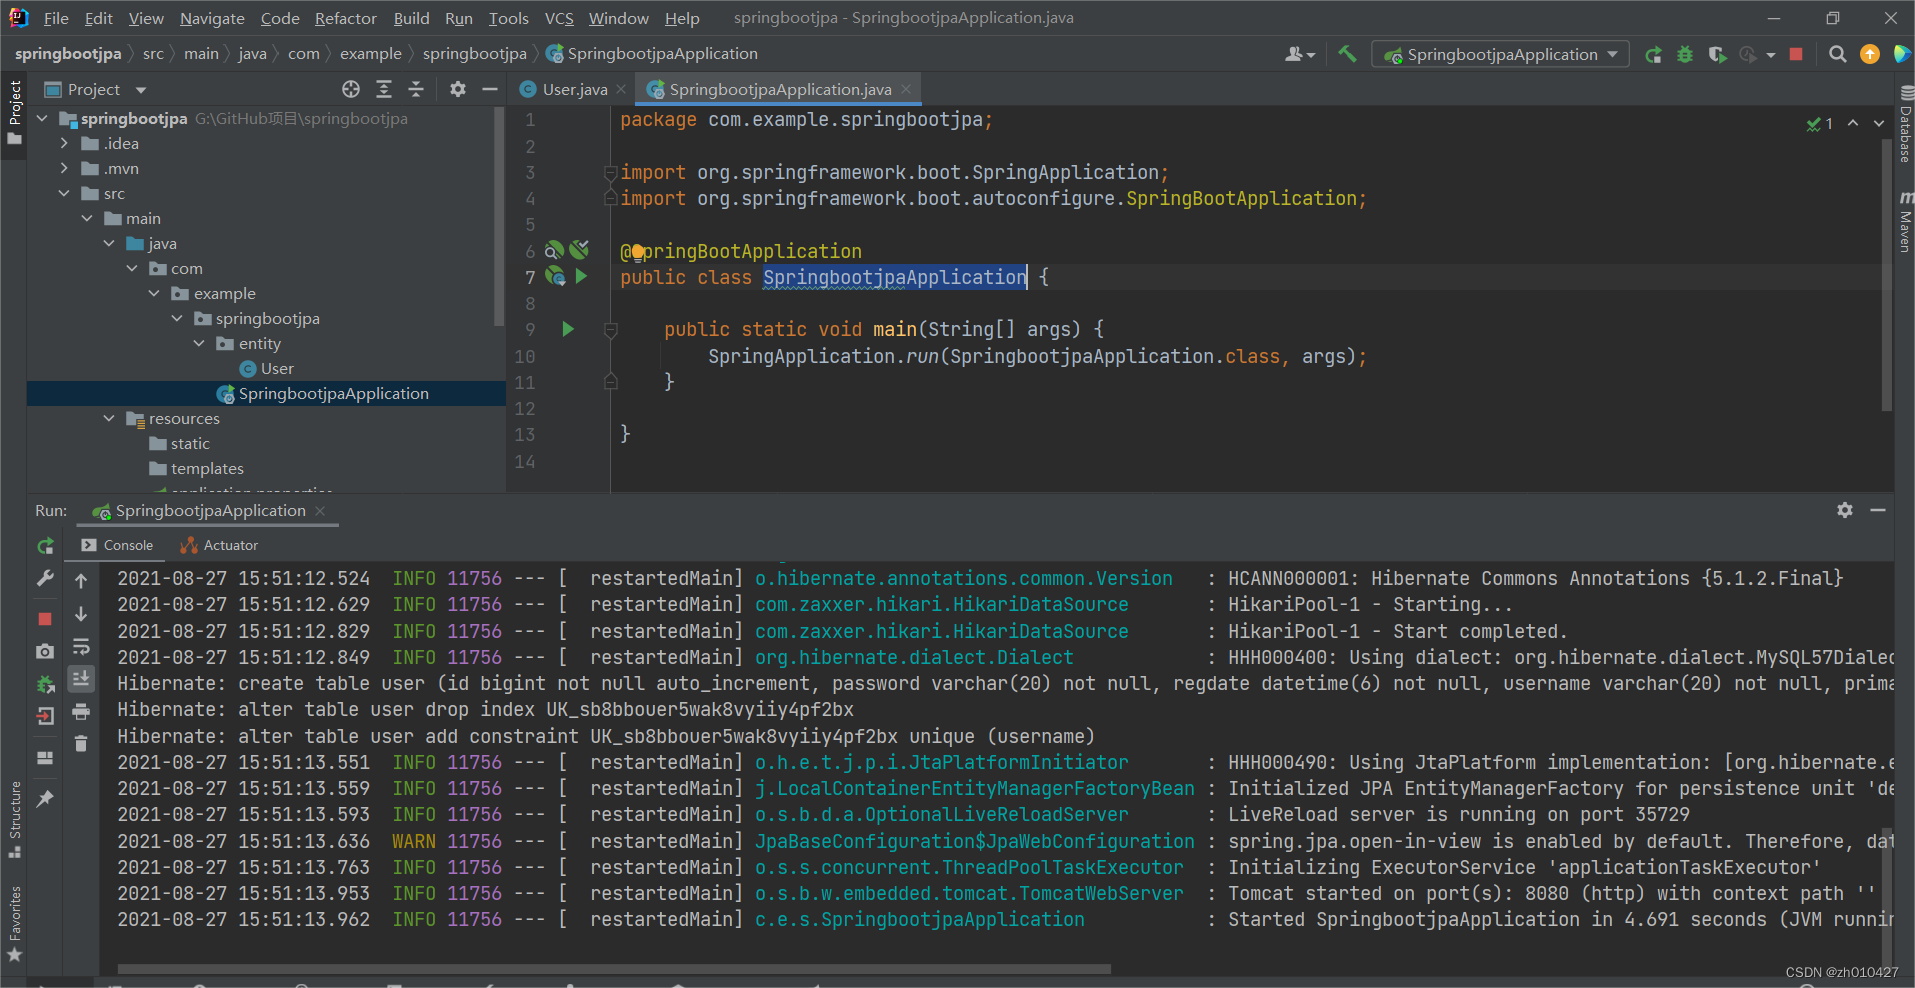
在pom文件中添加依赖 4.0.0 org.springframework.boot spring-boot-starter-parent 2.5.6 com.example springbootjpa 0.0.1-SNAPSHOT springbootjpa springbootjpa 3.0.11.RELEASE 2.1.1 1.8 org.springframework.boot spring-boot-starter-web org.springframework.boot spring-boot-starter-data-jpa mysql mysql-connector-java runtime org.springframework.boot spring-boot-devtools org.springframework.boot spring-boot-starter-thymeleaf org.springframework.boot spring-boot-starter-web org.springframework.boot spring-boot-devtools runtime true org.projectlombok lombok true org.springframework.boot spring-boot-starter-test test org.springframework.boot spring-boot-starter-thymeleaf net.sourceforge.nekohtml nekohtml org.unbescape unbescape 1.1.5.RELEASE org.springframework.boot spring-boot-maven-plugin org.projectlombok lombok 在application.properties文件中添加配置 spring.application.name=logmanagement server.port=8080 spring.jpa.hibernate.ddl-auto=update spring.datasource.url = jdbc:mysql://localhost:3306/logmanagement?serverTimezone=Asia/Shanghai spring.datasource.username=root spring.datasource.password=root spring.datasource.driver-class-name=com.mysql.cj.jdbc.Driver spring.jpa.show-sql=true spring.thymeleaf.cache=false spring.thymeleaf.mode=LEGACYHTML5 spring.jpa.database=mysql spring.jpa.generate-ddl=true spring.thymeleaf.suffix=.html spring.thymeleaf.encoding=UTF-8 spring.thymeleaf.servlet.content-type=text/html spring.thymeleaf.prefix=classpath:/templates/ spring.web.resources.chain.strategy.content.enabled=true spring.web.resources.chain.strategy.content.paths=/** 五.在springbootjpa文件夹下创建entity文件夹,entity文件夹中创建实体类User,用于映射数据库表,同时在MySql中新建数据库,命名为springbootjpa,不用建表,运行项目后会自动生成表。
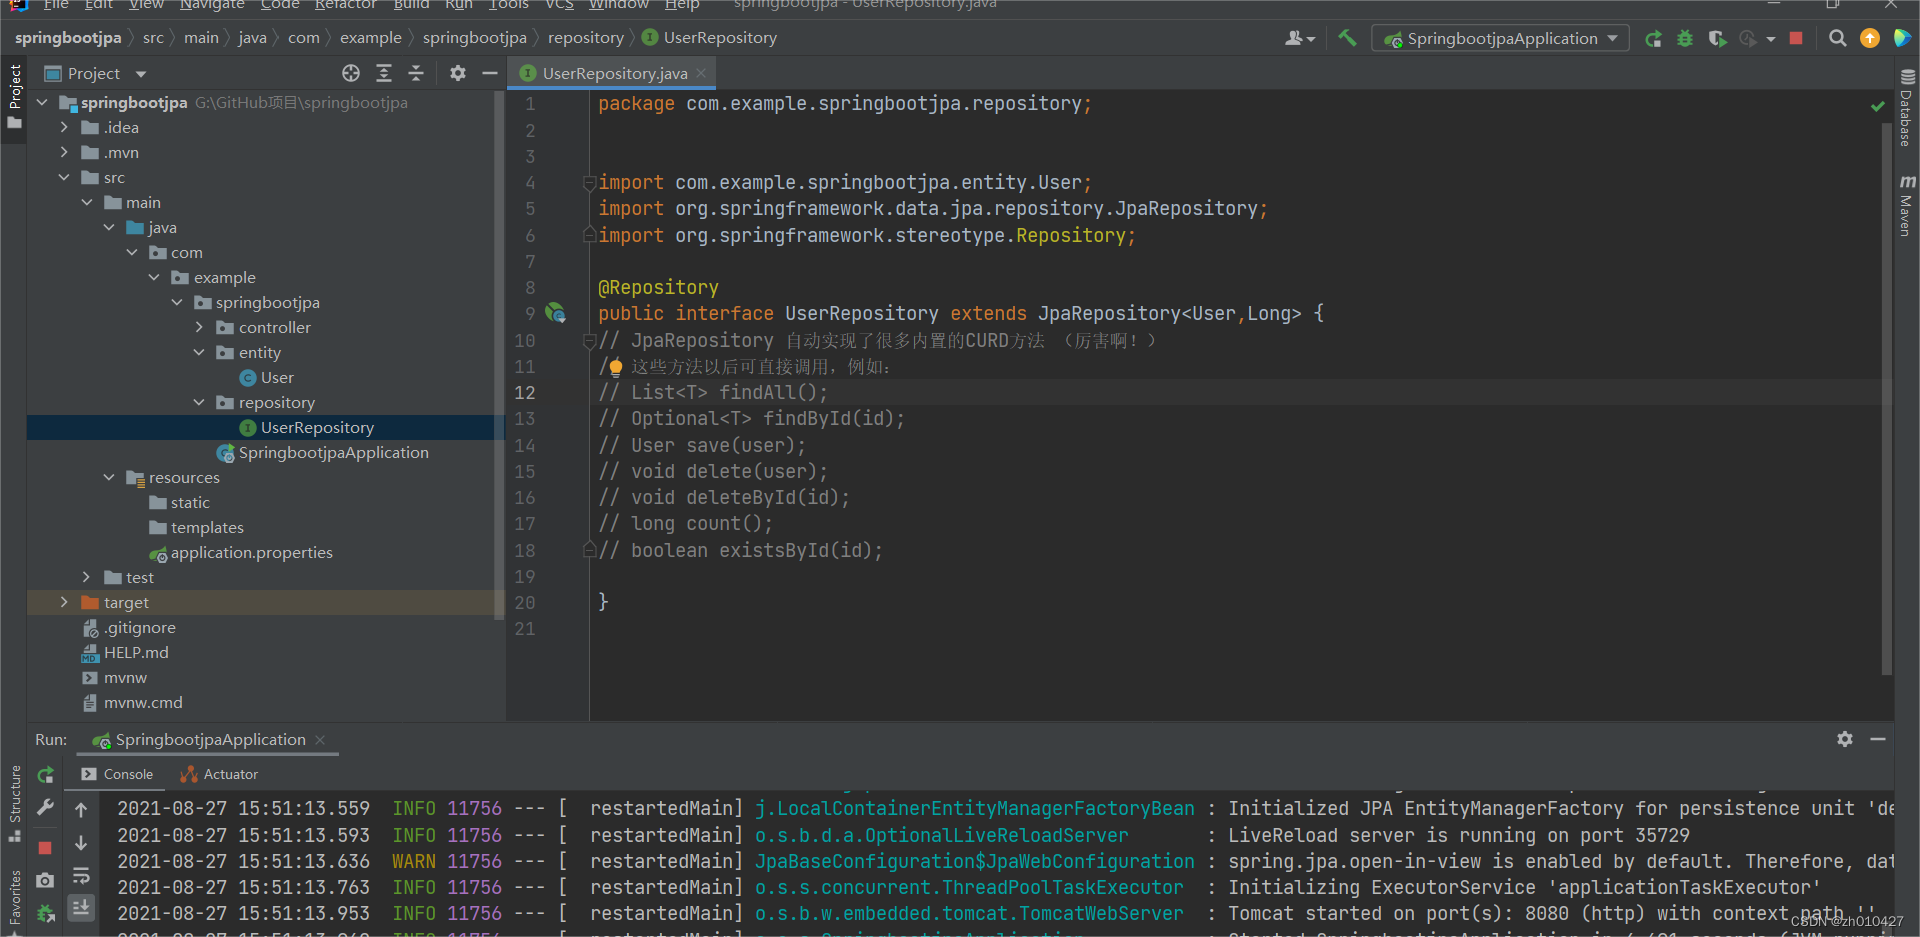
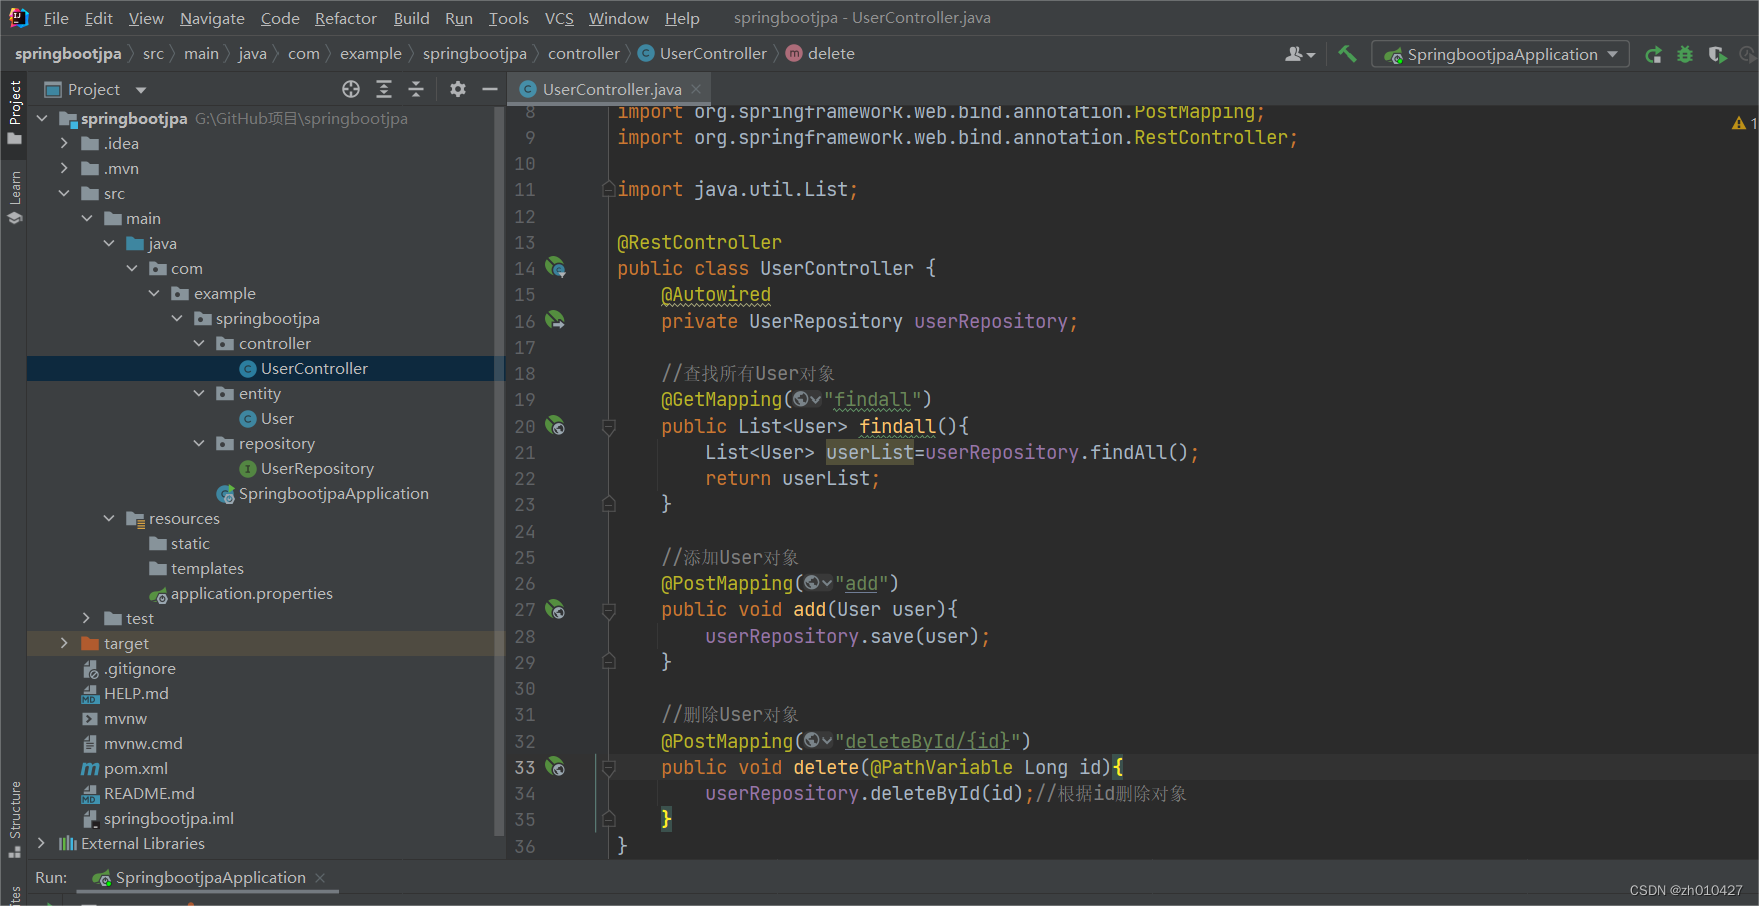
然后启动项目运行启动类SpringbootjpaApplication 这时在创建的数据库springbootjpa中会自动生成表user。表的字段是在实体类User中的属性 六.在springbootjpa文件夹下新建文件夹,命名为repository,类上面添加注解@Repository,表示包含增删改查等功能的接口 七.在springbootjpa文件夹下新建文件夹controller,在controller文件夹中新建类UserController。用来进行jpa的测试。
三个测试方法,分别是查找,添加和删除。在类上添加注解@RestController,表示输出格式为json格式。至此,springboot整合jpa的操作全部完成。
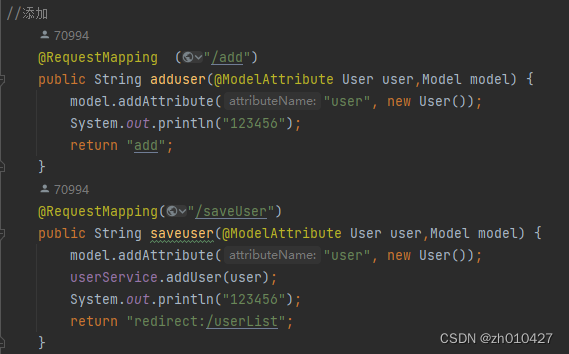
实现增加功能 Controller实现类代码 Service接口
Service实现类
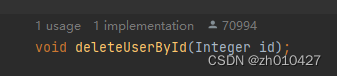
九.实现删除功能 Controller实现类代码
Service接口
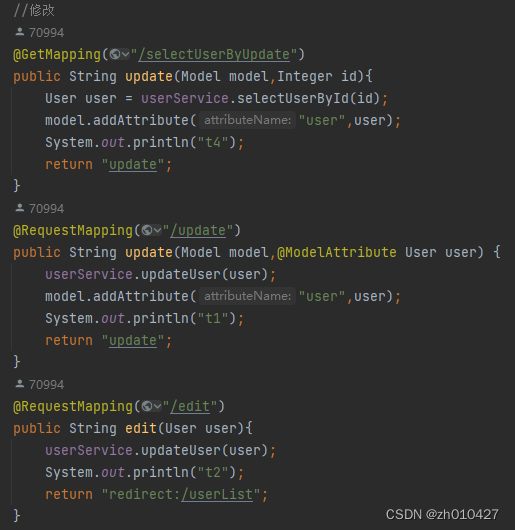
Service实现类 十.实现修改功能 Controller实现类代码
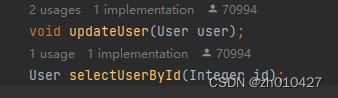
Service接口
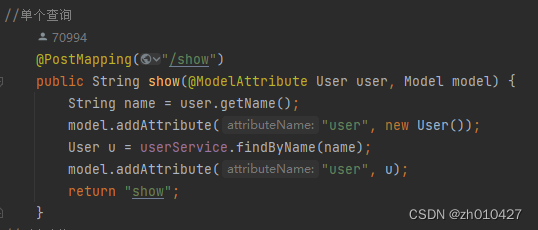
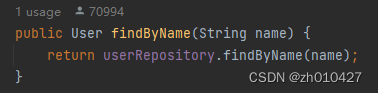
*修改数据 *根据id Service实现类 *根据id返回数据 十一.实现查找功能(分为单个查询和列表查询) 单个查询 Controller实现类代码 Service接口
*根据name查找 Service实现类
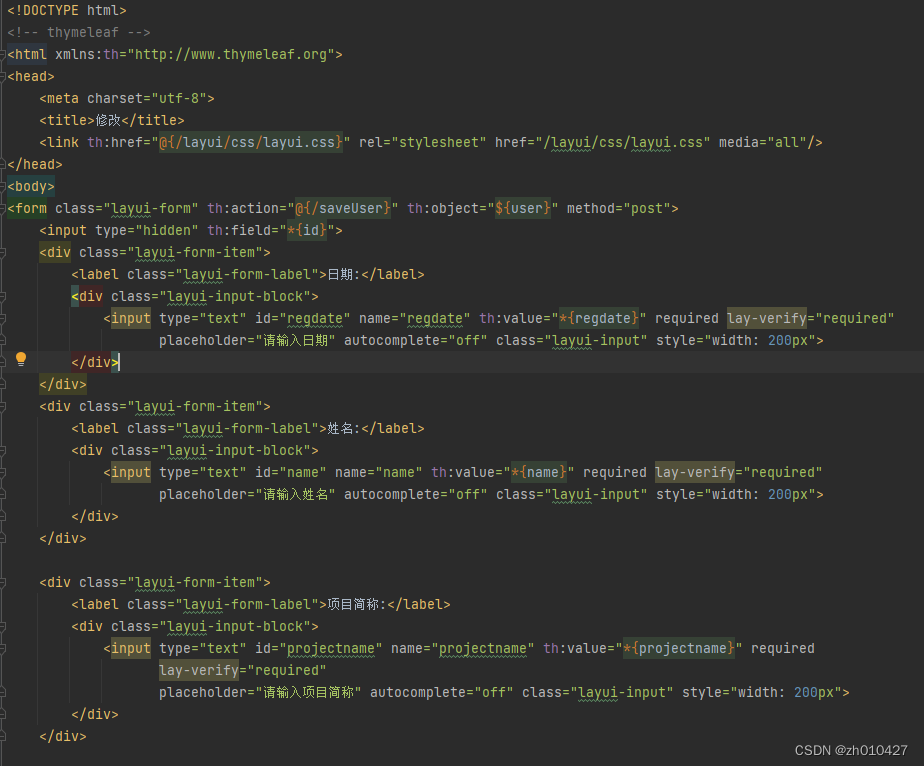
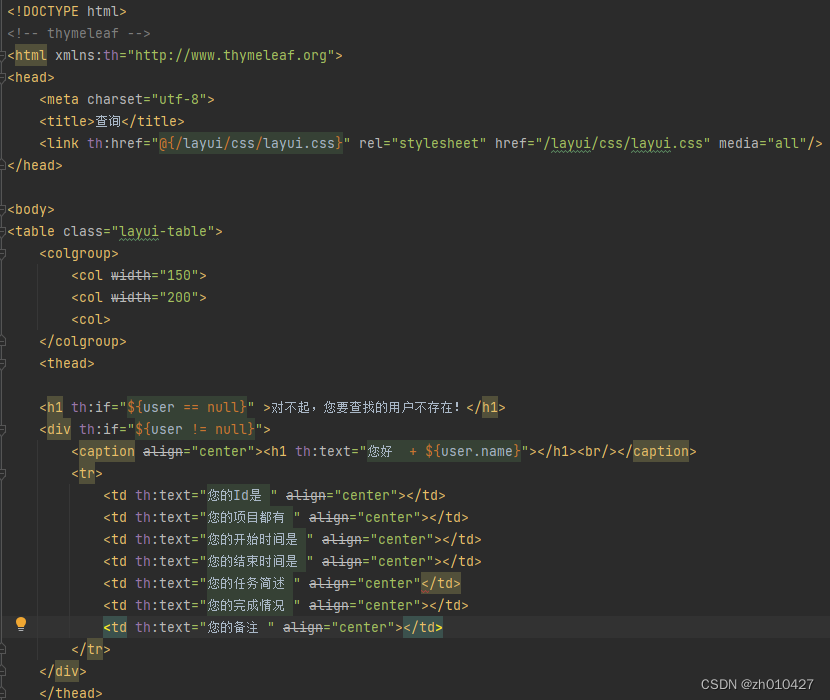
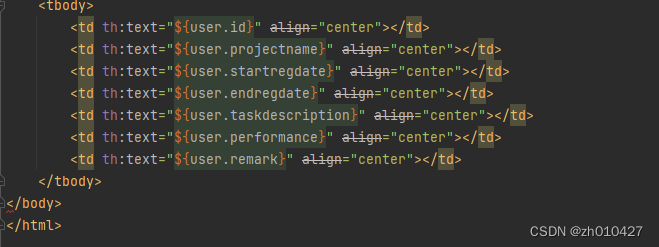
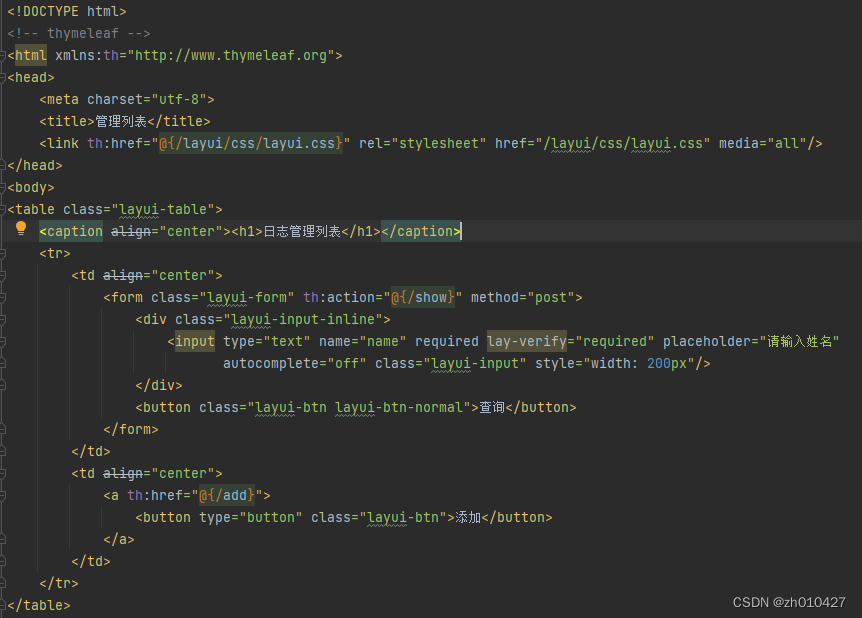
列表查询 Controller实现类代码 Service接口 Service实现类 功能实现代码结束 整合layUI http://layui.dotnetcms.cn下载layui框架然后引入layui,因为springboot默认静态文件存在static中,所以将layui包放入其中。敲重点:要改css和js路径,不仅要改,而且要严格格式,要把下面的路径修改,要加入th:href="@{/layui/css/layui.css}",并且原始的这儿没有给/表示结束,导致之后样式显示不出来。 
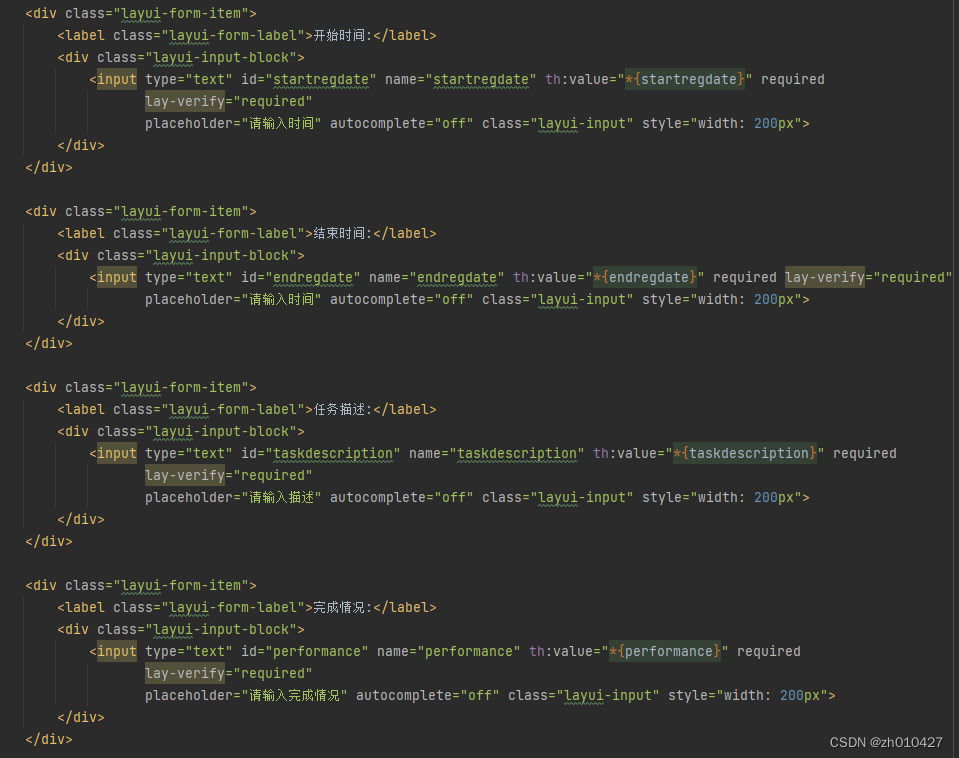
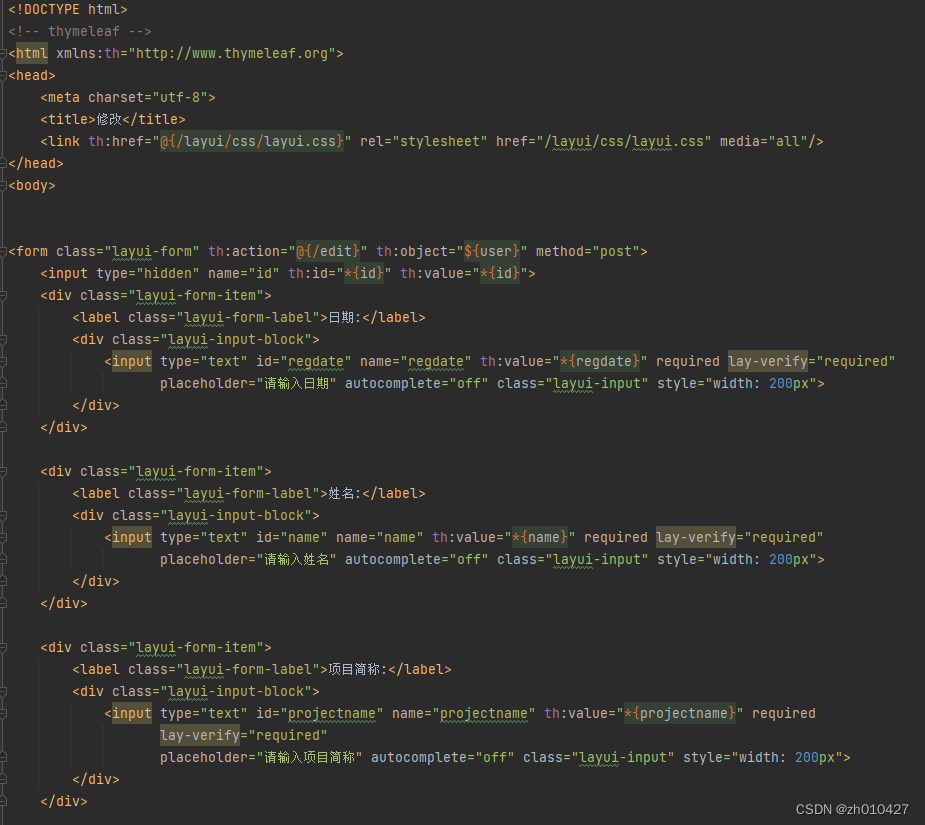
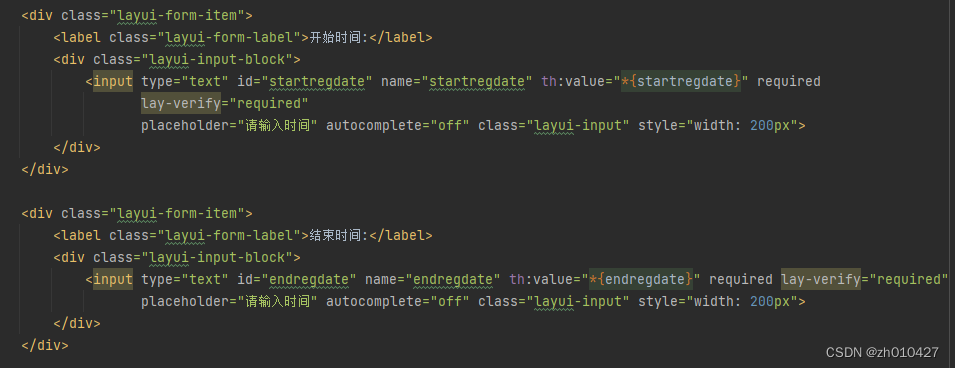
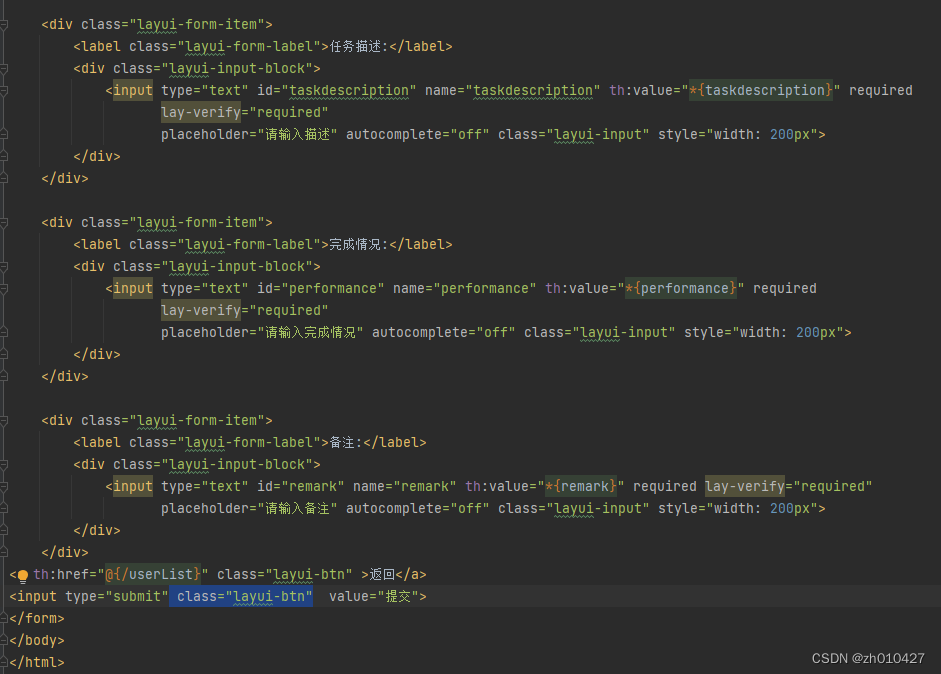
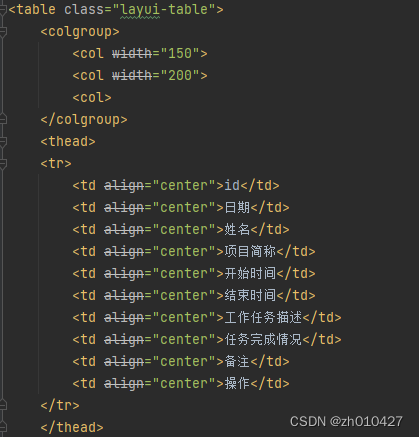
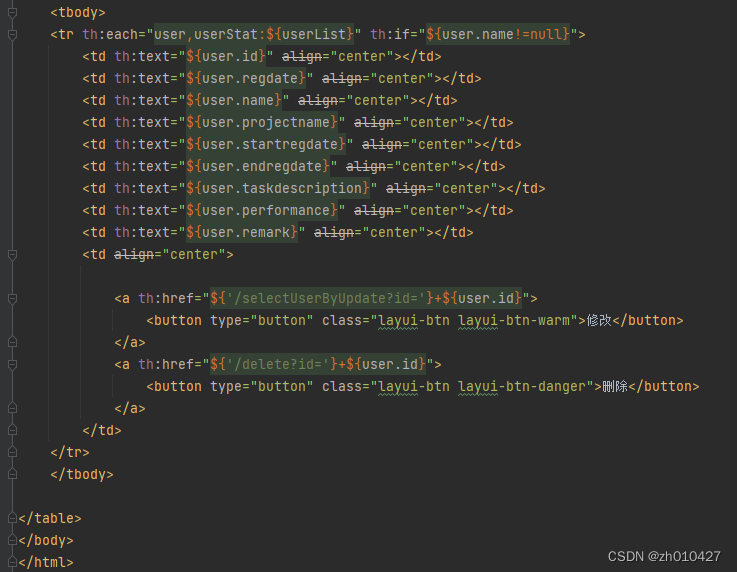
十三.编写前端页面
添加add 修改update 查询select 单个查询 多个查询(由于没做登录页面,多个查询页面集成了所有功能的跳转按钮)单个查询以及添加按钮 多个查询以及修改删除按钮
所有代码至此全部结束,以下是效果展示
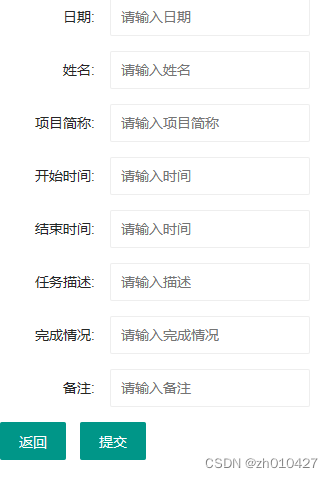
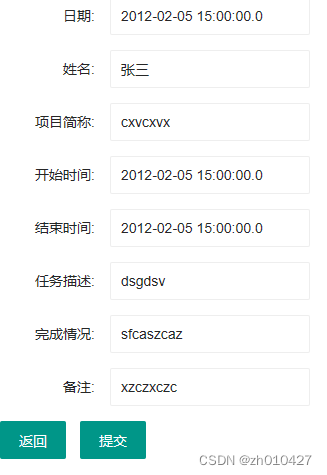
添加页面
修改页面 |


【本文地址】