| Python 用Ursina引擎制作一个3D迷宫游戏 | 您所在的位置:网站首页 › 3d迷宫魔方怎么组装 › Python 用Ursina引擎制作一个3D迷宫游戏 |
Python 用Ursina引擎制作一个3D迷宫游戏
|
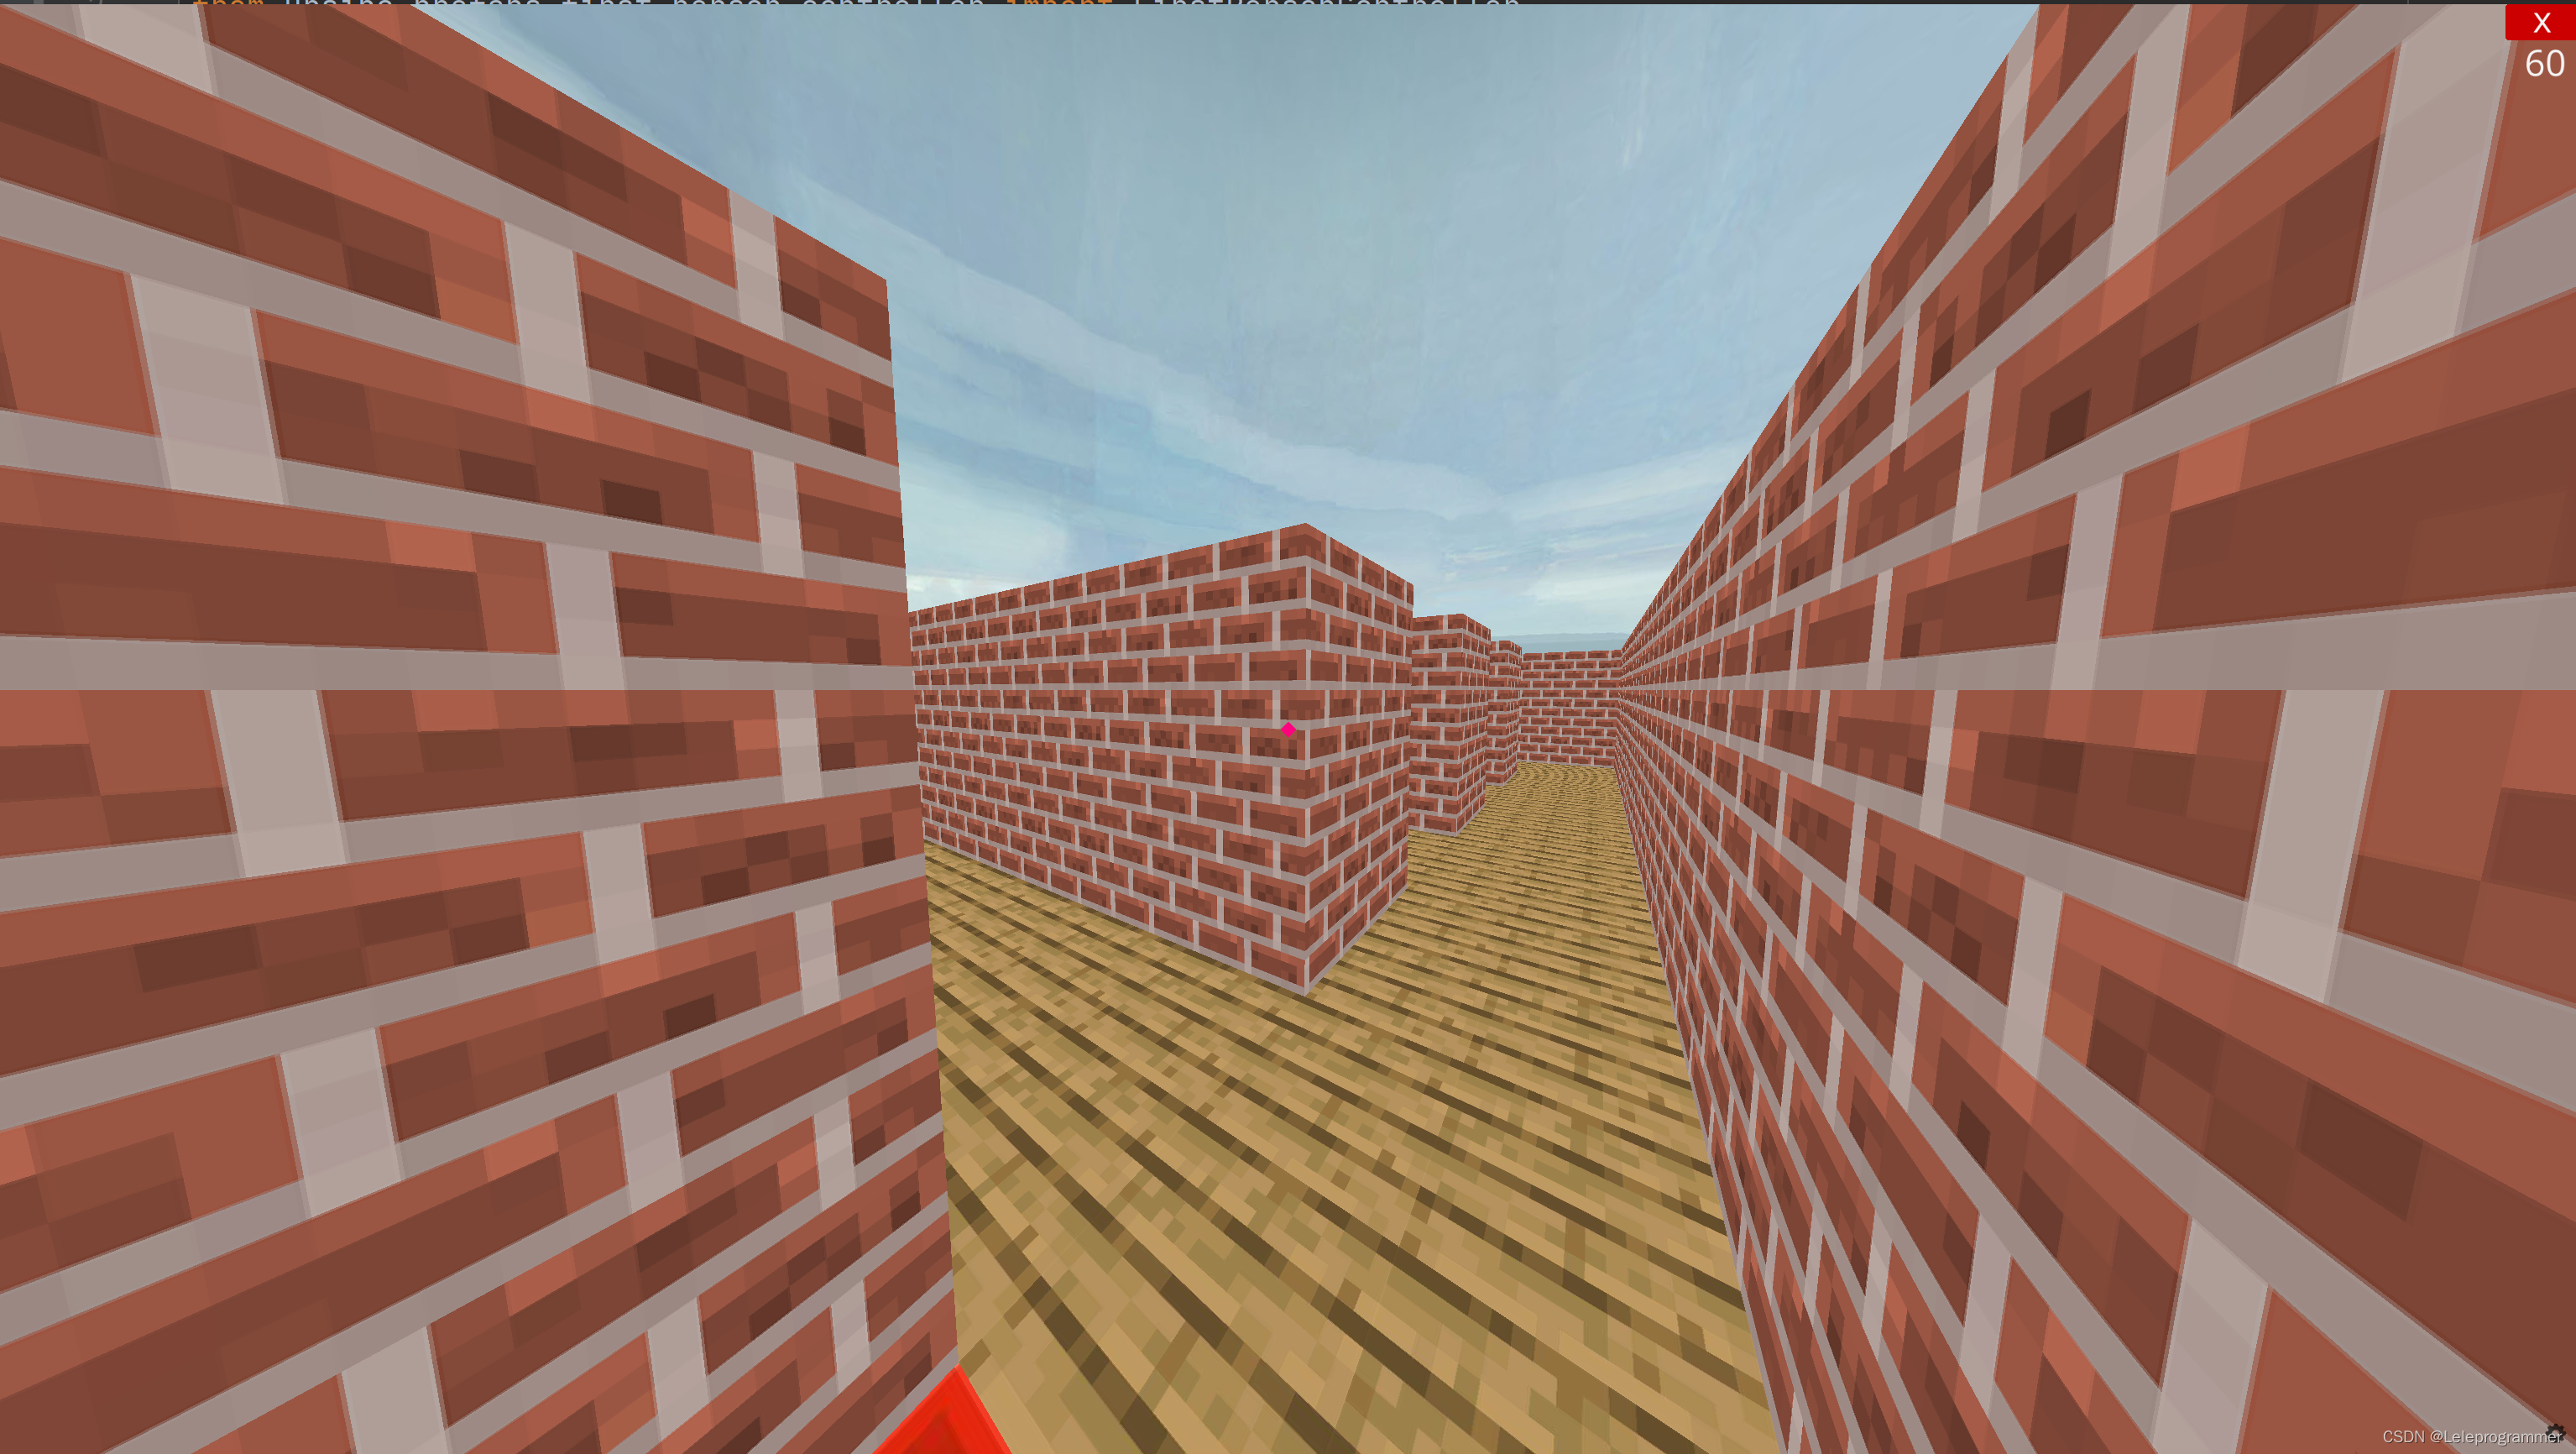
Ursina是一个3D引擎,初步使用方法,见以下文章: 手把手教你用Python编一个《我的世界》 1. 认识Ursina并学会绘制立体图形_Leleprogrammer的博客-CSDN博客_ursinaPython有一个不错的3D引擎——UrsinaUrsina官网:www.ursinaengine.org打开cmd,控制台输入pip install ursina以安装ursina编写第一个程序首先导入ursinafrom ursina import *然后创建appapp=Ursina()运行appapp.run()最终代码:from ursina import *app=Ursina()app.run()如果出现了一个灰色的窗口, 了解完Ursina的初步用法,接下来,我们就开始设计这个3D迷宫游戏啦! 效果:
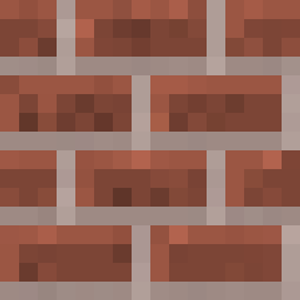
墙面、地板、起始块、终点块所需要的图像资源我放在下面供大家下载 ↓↓ brick.png
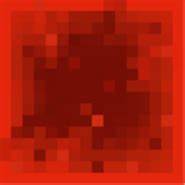
redstoneblock.jpg
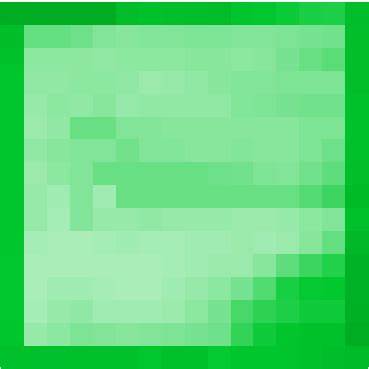
greendiamondblock.jpg
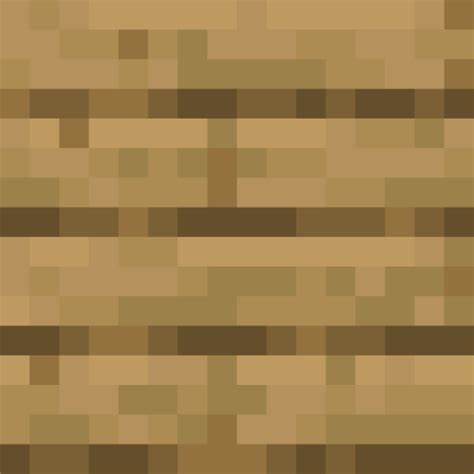
plank.jpg
代码详解: 首先,要用Prim最小生成树的方法生成迷宫,原理就是不断遍历还未遍历过的墙,并不断地删除不需要的墙块,代码见下方文章: Python Prim 算法 生成迷宫_Leleprogrammer的博客-CSDN博客_prim算法生成迷宫Prim算法生成完美迷宫矩阵 Python Prim 算法 生成迷宫_Leleprogrammer的博客-CSDN博客Python Prim算法 通过遍历墙来生成迷宫,快来看看吧! 把生成迷宫的代码命名为create.py 在主程序main.py中导入相关模块,其中ursina是整个3D引擎,ursina中有一个prefabs模块,prefabs中有一些可以直接拿出来用的东西,比如first_person_controller中的FirstPersonController,是用于设置第一人称的,sky中的Sky可以直接生成天空 然后,create模块中createMaze模块就是我们的Prim生成迷宫的算法 from ursina import * from ursina.prefabs.first_person_controller import FirstPersonController from ursina.prefabs.sky import Sky from create import createMaze接下来,创建Ursina主程序 app=Ursina()把刚刚提供给大家的图片存到同目录下的texture文件夹,作为材质包 在程序中引入这些材质 wall_texture=load_texture("texture/brick.png") start_texture=load_texture("texture/redstoneblock.jpg") end_texture=load_texture("texture/greendiamondblock.jpg") ground_texture=load_texture("texture/plank.jpg")创建Wall类,墙壁方块,继承于Button类,注意,这里不要用Entity,Entity是没有碰撞体积的,所以要判断玩家是否落地,需要写更多代码,这里用Button类,后面使用第一人称时可以更方便,这里parent是场景,也就是Ursina里默认的scene,系统已经自动定义好了,model是cube,也就是正方体,texture即材质,position是坐标,坐标现在还未确定,所以在__init__中添加为参数,color设置为白色,这样贴材质的时候才不会让材质变色,设置为白色,可以让材质显示自己本身的颜色,Ursina中有color变量,一些常用的颜色可以这样使用:color.颜色名,或者用rgb的形式 class Wall(Button): def __init__(self,position): super().__init__( parent=scene, model="cube", texture=wall_texture, color=color.white, position=position, origin_y=0.5 )再创建一个类Start,用作起始方块,这里参数都差不多,只改了材质 class Start(Button): def __init__(self,position): super().__init__( parent=scene, model="cube", texture=start_texture, color=color.white, position=position, origin_y=0.5 )然后Ground(地板)和End(结束点)的类也差不多,都只改了个材质 class End(Button): def __init__(self,position): super().__init__( parent=scene, model="cube", texture=end_texture, color=color.white, position=position, origin_y=0.5 ) class Ground(Button): def __init__(self,position): super().__init__( parent=scene, model="cube", texture=ground_texture, color=color.white, position=position, origin_y=0.5 )接下来是Player,我们这里不直接使用Ursina的FirstPersonController,因为它系统已经帮你设置好了行走速度、重力加速度、跳跃等等,这里在Pycharm编辑器里,ctrl+鼠标点FirstPersonController即可看到对应的FirstPersonController的系统代码,系统代码如下: class FirstPersonController(Entity): def __init__(self, **kwargs): self.cursor = Entity(parent=camera.ui, model='quad', color=color.pink, scale=.008, rotation_z=45) super().__init__() self.speed = 5 self.height = 2 self.camera_pivot = Entity(parent=self, y=self.height) camera.parent = self.camera_pivot camera.position = (0,0,0) camera.rotation = (0,0,0) camera.fov = 90 mouse.locked = True self.mouse_sensitivity = Vec2(40, 40) self.gravity = 1 self.grounded = False self.jump_height = 2 self.jump_up_duration = .5 self.fall_after = .35 # will interrupt jump up self.jumping = False self.air_time = 0 for key, value in kwargs.items(): setattr(self, key ,value) # make sure we don't fall through the ground if we start inside it if self.gravity: ray = raycast(self.world_position+(0,self.height,0), self.down, ignore=(self,)) if ray.hit: self.y = ray.world_point.y def update(self): self.rotation_y += mouse.velocity[0] * self.mouse_sensitivity[1] self.camera_pivot.rotation_x -= mouse.velocity[1] * self.mouse_sensitivity[0] self.camera_pivot.rotation_x= clamp(self.camera_pivot.rotation_x, -90, 90) self.direction = Vec3( self.forward * (held_keys['w'] - held_keys['s']) + self.right * (held_keys['d'] - held_keys['a']) ).normalized() feet_ray = raycast(self.position+Vec3(0,0.5,0), self.direction, ignore=(self,), distance=.5, debug=False) head_ray = raycast(self.position+Vec3(0,self.height-.1,0), self.direction, ignore=(self,), distance=.5, debug=False) if not feet_ray.hit and not head_ray.hit: self.position += self.direction * self.speed * time.dt if self.gravity: # gravity ray = raycast(self.world_position+(0,self.height,0), self.down, ignore=(self,)) # ray = boxcast(self.world_position+(0,2,0), self.down, ignore=(self,)) if ray.distance |
【本文地址】