opencv |
您所在的位置:网站首页 › usb摄像头转网络摄像头怎么连接电脑上 › opencv |
opencv
|
项目介绍: 在本项目中,实现从本地摄像头获取数据帧,然后将其转换成ip摄像头数据流并在客户端通过opencv代码实时获取该图像数据进行显示: 当然也能在浏览器通过输入地址进行视频的访问
方式一:Flask推流
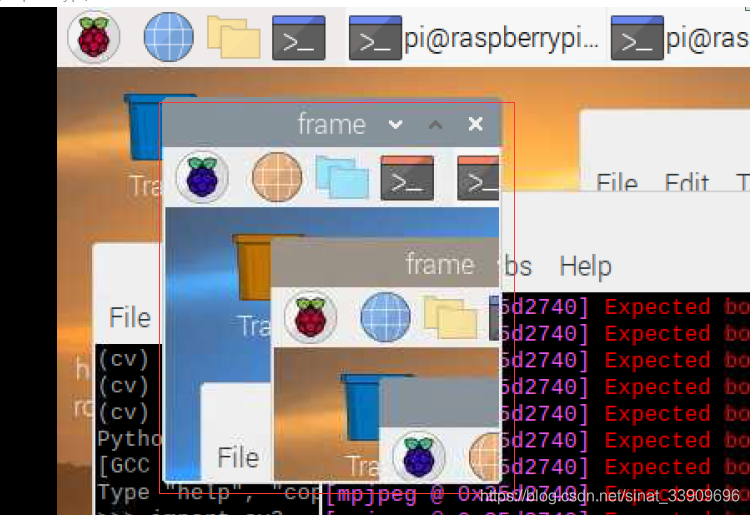
项目所用库版本: Flask : 2.0.1 matplotlib : 3.4.2 numpy : 1.21.1 python : 3.7.3 PyAutoGUI : 0.9.53 opencv : 3.3.0 实验平台 :树莓派 服务器端: import pyautogui from matplotlib import pyplot as plt import cv2 import numpy as np import os from flask import Flask, render_template, Response app = Flask(__name__) def gen(): while(True): img = pyautogui.screenshot() img=np.array(img) eye = img[0:200,0:200] image = cv2.imencode('.jpg', eye)[1].tobytes() yield (b'--frame\r\n' b'Content-Type: image/jpeg\r\n\r\n' + image + b'\r\n') #out.write(eye) #counter += 1 #cv2.imwrite('./test.png',eye) #os.system('scp test.png [email protected]:/home/ceremony/png') #cv2.imshow('sad',eye) #cv2.waitKey(10) #os.system('rm test.png') @app.route('/video_feed') def video_feed(): return Response(gen(), mimetype='multipart/x-mixed-replace; boundary=frame') app.run(host='0.0.0.0',port=5000)说明:因为这里我手里没有摄像头,因此使用了pyautogui库实时截取桌面的某一区域,将其转为numpy格式(因为在opencv中,使用read读取的fram格式就是numpy的,因此这里将其转换为numpy格式) 客户端: 使用opencv读取该ip摄像头的数据流,并实时显示: import cv2 url = 'http://192.168.1.220:5000/video_feed' cap = cv2.VideoCapture(url) while(cap.isOpened()): ret, frame = cap.read() cv2.imshow('frame',frame) cv2.waitKey(10)效果: 出现上面错误并不是因为我们的代码有问题,而是应为树莓派羸弱的性能,导致客户端一次不能读取完一帧图片数据,因此该图片帧就是损坏的,当然不能显示了 解决方式 在服务器端对摄像头的帧数据进行截取,植上传一部分,这里为了还原图片最大真实情况,我截取了200*200的图片中间区域进行试验。 当然最有效的方法还是对图像进行上采样和下采样,在服务器端,我们对图像进行下采样,使图像大小变为原来一般,在客户端对图像进行上采样,使图像扩大为原来的2倍 通过截取图片大小进行解决 服务器端代码: import pyautogui from matplotlib import pyplot as plt import cv2 import numpy as np import os from flask import Flask, render_template, Response app = Flask(__name__) cap = cv2.VideoCapture(0) cap.set(3,640) # set Width cap.set(4,480) # set Height def gen(): while(True): #img = pyautogui.screenshot() #img=np.array(img) ret, frame = cap.read() eye = frame[220:420,140:340] #ret, jpeg = cv2.imencode('.jpg', eye) #re_img = jpeg.tobytes() image = cv2.imencode('.jpg', eye)[1].tobytes() yield (b'--frame\r\n' b'Content-Type: image/jpeg\r\n\r\n' + image + b'\r\n') cv2.waitKey(20) #out.write(eye) #counter += 1 #cv2.imwrite('./test.png',eye) #os.system('scp test.png [email protected]:/home/ceremony/png') #cv2.imshow('sad',eye) #cv2.waitKey(10) #os.system('rm test.png') @app.route('/video_feed') def video_feed(): return Response(gen(), mimetype='multipart/x-mixed-replace; boundary=frame') app.run(host='0.0.0.0',port=5000)客户端代码: import cv2 url = 'http://192.168.1.220:5000/video_feed' cap = cv2.VideoCapture(url) while(True): ret, frame = cap.read() cv2.imshow('frame',frame) cv2.waitKey(50)效果如下: 客户端代码: import cv2 url = 'http://192.168.1.220:5000/video_feed' cap = cv2.VideoCapture(url) while(True): ret, frame = cap.read() dst = cv2.pyrUp(frame) cv2.imshow('frame',dst) cv2.waitKey(1)效果: Expected boundary '--' not found, instead found a line of 127 bytes 该问题参考文章: 链接1 链接2 链接3 链接4 链接5 flask参考文章:链接 其他方法: 1、搭建USB摄像头转RTSP服务器的多种方法 2、搭建USB摄像头转RTSP服务器的三种方法 3、搭建USB摄像头转RTSP服务器的多种方法 4、opencv 获取rtsp流媒体视频的实现方法 ffserver不存在解决 方式二:MJPG-streamer进行推流参考链接 |
 注意: 上述是通过截屏的方式进行的,在使用真实的摄像头时,不对服务器端进行设置在浏览器中是完全可以访问的,但是如果通过上面的opencv的代码进行获取就会出问题:会报如下错误:
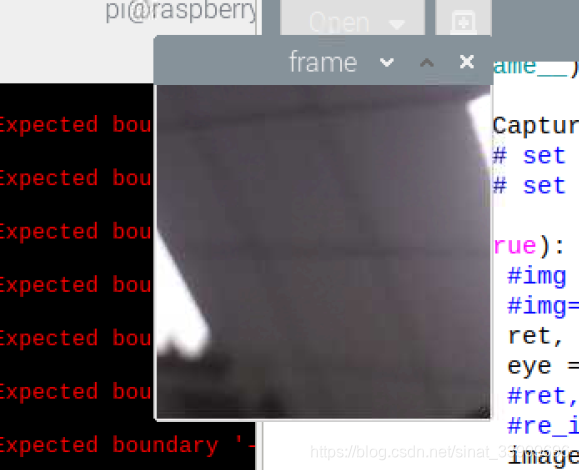 通过上下采样进行解决 服务器端代码:
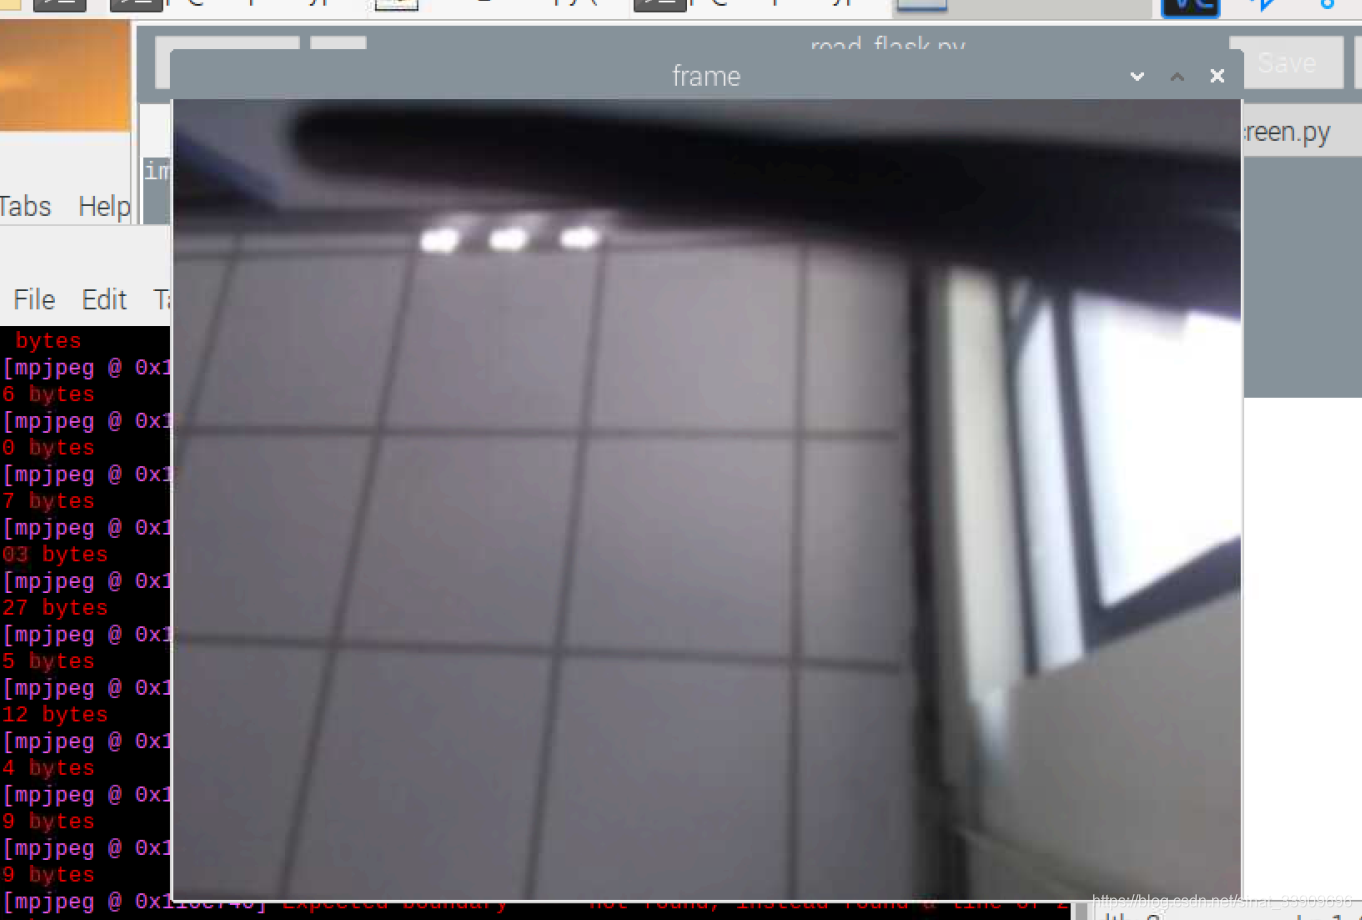
【本文地址】
今日新闻 |
点击排行 |
|
推荐新闻 |
图片新闻 |
|
专题文章 |