MATLAB如何使用CIFAR |
您所在的位置:网站首页 › matlab神经网络训练完怎么存 › MATLAB如何使用CIFAR |
MATLAB如何使用CIFAR
|
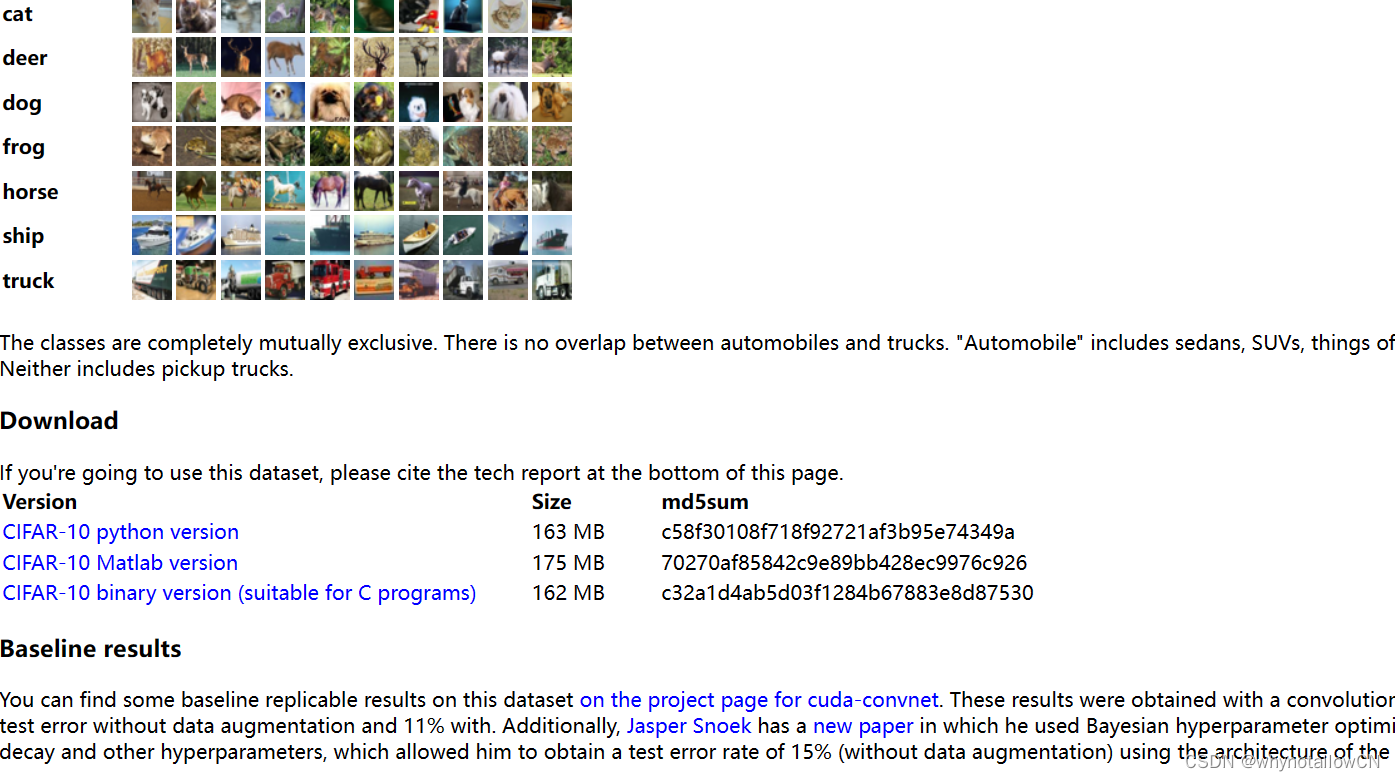
目录 下载CIFAR-10数据集 对数据集进行处理 设计网络结构 基础识别网络的设计 基础网络的训练结果和改进 改进网络的结果分析 附 关于CIFAR数据集网上已经有很多使用的教程,MATLAB官方也给出了一个示例,但是因为课程要求我们不能使用网上的示例,并且要自己分析网络结构对于训练结果的影响,所以我写了这篇文章,记录一下自己摸索着使用CIFAR-10数据集的过程。 下载CIFAR-10数据集点击下面这个链接,找到下图里蓝色字样的下载链接就可以下载CIFAR-10的数据集啦。按照需求下载即可,我需要在MATLAB里处理这些数据,因此下载的是MATLAB version。 CIFAR-10 and CIFAR-100 datasets (toronto.edu)
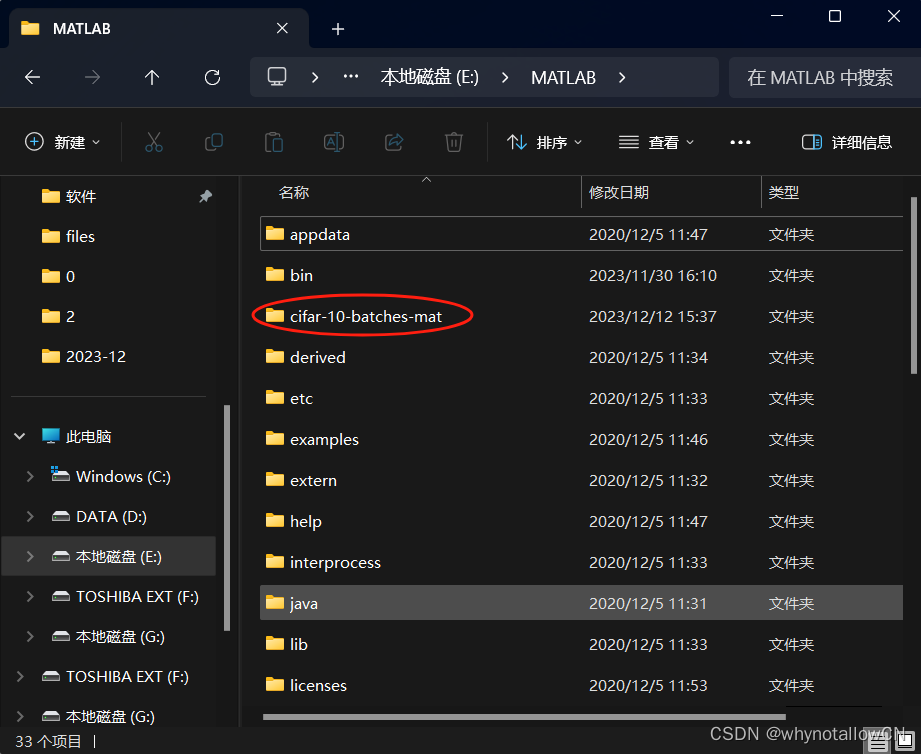
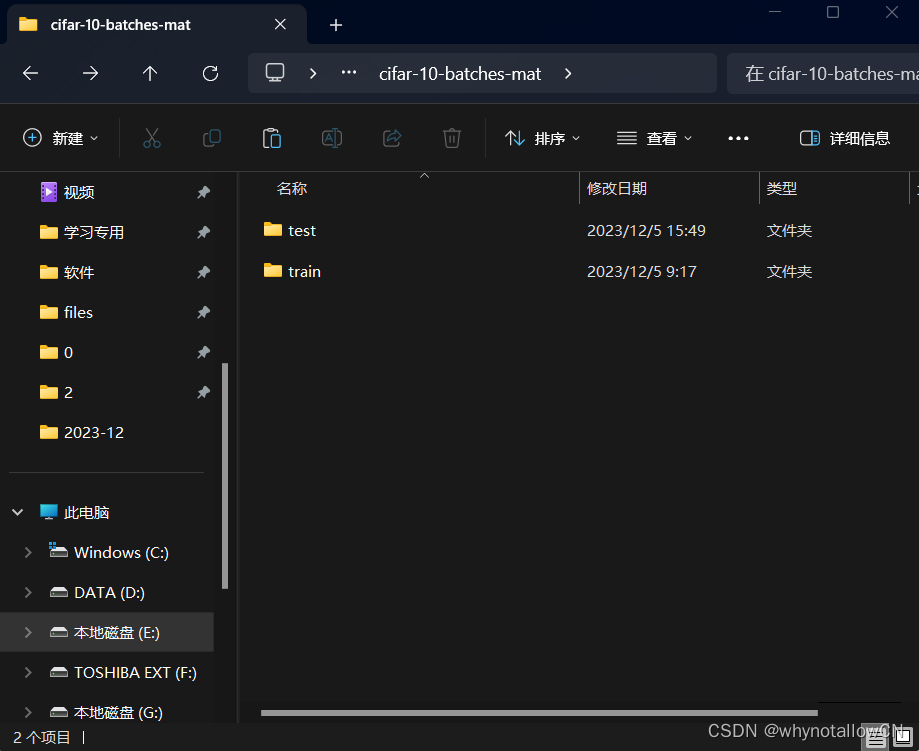
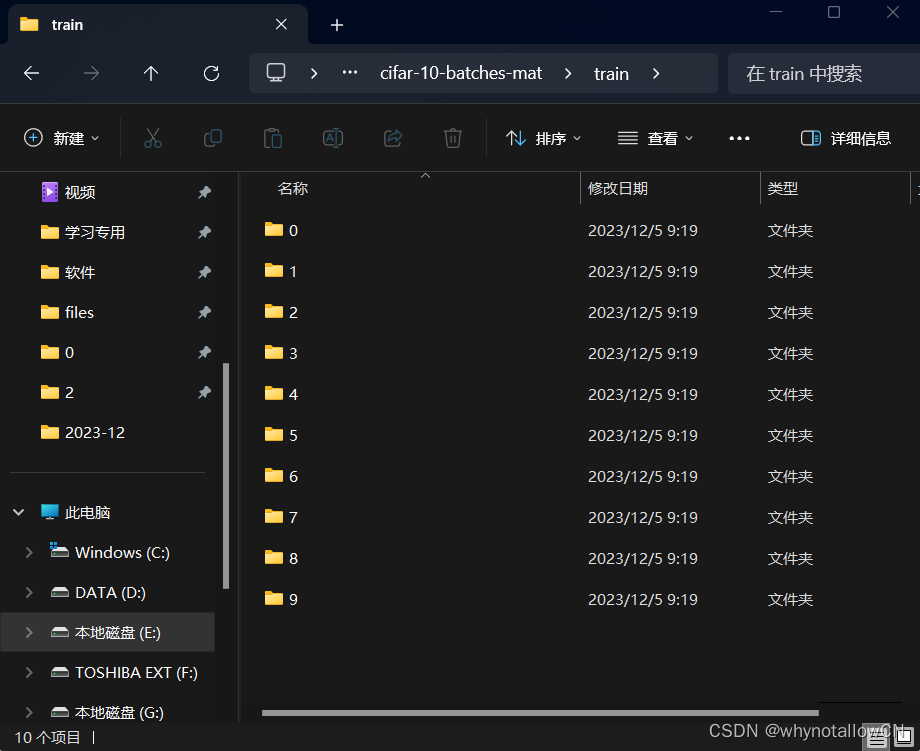
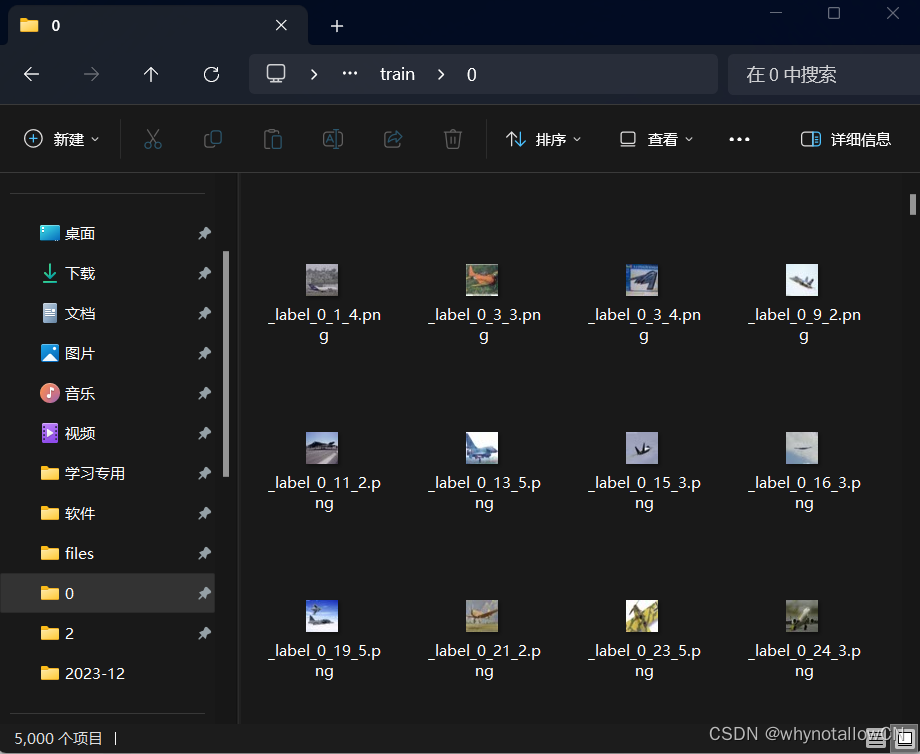
由于我的训练网络是在MATLAB提供的示例基础上进行修改得来的,而该网络读取的是.jpg或,png格式的文件,但CIFAR-10提供的是.mat格式的文件,因此需要先对解压后的CIFAR-10文件进行处理。 首先在MATLAB的根目录下创建名为“CIFAR-10-batches-mat”的文件夹,并在该文件夹下创建名为“test”和“train”的文件夹,在“test”和“train”文件夹里分别创建名为“0”-“9”的文件夹。等会我们要把数据集里的图片存到这里,训练集的十类数据按类放进“train”文件夹下的“0”-“9”的文件夹里,同样,测试集的十类数据放进“test”文件夹下的“0”-“9”的文件夹里。(选择其他位置也可以,只是放在MATLAB根目录下调用起来比较方便)
之后就可以使用MATLAB把数据集里的图片按标签放在这些文件夹里啦,具体的代码如下: %% 从test_batch中提取图片的代码 load(['E:\MATLAB\cifar-10-batches-mat\test_batch.mat'])%这里的路径需要换成自己的.mat文件的路径 for i=1:size(data,1) p=data(i,:); label=labels(i); fig=zeros(32,32,3); fig(:,:,1)=reshape(p(1:1024),32,32)'; fig(:,:,2)=reshape(p(1025:2048),32,32)'; fig(:,:,3)=reshape(p(2049:end),32,32)'; imwrite(fig/256,['E:\MATLAB\cifar-10-batches-mat\test\',num2str(label), '\_label_' num2str(label) '_' num2str(i) ,'.png'])%这里的路径换成你需要保存的路径 end %% 从data batch 1-5中提取图片的代码 for j =1:5 load(['E:\MATLAB\cifar-10-batches-mat\data_batch_',num2str(j),'.mat'])%这里改成data_batch所在的路径 for i=1:size(data,1) p=data(i,:); label=labels(i); fig=zeros(32,32,3); fig(:,:,1)=reshape(p(1:1024),32,32)'; fig(:,:,2)=reshape(p(1025:2048),32,32)'; fig(:,:,3)=reshape(p(2049:end),32,32)'; imwrite(fig/256,['E:\MATLAB\cifar-10-batches-mat\train\',num2str(label), '\_label_' ,num2str(label) ,'_', num2str(j),'_', num2str(i) ,'.png'])%这里改成想要保存的路径 end end如果将数据集解压到MATLAB根目录下,并按照上文的要求在MATLAB根目录下创建了文件夹,那么代码中注释的部分就只需要修改前面MATLAB的路径即可。 执行完代码后你会发现,“test”和“train”的每个子文件夹下图片都已经按照它的类别分好了。比如“0”文件夹,其中就只包含标签为“airplane”的图片。
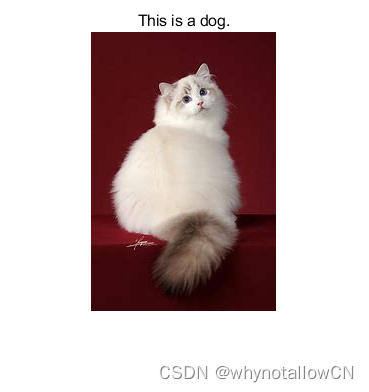
首先向MATLAB中导入这些图片和对应的标签,代码如下: digitDatasetPath = fullfile(matlabroot,'cifar-10-batches-mat','train'); imds = imageDatastore(digitDatasetPath, ... 'IncludeSubfolders',true,'LabelSource','foldernames'); YTrain=imds.Labels; digitTestDatasetPath = fullfile(matlabroot,'cifar-10-batches-mat','test'); test_imds = imageDatastore(digitDatasetPath, ... 'IncludeSubfolders',true,'LabelSource','foldernames');其中“matlabroot”变量代表MATLAB的根目录位置。 之后设置网络输入参数,因为CIFAR数据集提供的是 网络的设置了三层卷积层,相邻卷积层之间通过池化层连接,最后连接一个全连接层。这样一个简单的网络就设计好啦。训练轮次MaxEpochs设置为20轮,验证集ValidationData设置为刚导入的测试集图片“test_imds”,验证频率ValidationFrequency设置为30,即可开始训练。完整代码如下 %% 导入训练集数据和验证集数据 digitDatasetPath = fullfile(matlabroot,'cifar-10-batches-mat','train'); imds = imageDatastore(digitDatasetPath, ... 'IncludeSubfolders',true,'LabelSource','foldernames'); YTrain=imds.Labels; digitTestDatasetPath = fullfile(matlabroot,'cifar-10-batches-mat','test'); test_imds = imageDatastore(digitDatasetPath, ... 'IncludeSubfolders',true,'LabelSource','foldernames'); % figure; % perm = randperm(10000,20); % fprint("B7744F63DB749E48C05C06F7F3BD11D4") % for i = 1:20 % subplot(4,5,i); % imshow(imds.Files{perm(i)}); % end labelCount = countEachLabel(imds) img = readimage(imds,1); for i =1:50000 XTrain(:,:,:,i)=readimage(imds,i); end size(img) %% 设置训练参数 imageSize = [32 32 3]; pixelRange = [-4 4]; imageAugmenter = imageDataAugmenter( ... 'RandXReflection',true, ... 'RandXTranslation',pixelRange, ... 'RandYTranslation',pixelRange); augimdsTrain = augmentedImageDatastore(imageSize,XTrain,YTrain, ... 'DataAugmentation',imageAugmenter, ... 'OutputSizeMode','randcrop'); %% 设置网络结构 layers = [ imageInputLayer([32 32 3]) convolution2dLayer(5,16,'Padding','same') batchNormalizationLayer reluLayer maxPooling2dLayer(2,'Stride',2) convolution2dLayer(5,32,'Padding','same') batchNormalizationLayer reluLayer maxPooling2dLayer(2,'Stride',2) convolution2dLayer(5,64,'Padding','same') batchNormalizationLayer reluLayer fullyConnectedLayer(10) softmaxLayer classificationLayer]; %% 设置训练选项 options = trainingOptions('sgdm', ... 'InitialLearnRate',0.01, ... 'MaxEpochs',20, ... 'Shuffle','every-epoch', ... 'ValidationData',test_imds, ... 'ValidationFrequency',30, ... 'Verbose',false, ... 'Plots','training-progress','ExecutionEnvironment','gpu'); net = trainNetwork(augimdsTrain,layers,options); %% 对有效识别图片进行分类并计算准确率 YPred = classify(net,test_imds); YValidation = test_imds.Labels; accuracy = sum(YPred == YValidation)/numel(YValidation)把上面的代码粘到MATLAB里直接运行即可。训练时间大概为30min(因硬件不同而异),训练之后就可以得到一个能够识别这十类图片的网络了。 基础网络的训练结果和改进根据上文的代码,即可训练出一个网络。但是我训练完这个网络之后发现一个问题,那就是该网络对“猫”和“狗”的识别效果很差。
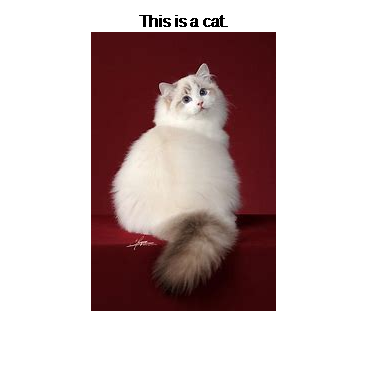
可以看到,在混淆矩阵中有接近一半的“猫”图片被识别为“狗”(3代表“猫”类,5代表“狗”类)。让神经网络识别在网上找的猫猫图片,同样会把猫识别成狗。说明网络对于猫和狗的细节部分还是没有把握住。因此可以考虑增加卷积层的数量,同时增加训练的迭代轮数,强化网络对猫和狗的不同特征的学习。代码如下: %% 导入训练集数据和验证集数据 digitDatasetPath = fullfile(matlabroot,'cifar-10-batches-mat','train'); imds = imageDatastore(digitDatasetPath, ... 'IncludeSubfolders',true,'LabelSource','foldernames'); YTrain=imds.Labels; digitTestDatasetPath = fullfile(matlabroot,'cifar-10-batches-mat','test'); test_imds = imageDatastore(digitDatasetPath, ... 'IncludeSubfolders',true,'LabelSource','foldernames'); % figure; % perm = randperm(10000,20); % fprint("B7744F63DB749E48C05C06F7F3BD11D4") % for i = 1:20 % subplot(4,5,i); % imshow(imds.Files{perm(i)}); % end labelCount = countEachLabel(imds) img = readimage(imds,1); for i =1:50000 XTrain(:,:,:,i)=readimage(imds,i); end size(img) %% 设置训练参数 imageSize = [32 32 3]; pixelRange = [-4 4]; imageAugmenter = imageDataAugmenter( ... 'RandXReflection',true, ... 'RandXTranslation',pixelRange, ... 'RandYTranslation',pixelRange); augimdsTrain = augmentedImageDatastore(imageSize,XTrain,YTrain, ... 'DataAugmentation',imageAugmenter, ... 'OutputSizeMode','randcrop'); %% 设置网络结构 layers = [ imageInputLayer([32 32 3]) convolution2dLayer(5,32,'Padding','same') batchNormalizationLayer leakyReluLayer maxPooling2dLayer(2,'Stride',2) convolution2dLayer(5,64,'Padding','same') batchNormalizationLayer leakyReluLayer maxPooling2dLayer(2,'Stride',2) convolution2dLayer(5,128,'Padding','same') batchNormalizationLayer leakyReluLayer maxPooling2dLayer(2,'Stride',2) convolution2dLayer(5,256,'Padding','same') batchNormalizationLayer leakyReluLayer maxPooling2dLayer(2,'Stride',2) convolution2dLayer(5,512,'Padding','same') batchNormalizationLayer leakyReluLayer fullyConnectedLayer(10) softmaxLayer classificationLayer]; %% 设置训练选项 options = trainingOptions('sgdm', ... 'InitialLearnRate',0.01, ... 'MaxEpochs',50, ... 'Shuffle','every-epoch', ... 'ValidationData',test_imds, ... 'ValidationFrequency',200, ... 'Verbose',false, ... 'Plots','training-progress','ExecutionEnvironment','gpu'); net = trainNetwork(augimdsTrain,layers,options); %% 对有效识别图片进行分类并计算准确率 YPred = classify(net,test_imds); YValidation = test_imds.Labels; accuracy = sum(YPred == YValidation)/numel(YValidation)训练轮次调整为了50,并且网络又增加了2层卷积层,因此训练起来会更费时间,大概在50min左右。 改进网络的结果分析改进以后的网络虽然训练时间更长了,但是识别结果也更准了,对“猫”类的识别正确率由原来的57.5%一下子提高到92.8%,整体识别率为95.69%,提高了很多。原本识别错误的猫猫图片现在也能识别正确了。
训练好的网络对图片进行分类的代码 myImage1=imread('图片位置'); figure,imshow(myImage1) myImagex=imresize(myImage1,[32,32]); YPred1=classify(net,myImagex); str_YPred1=string(YPred1); num_YPred=double(str_YPred1); switch num_YPred case 0 fprintf('This is a airplane.\n') title('This is a airplane.') case 1 fprintf('This is a automobile.\n') title('This is a automobile.') case 2 fprintf('This is a bird.\n') title('This is a bird.') case 3 fprintf('This is a cat.\n') title('This is a cat.') case 4 fprintf('This is a deer.\n') title('This is a deer.') case 5 fprintf('This is a dog.\n') title('This is a dog.') case 6 fprintf('This is a frog.\n') title('This is a frog.') case 7 fprintf('This is a horse.\n') title('This is a horse.') case 8 fprintf('This is a ship.\n') title('This is a ship.') case 9 fprintf('This is a truck.\n') title('This is a truck.') end绘制混淆矩阵图的代码这里就不放啦,有需要可以私信我。
|


【本文地址】
今日新闻 |
点击排行 |
|
推荐新闻 |
图片新闻 |
|
专题文章 |