|
手动添加控件
一、右键Form1.cs查看代码,进入到程序编辑界面 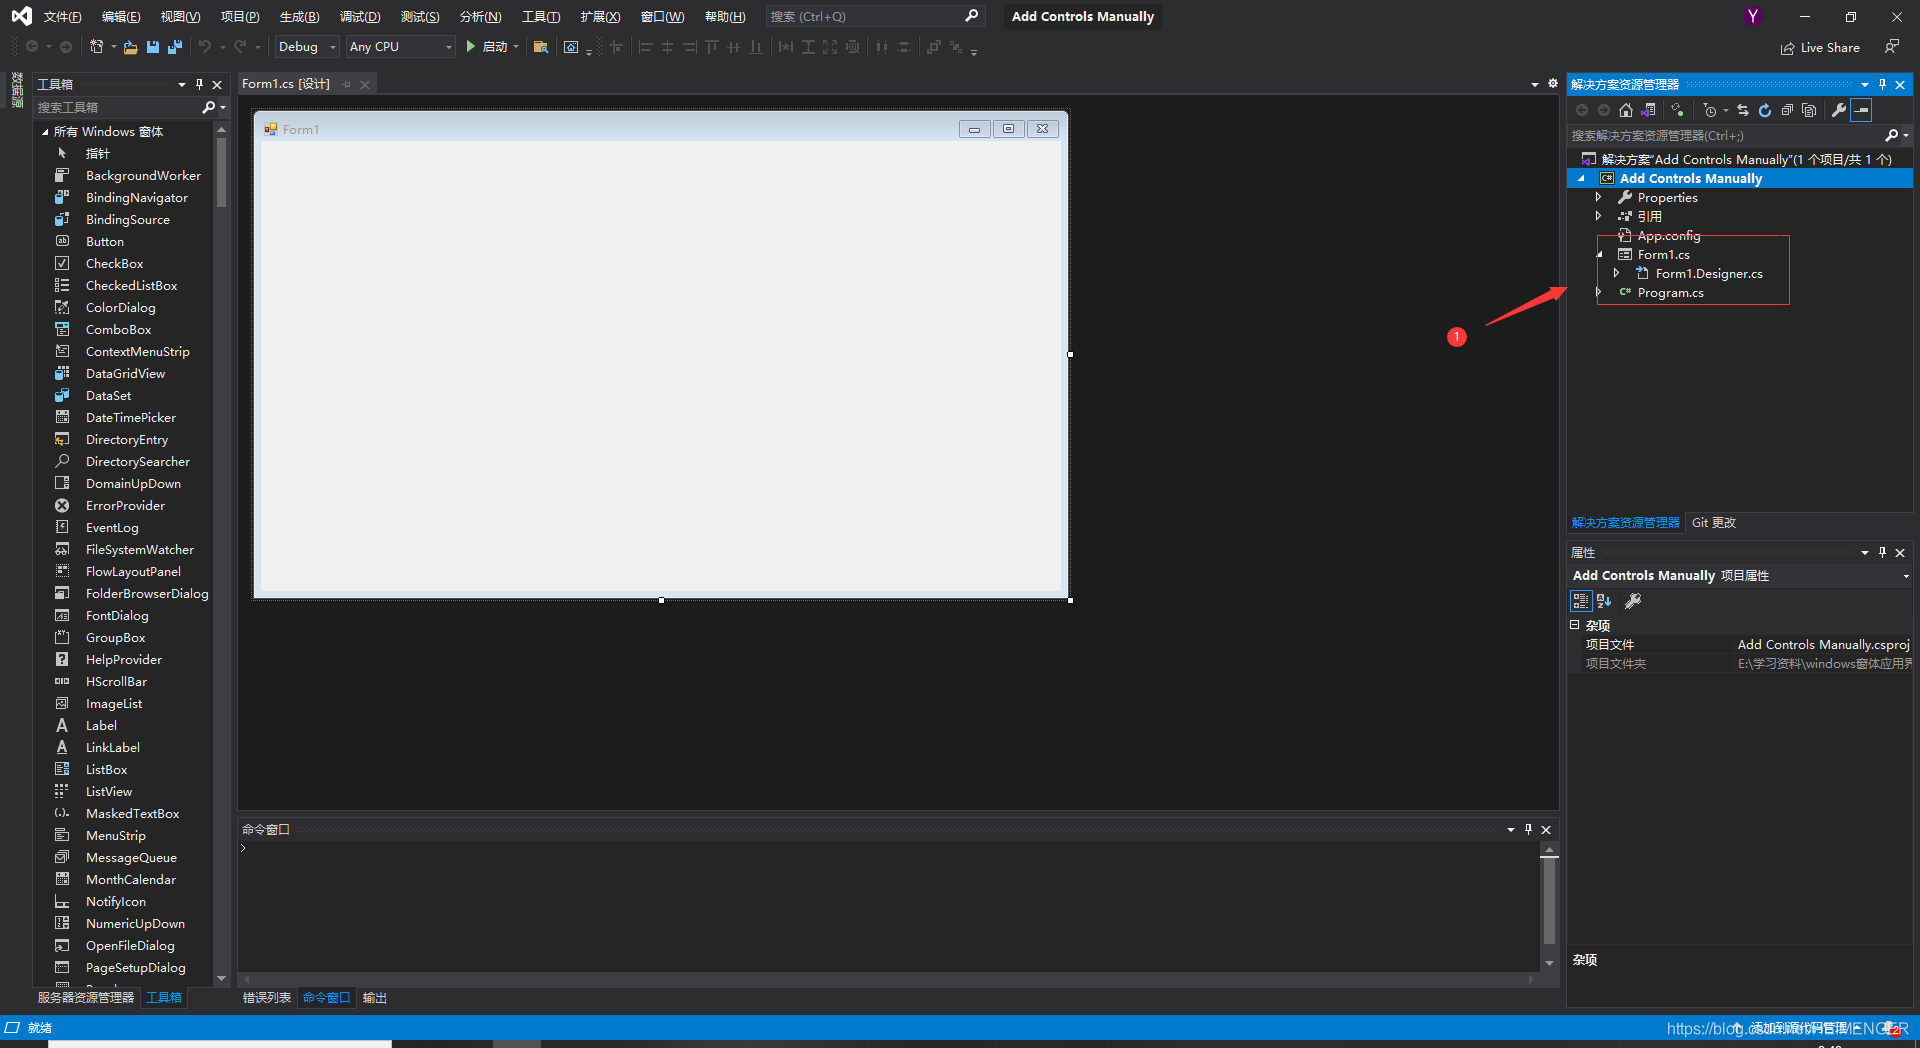
二、在public Form1()前添加Button控件的类 代码如下图标号①红框中的内容  三、在 InitializeComponent()下添加Button控件并命名 代码如下图标号①红框中的内容 三、在 InitializeComponent()下添加Button控件并命名 代码如下图标号①红框中的内容  点击启动,出现以下界面 点击启动,出现以下界面  这时发现按钮一直在左上角,并且不是很大,不便于观察,添加以下两句语句,即可更改位置和大小 这时发现按钮一直在左上角,并且不是很大,不便于观察,添加以下两句语句,即可更改位置和大小  点击启动后,显示如下 点击启动后,显示如下  这样,手动添加控件就算完成了。 要点与细节 Form1.cs 为添加业务代码 Form1.Designer.cs 界面代码自动生成,一般不需要手动修改 InitializeComponent() 界面初始化,在他之后添加代码 一般都是在界面设计器添加控件,有时需要手动添加,就需要以上的操作 这样,手动添加控件就算完成了。 要点与细节 Form1.cs 为添加业务代码 Form1.Designer.cs 界面代码自动生成,一般不需要手动修改 InitializeComponent() 界面初始化,在他之后添加代码 一般都是在界面设计器添加控件,有时需要手动添加,就需要以上的操作
using System;
using System.Collections.Generic;
using System.ComponentModel;
using System.Data;
using System.Drawing;
using System.Linq;
using System.Text;
using System.Threading.Tasks;
using System.Windows.Forms;
namespace Add_Controls_Manually
{
public partial class Form1 : Form
{
private Button testButton = new Button(); //设定控件类
public Form1()
{
InitializeComponent(); //程序初始化
this.Controls.Add(testButton); //添加控件
testButton.Text = "测试"; //控件命名
testButton.Location = new Point(40,40); //更改控件坐标
testButton.Size = new Size(400, 400); //更改控件大小
}
}
}
|