| LINUX Rocky9.1 安装 最新版 NVIDIA | 您所在的位置:网站首页 › 英伟达自动安装驱动 › LINUX Rocky9.1 安装 最新版 NVIDIA |
LINUX Rocky9.1 安装 最新版 NVIDIA
|
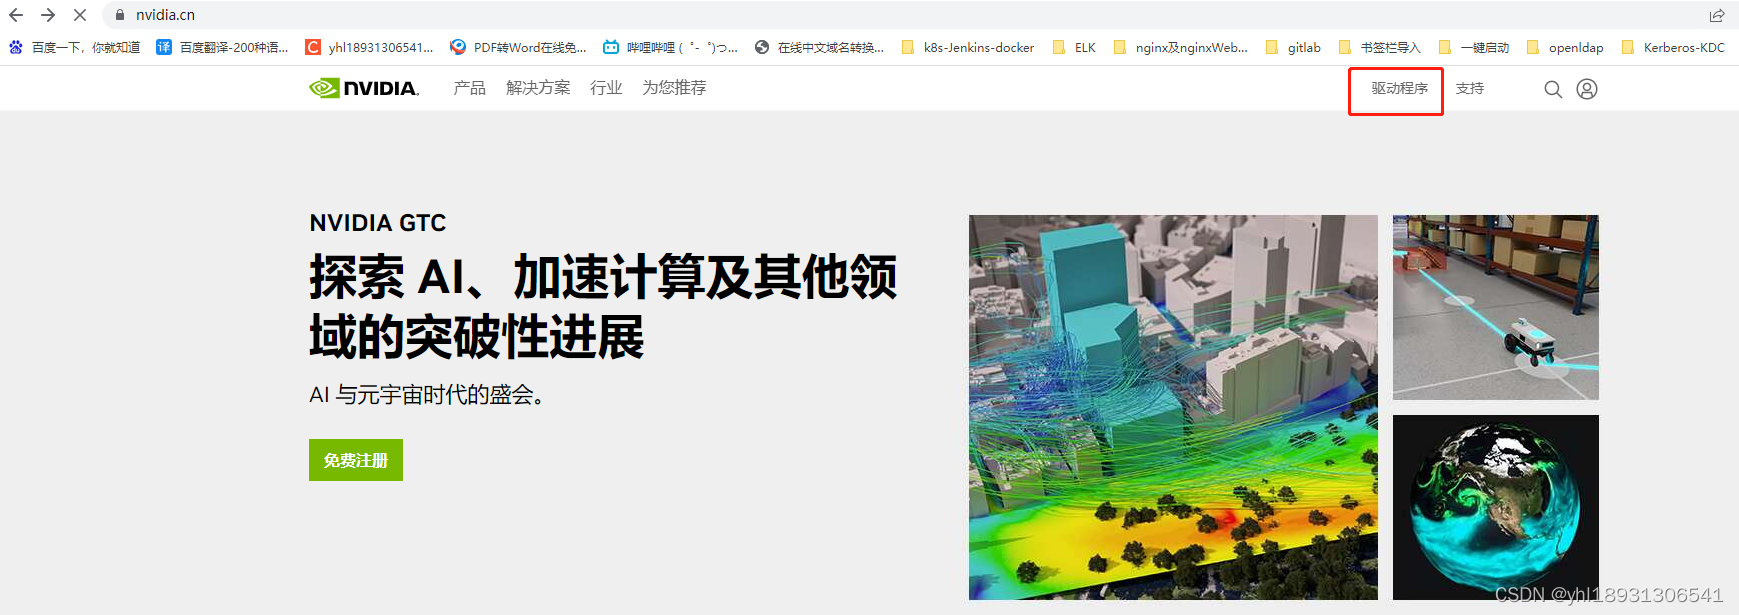
介绍: linux版本NVIDIA版本CUDA 版本GPU 型号Rocky 9.1NVIDIA-x86_64-525.85.12cuda_12.0.1_525.85.12P40前期准备: yum -y install net-tools yum -y install vim wget yum -y install lrzsz yum install epel-release yum install dnf yum install gcc kernel-devel kernel-headers -y yum install -y elfutils-libelf-devel yum -y install dkms 安装 dkms 时,会自动安装最新版的 kernel的一些组件,在安装完成时必须卸载掉 ,如果不安装 dkms 会报以下错 Uncompressing NVIDIA Accelerated Graphics Driver for Linux-x86_64 515.105.01 Extraction failed. Signal caught, cleaning up rpm -qa | grep kernel kernel-devel-5.14.0-162.6.1.el9_1.x86_64.rpm kernel-headers-5.14.0-284.11.1.el9_2.x86_64.rpm uname -a Linux localhost.localdomain 5.14.0-162.6.1.el9_1.x86_64 #1 SMP PREEMPT_DYNAMIC Fri Nov 18 02:06:38 UTC 2022 x86_64 x86_64 x86_64 GNU/Linux 查看 kernel-devel 内核版本 是否一样 如果不一样 需要卸载之后手动下载 手动下载地址 wget https://yum.oracle.com/repo/OracleLinux/OL9/appstream/x86_64/getPackage/kernel-devel-5.14.0-162.6.1.el9_1.x86_64.rpm yum -y install kernel-devel-5.14.0-162.6.1.el9_1.x86_64.rpm wget https://repo.almalinux.org/almalinux/9/AppStream/x86_64/os/Packages/kernel-headers-5.14.0-284.11.1.el9_2.x86_64.rpm 如果上方地址下载失败,则到下方百度网盘下载这个安装包 链接:https://pan.baidu.com/s/1UgGM3QZmbImfgJisgXd5AA?pwd=z01a 提取码:z01a yum -y install kernel-headers-5.14.0-284.11.1.el9_2.x86_64.rpm 注意:##################### **这个版本必须和系统版本一致** 命令行输出:lspci |grep -i nvidia 查看nvidia显卡信息显示如下: 0b:00.0 NIVIDIA compatible controller: Matrox Electronics Systems Ltd. G200eR2 如果没有lspci命令,执行:yum -y install pci*,就能在线安装lspci。 然后在命令行执行:lspci -v -s 0b:00.0 显示显卡大致信息,说明系统已经识别显卡。修改各个配置文件 配置文件如果不存在,直接新建修改一: vim /usr/lib/modprobe.d/dist-blacklist.conf blacklist nouveau options nouveau modeset=0修改二: vim /etc/modprobe.d/dccp-blacklist.conf blacklist dccp blacklist dccp_diag blacklist dccp_ipv4 blacklist dccp_ipv6 blacklist nouveau blacklist nvidiafb options nouveau modeset=0修改三: vim /etc/modprobe.d/blacklist-nouveau.conf blacklist nouveau options nouveau modeset=0 blacklist nvidiafb修改四: vim /etc/modprobe.d/blacklist.conf blacklist nouveau options nouveau modeset=0 blacklist nvidiafb blacklist vga16fb blacklist nouveau blacklist rivafb blacklist rivatv备份initramfs: mv /boot/initramfs-$(uname -r).img /boot/initramfs-$(uname -r).img.bak重新建立initramfs: dracut -v /boot/initramfs-$(uname -r).img $(uname -r)启动服务 systemctl set-default multi-user.target刷新文本,重启服务器 init 3 reboot ## 重启后,检查nouveau driver确保没有被加载! 为空就对了 lsmod | grep nouveau 安装 NVIDIA浏览器访问: https://www.nvidia.cn/ 点击驱动程序
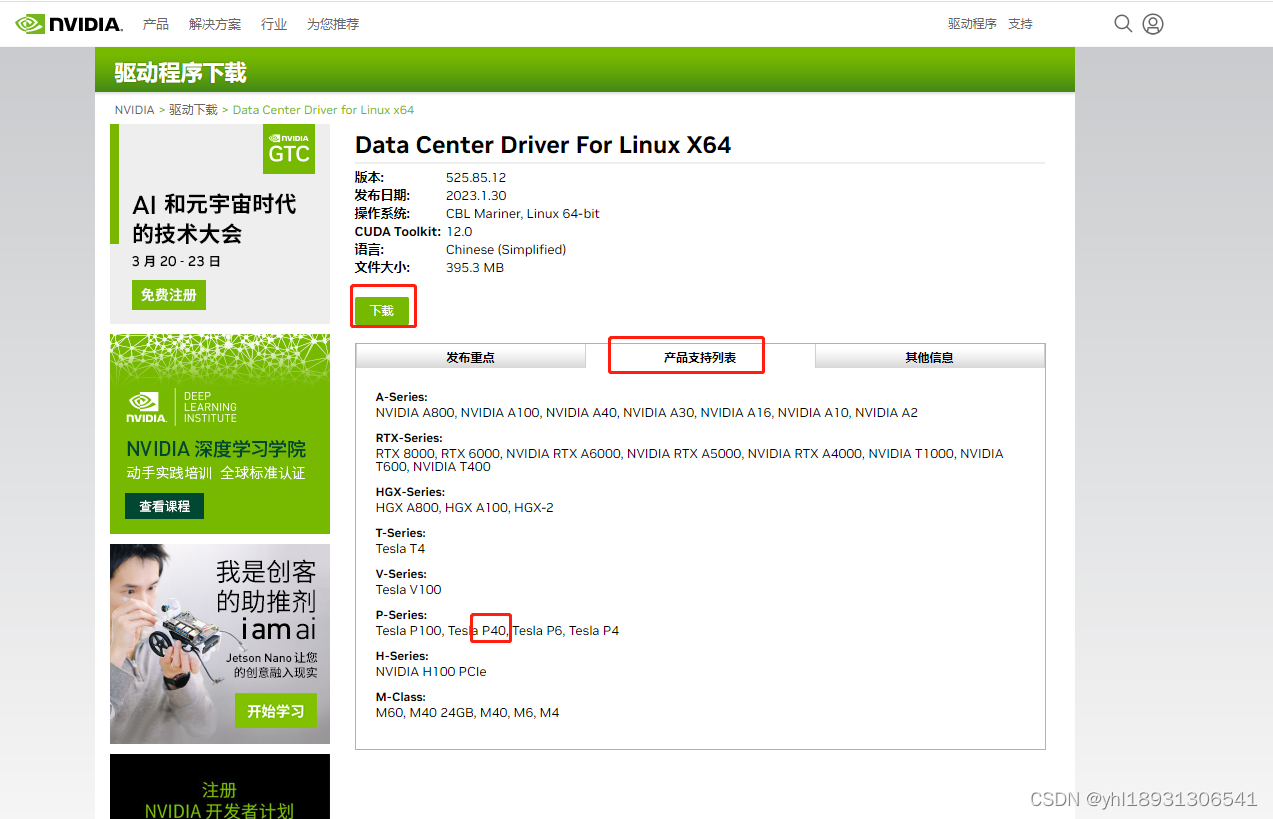
选择 产品类型:选择 Data Center/Tesla 产品系列:(我的GPU是P系列)选择P-Series 产品家族:(我的GPU型号是P40)选择P40 操作系统:Linux 64-bit CUDA toolkit : 12.0 语言默认即可 点击搜索
执行安装命令: chmod 755 NVIDIA-Linux-x86_64-525.85.12.run 执行如下命令: ./NVIDIA-Linux-x86_64-525.85.12.run --kernel-source-path=/usr/src/kernels/5.14.0-162.12.1.el9_1.0.2.x86_64/ --no-drm --no-opengl-files --kernel-source-path 参数:指定内核源码位置 默认在 /usr/src/ 下 --no-drm : 不安装drm模块 也可以使用 rpm -qa | grep kernel 查看内核版本 如果升级内核之后 进入系统不识别IP 使用 rpm -qa | grep kernel 把新装的内核版本卸载重启就可以了
处理:说明安装的kernel-devel 版本与系统版本不一致。 如图:安装NVIDIA X驱动程序模块 点击OK
如图: Install NVIDIA’s 32-bit compatibility libraries? 是否安装NVIDIA的32位兼容库? 选择 NO 不安装
如图: 尝试安装“vulkan加载器”、“vulkanicd加载器”或“libvulkan1”包。 点击OK
如图: 这里选NO 出现以下,证明安装完成
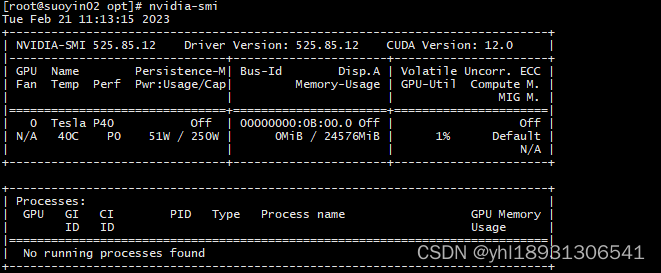
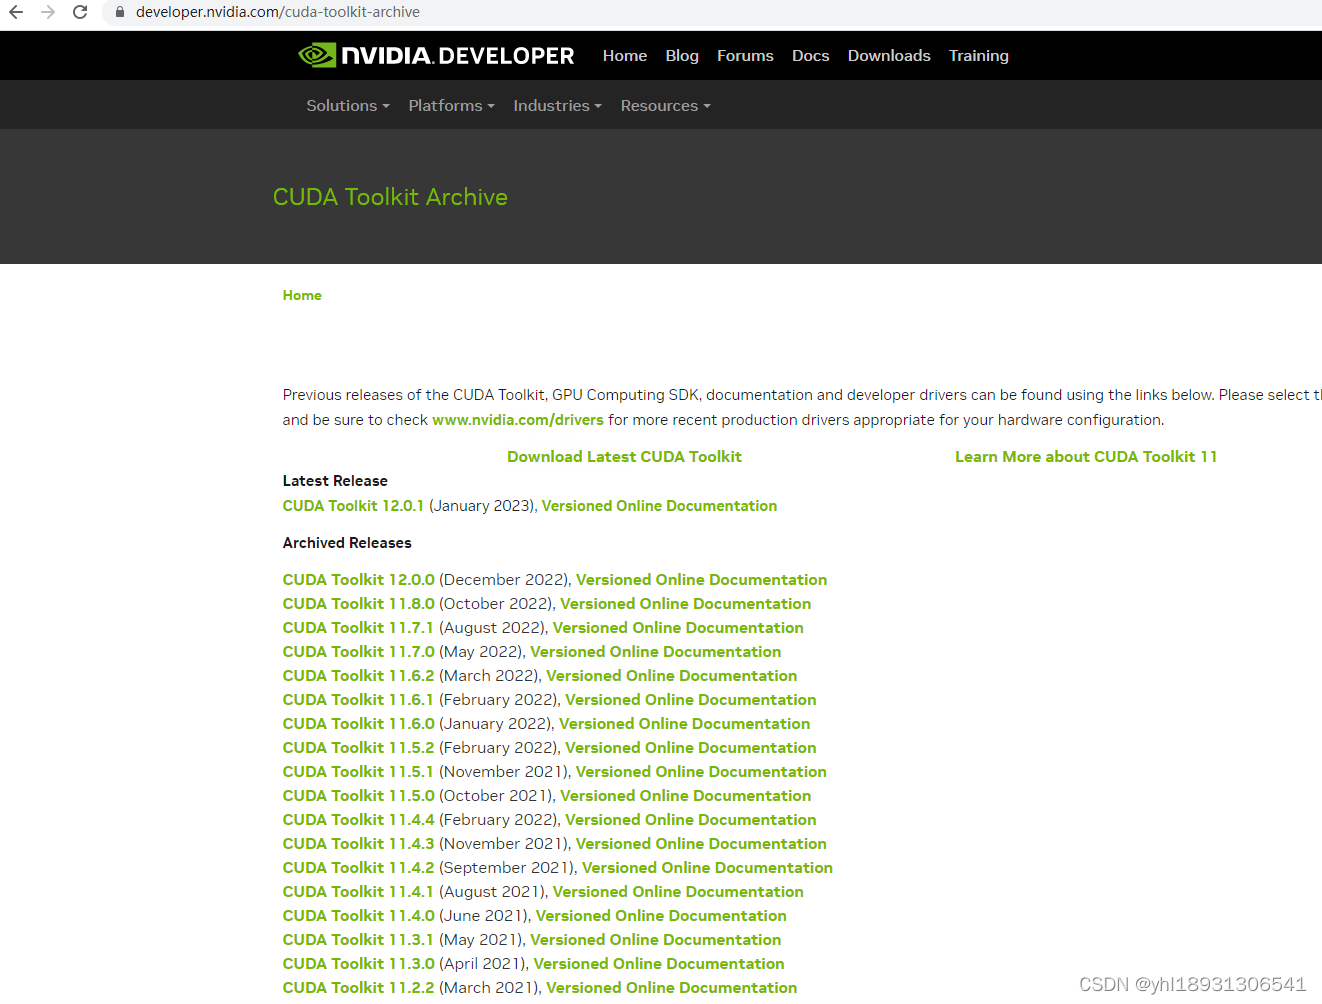
查看日志:无报错 [root@suoyin02 opt]# tail -f /var/log/nvidia-installer.log executing: '/usr/bin/chcon -t textrel_shlib_t /usr/lib64/libnvidia-opticalflow.so.525.85.12'... executing: '/usr/sbin/ldconfig'... executing: '/usr/sbin/depmod -a '... executing: '/usr/bin/systemctl daemon-reload'... -> done. -> Driver file installation is complete. -> Running post-install sanity check: -> done. -> Post-install sanity check passed. -> Installation of the NVIDIA Accelerated Graphics Driver for Linux-x86_64 (version: 525.85.12) is now complete.测试安装结果 执行:nvidia-smi如图: 有的GPU执行这个命令之后,声音特别大,一直持续,视为正常。目前作者也是这样,换了几个版本GPU还是如此,不知道是什么原因,有待解决 安装CUDA其他版本下载地址:https://developer.nvidia.com/cuda-toolkit-archive
此版本下载地址:https://developer.nvidia.com/cuda-downloads
如图:
使用上下左右键 将鼠标放到 Install 上 回车 等待 报错: Installation failed. See log at /var/log/cuda-installer.log for details. 查看日志 日志里面让查看/var/log/nvidia-installer.log 这个日志文件,继续看
ERROR: Unable to find the kernel source tree for the currently running kernel. Please make sure you have installed the kernel source files for your kernel and that they are properly configured; on Red Hat Linux systems, for example, be sure you have the ‘kernel-source’ or ‘kernel-devel’ RPM installed. If you know the correct kernel source files are installed, you may specify the kernel source path with the ‘–kernel-source-path’ command line option. ERROR: Installation has failed. Please see the file ‘/var/log/nvidia-installer.log’ for details. You may find suggestions on fixing installation problems in the README available on the Linux driver download page at www.nvidia.com. 报错信息说 :无法找到当前运行内核的内核源树 如果已经安装请加–kernel-source-path 指定位置, 我安装NVIDIA 时明明指定了,现在却显示未找到,说明 CUDA 也需要指定位置。 找到问题所在,接下来重新执行安装命令: ./cuda_12.0.1_525.85.12_linux.run --kernel-source-path=/usr/src/kernels/5.14.0-162.12.1.el9_1.0.2.x86_64/ 跳出界面之后,操作如上面一样 先输入 accept 回车 在选择 Install 回车 等待 在打开一个窗口 tail -f /var/log/cuda-installer.log #可以看见安装进度;出现如图这个说明安装成功。
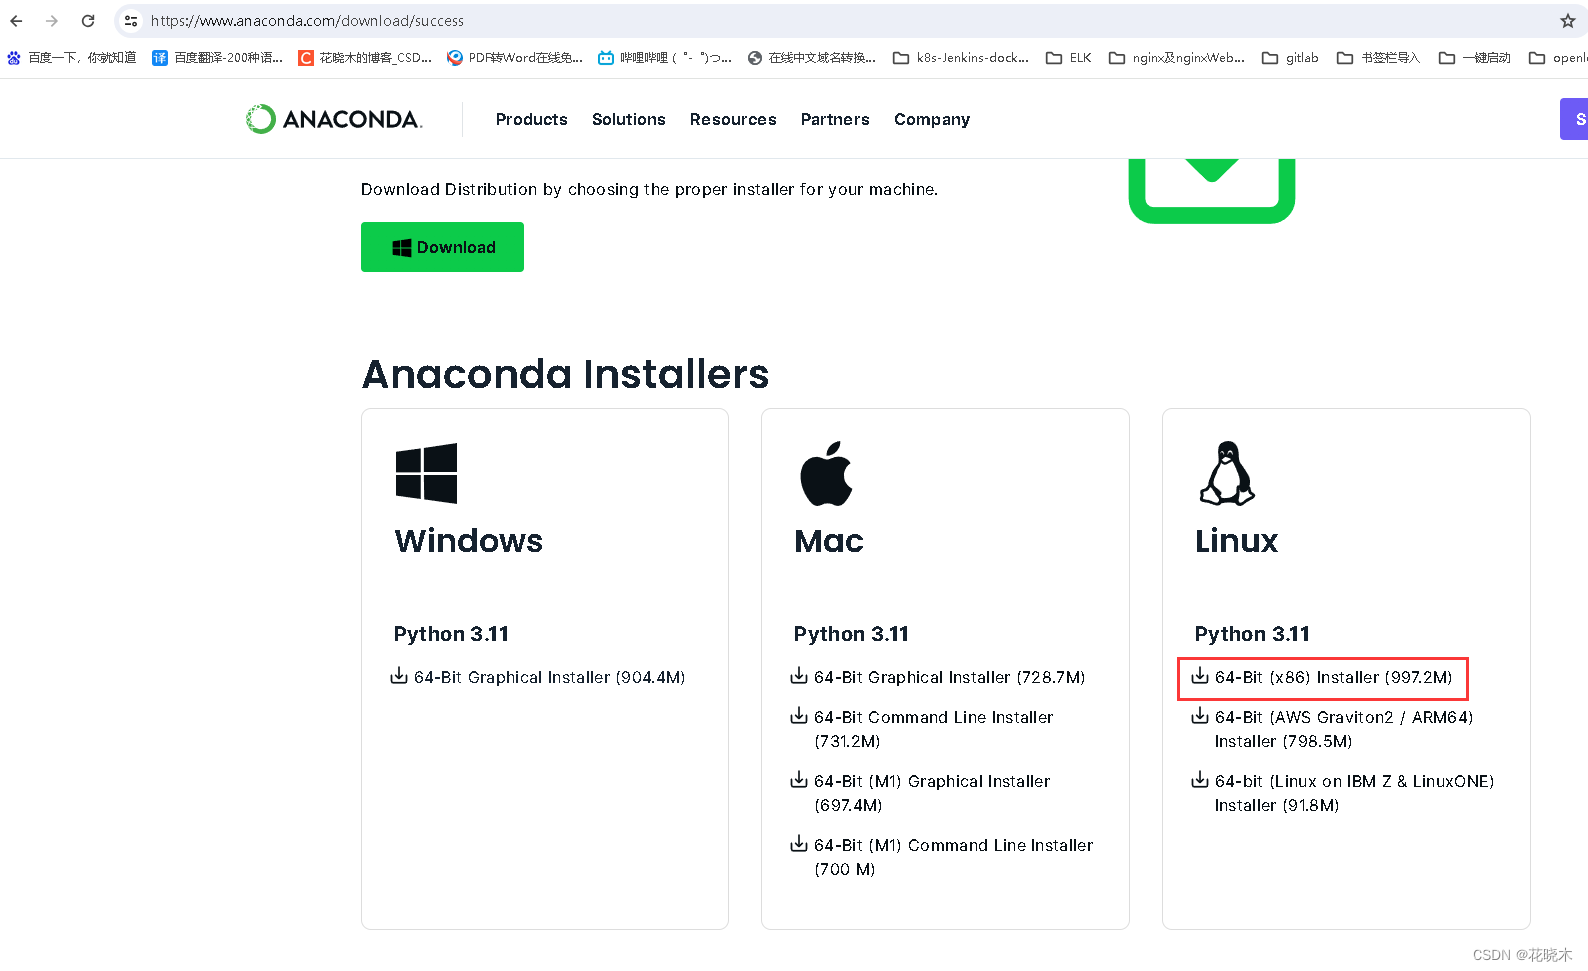
官网下载:https://www.anaconda.com/products/individual
|

 查看是否有GPU型号信息 下载 将包上传到服务器上,我放在/opt下了

 如图:开始安装
 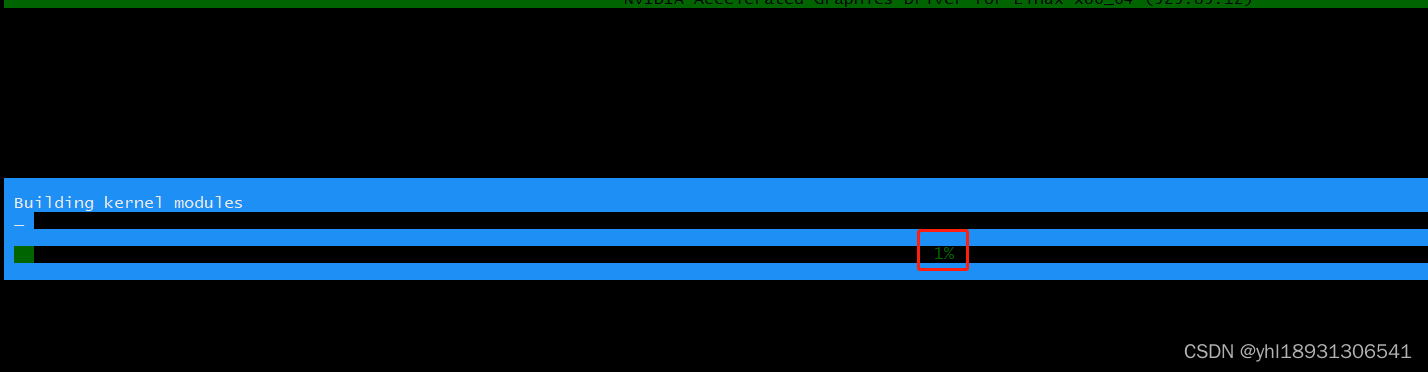 报错 如图:ERROR: Unable to find the kernel source tree for the currently running kernel. Please make sure you have installed the kernel source files for your kernel and that they are properly configured; on Red Hat Linux systems, for example, be sure you have the ‘kernel-source’ or ‘kernel-devel’ RPM installed. If you know the correct kernel source files are installed, you may specify the kernel source path with the ‘–kernel-source-path’ command line option.


 如图:等待安装完成


 按照如图所示下载:
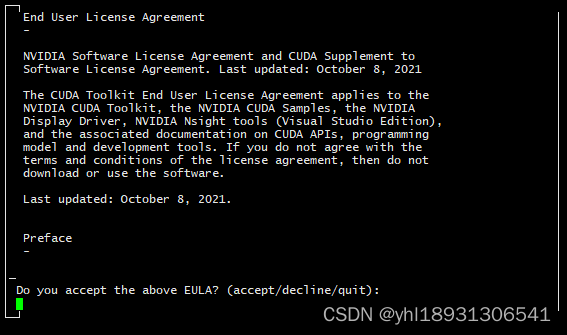 输入:accept 回车

 报错信息如下:

【本文地址】