| Linux系统下conda的安装与使用 | 您所在的位置:网站首页 › 查看是否安装了Python › Linux系统下conda的安装与使用 |
Linux系统下conda的安装与使用
|
【使用root用户安装后,普通用户用不了conda的问题解决】
1. 用wget命令下载
wget -c https://repo.continuum.io/miniconda/Miniconda3-latest-Linux-x86_64.sh sh Miniconda3-latest-Linux-x86_64.sh 根据提示 选择你的安装目录 :
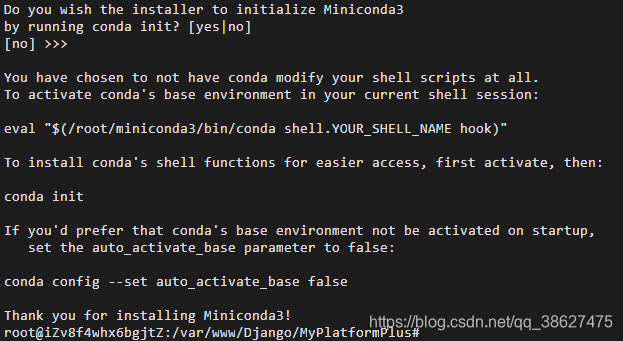
询问是否初始化Miniconda3时,选“yes”
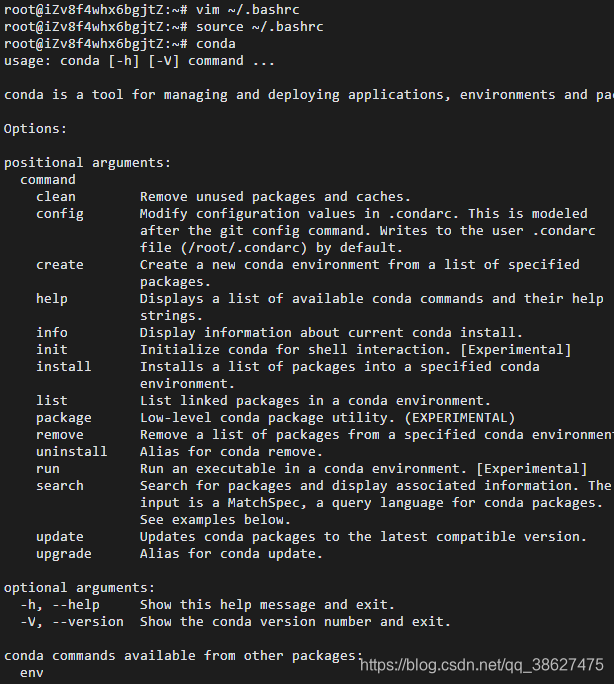
输入conda命令,如未成功输出,见下图 使用vim工具,编辑.bashrc文件,在最下行输入miniconda3的安装目录作为环境变量,与上面保存的安装目录相同 vim ~/.bashrc 写入: export PATH="/root/miniconda3/bin:"$PATH 输入命令使.bashrc文件生效 source ~/.bashrc 输入conda命令,如正常返回,说明conda安装成功
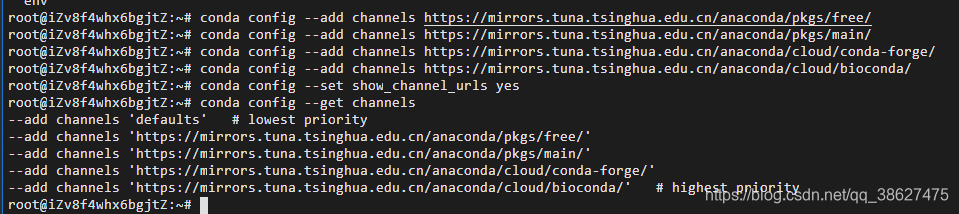
conda config --add channels https://mirrors.tuna.tsinghua.edu.cn/anaconda/pkgs/free/ conda config --add channels https://mirrors.tuna.tsinghua.edu.cn/anaconda/pkgs/main/ conda config --add channels https://mirrors.tuna.tsinghua.edu.cn/anaconda/cloud/conda-forge/ conda config --add channels https://mirrors.tuna.tsinghua.edu.cn/anaconda/cloud/bioconda/ conda config --set show_channel_urls yes conda config --get channels
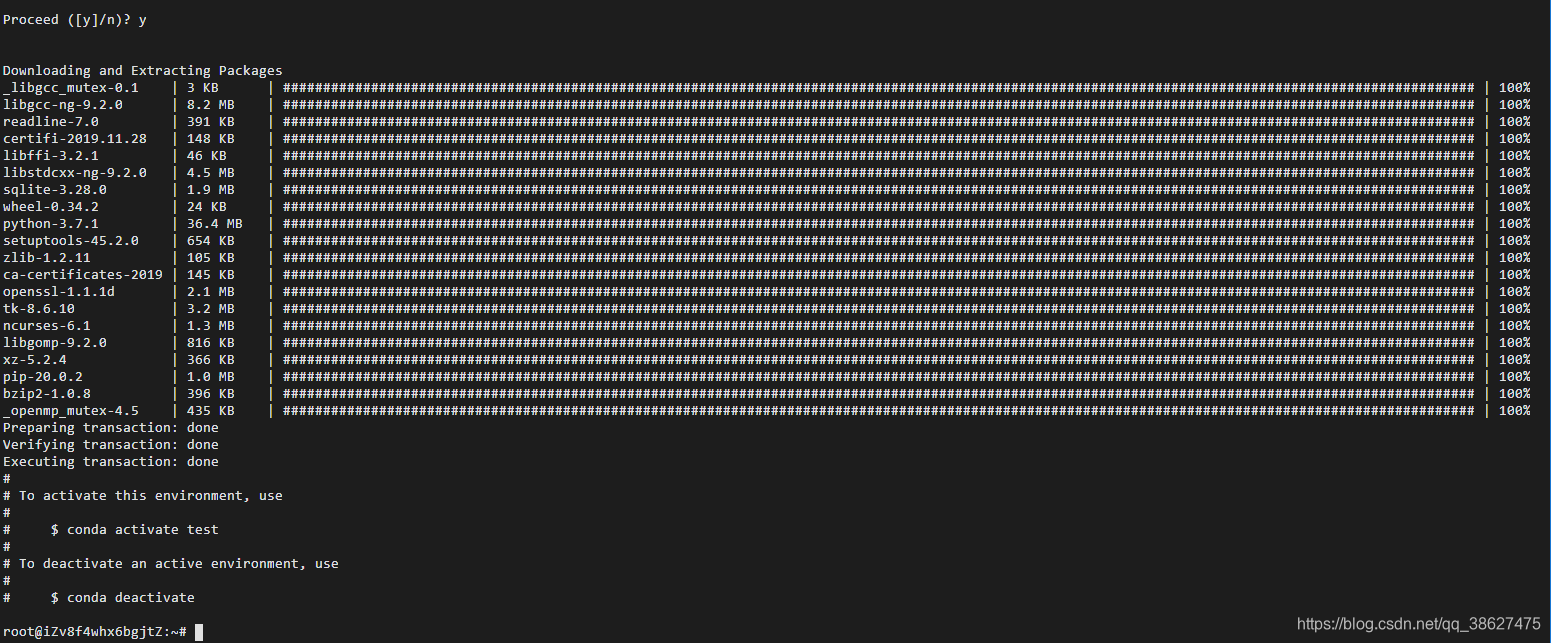
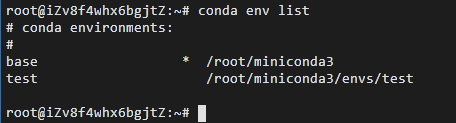
可使用如下命令查看已有环境列表,*表示当前环境,base表示默认环境 conda env list 使用命令“conda create -n 环境名称 python=版本号”创建环境,这里创建了名称为3.7.1的python版本号为3.7.1的虚拟环境,稍微等待,过程中输入“y”。 conda create -n test python=3.7.1
查看环境列表,新环境已经创建好 conda env list
激活环境,默认处于base环境,进入其他环境需要使用source activate手动切换
若要退出当前环境,使用source deactivate,默认回到base 环境
这里提示命令“source deactivate”已经废弃了,使用“conda deactivate” 6 .进入环境安装依赖包进入环境后,可使用如下命令安装依赖的包,使用的是已经配置好的清华的源,这里以“opencv-python”包为例,由于使用了清华大学的镜像源,下载速度很快。 pip install -i https://pypi.tuna.tsinghua.edu.cn/simple opencv-python 7.换回conda默认的源,访问起来可能有些慢,但总比无法访问好。conda config --remove-key channels |


【本文地址】