| uniapp微信小程序最新登录获取头像、昵称 | 您所在的位置:网站首页 › 小木头像 › uniapp微信小程序最新登录获取头像、昵称 |
uniapp微信小程序最新登录获取头像、昵称
|
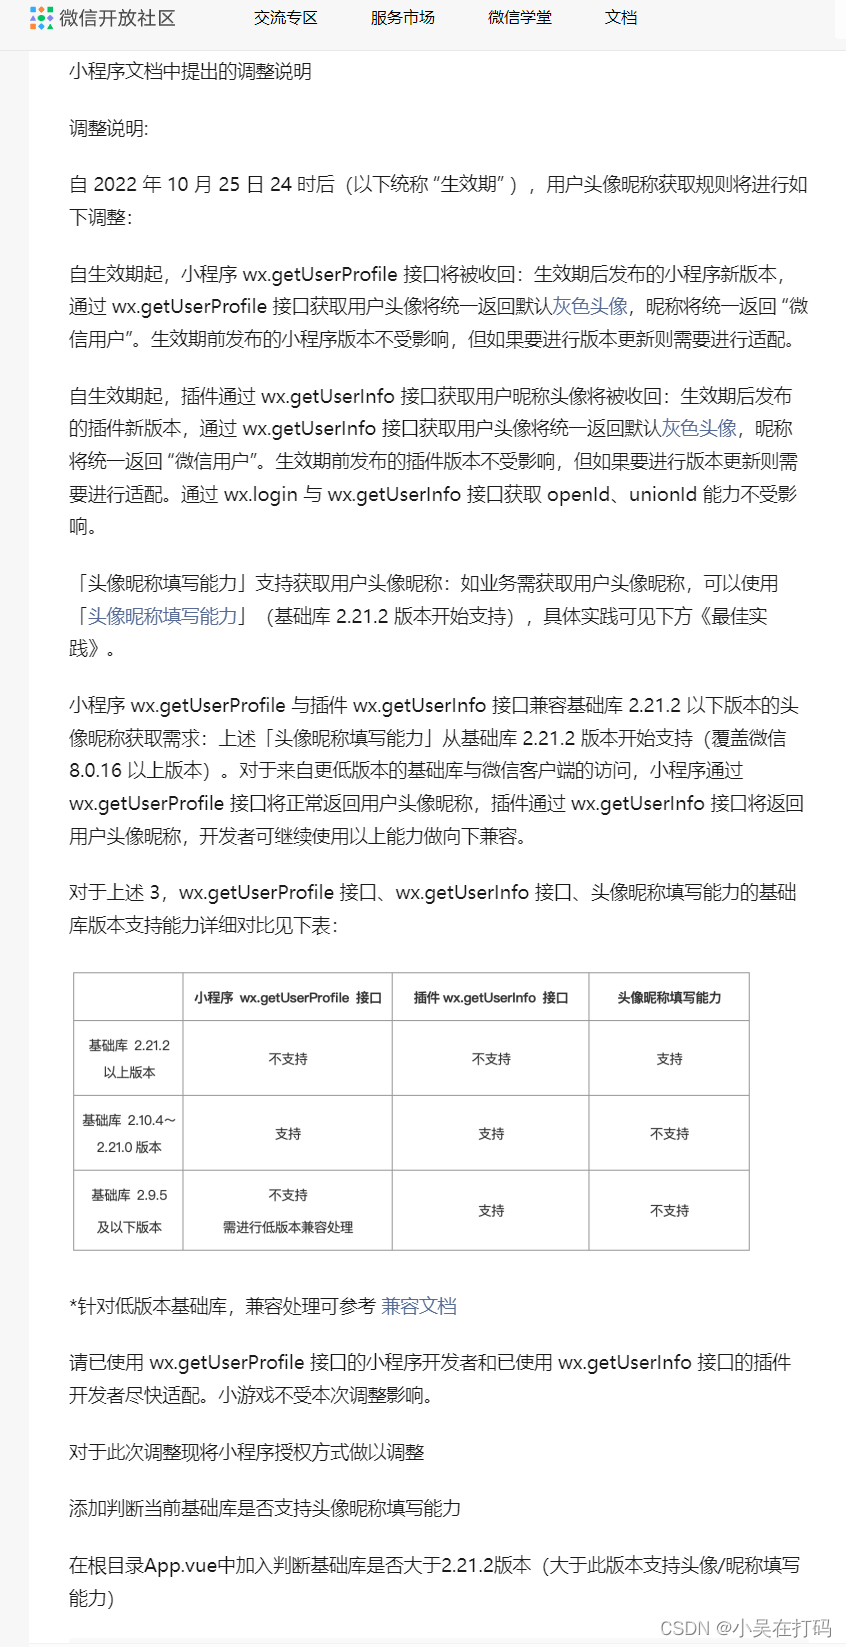
由于微信官方wx.getUserProfile 接口的回收,以后不能通过wx.getUserProfile来返回用户信息,只能自己手动获取用户头像和昵称的信息。
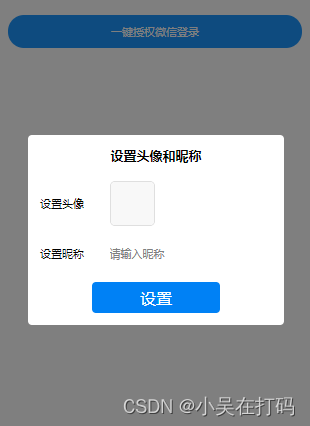
针对此问题有以下解决方法: 在点击登录时用一个弹窗设置头像和昵称,如图:
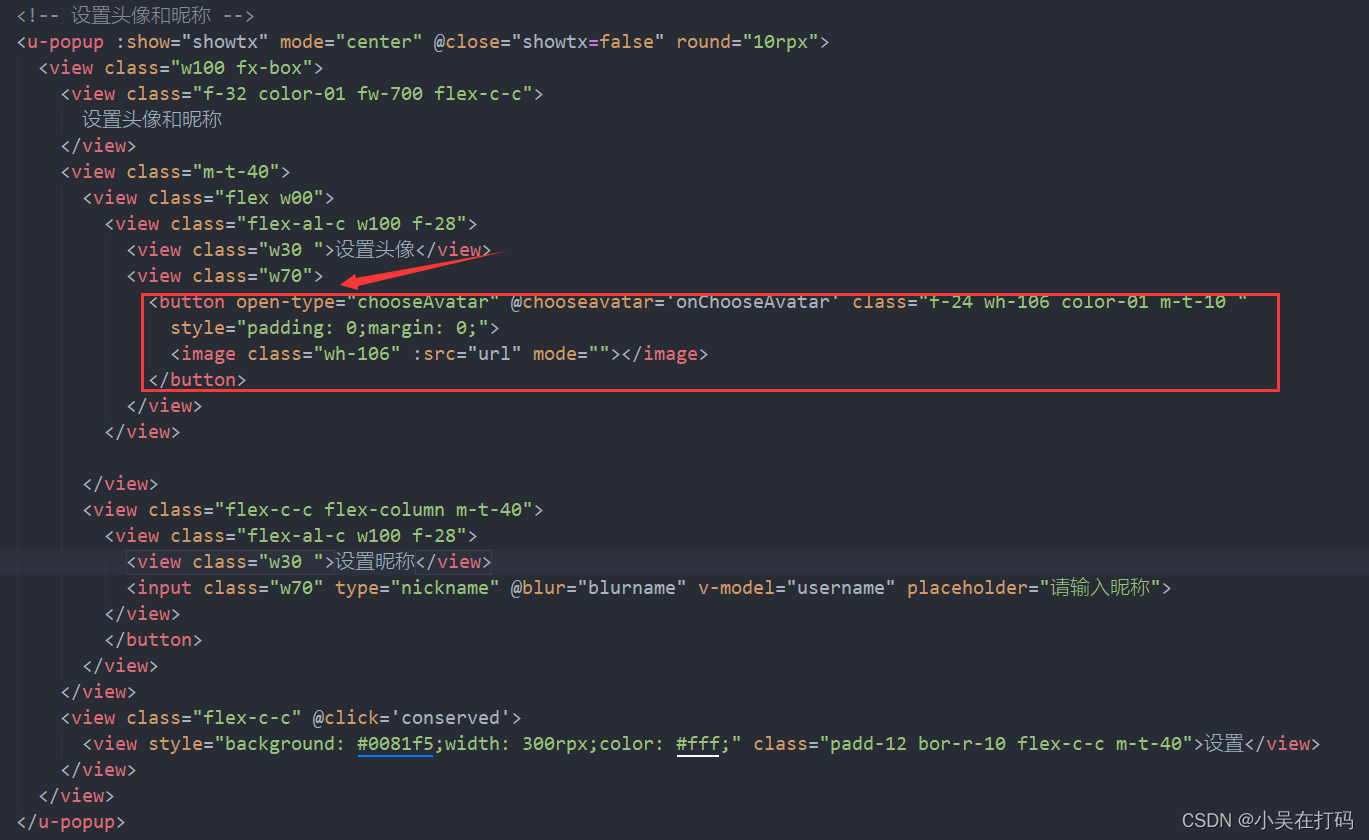
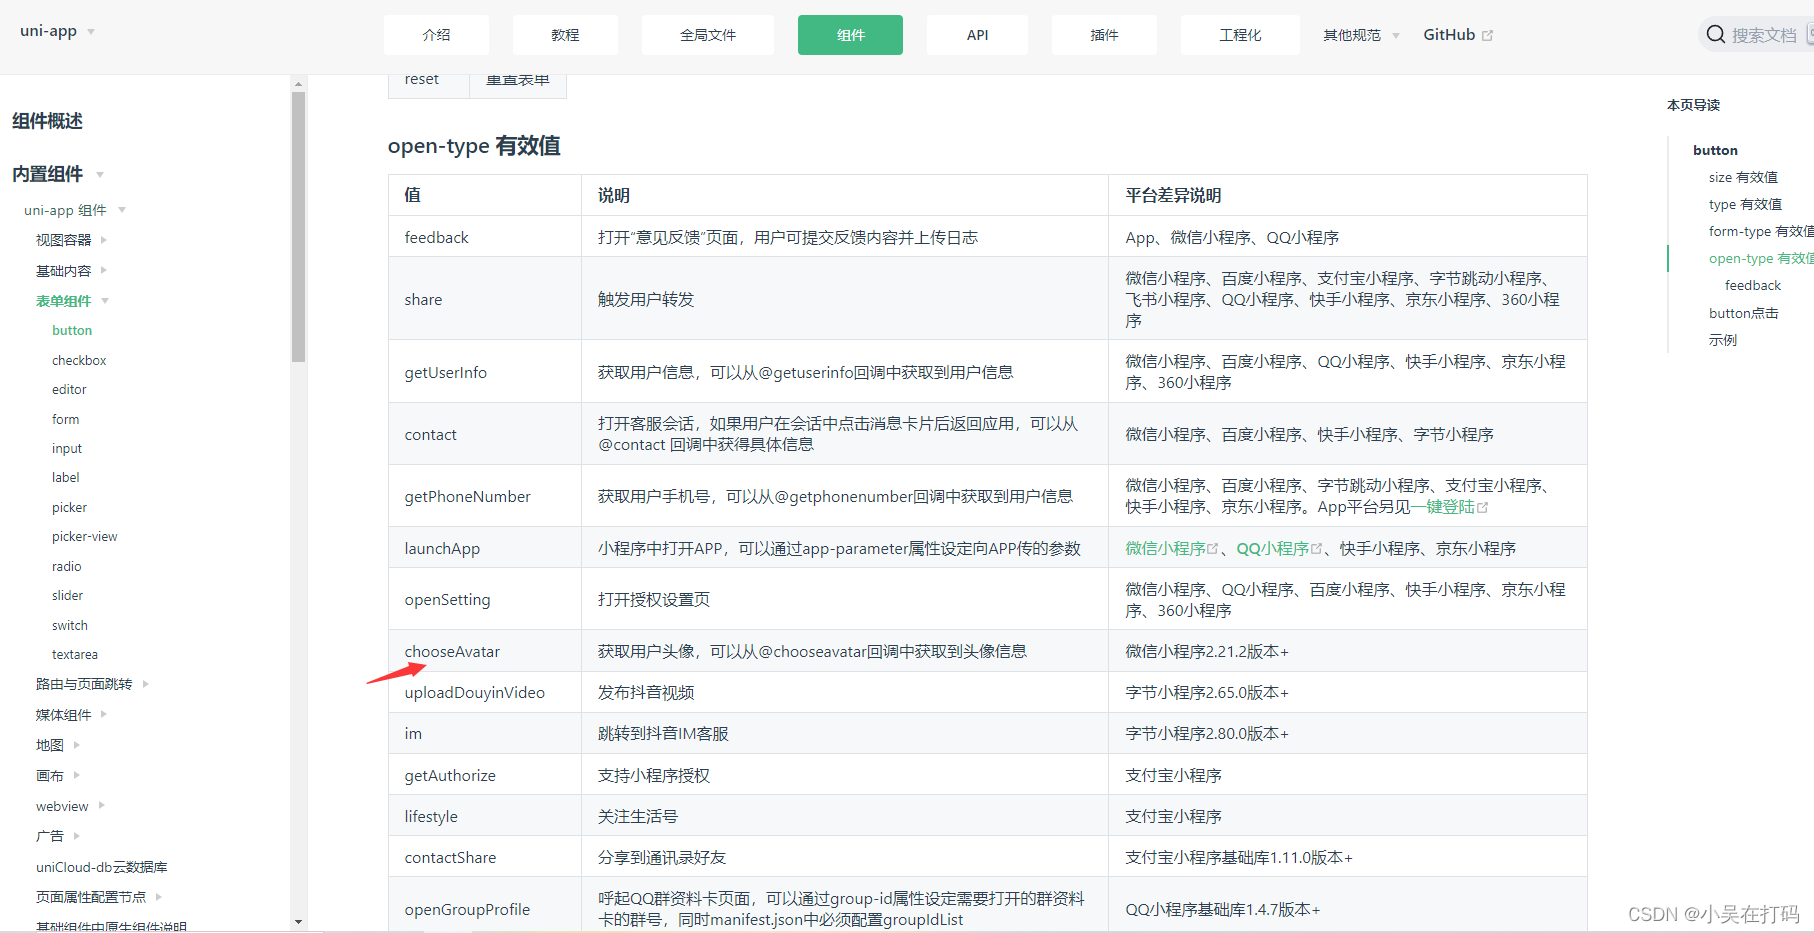
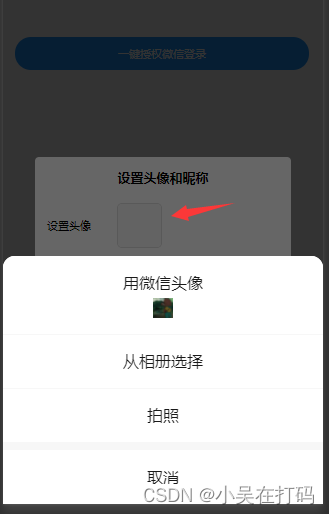
使用button设置open-type="chooseAvatar"来获取头像,至于button更多的效果,可以去uniapp官网或者微信微信开放文档去详查,当你点击button按钮时会弹出选择框让你选择自己头像或者自己设置头像,如图:
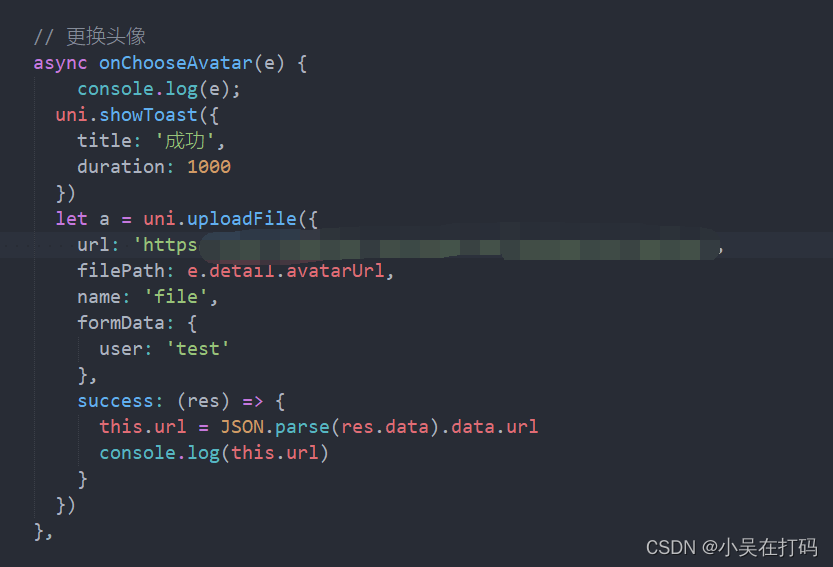
当你选择头像后就会触发在button上面的回调,在这里面你可以拿到你本地的图片地址,然后使用图片上传接口传到服务器上面去,如图:
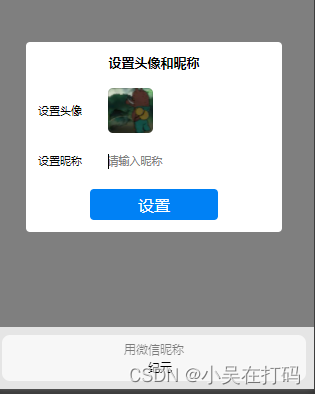
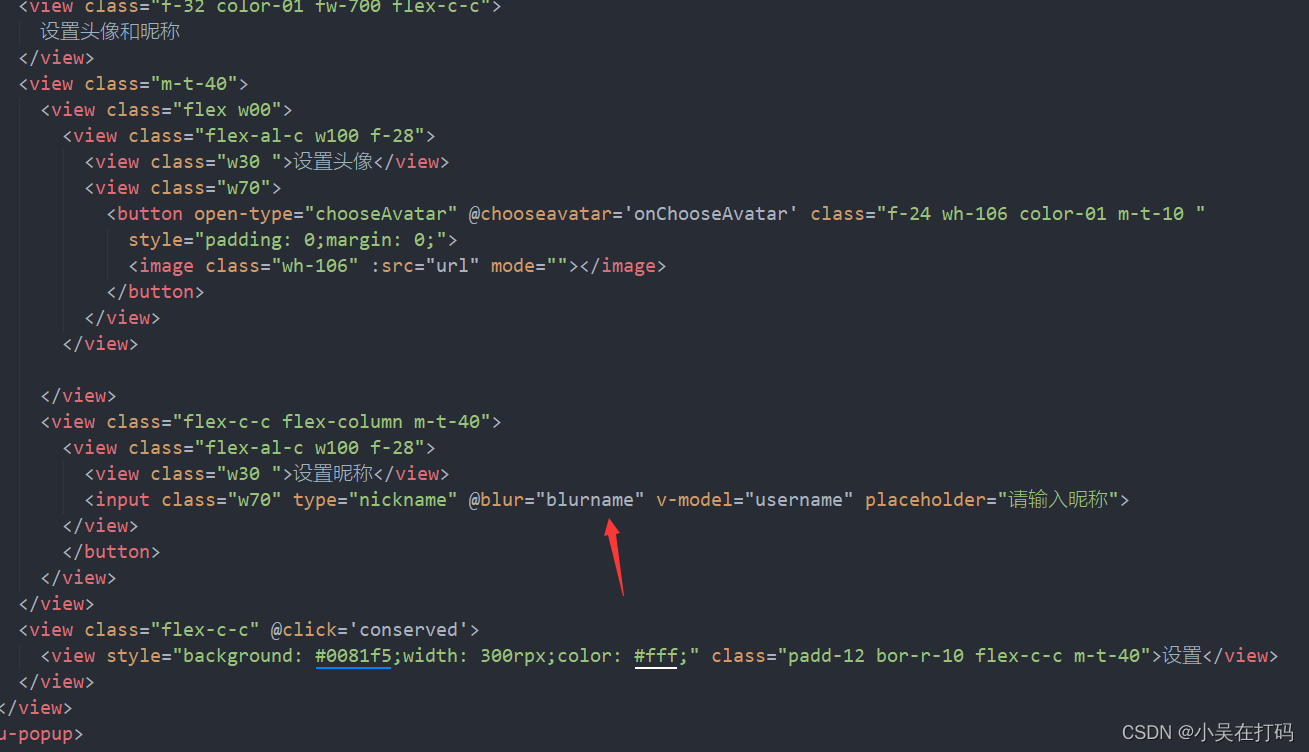
接下来就是设置昵称。这里我们使用官方自带input输入框里的type="nickname"属性来进行微信昵称的一个获取与设置,如图:
当我们鼠标点击输入框时就会自动获取自己的微信昵称,如图:
如果不想使用微信昵称也可以自己设置,通过input的blur事件来获取到自己输入的昵称,如图:
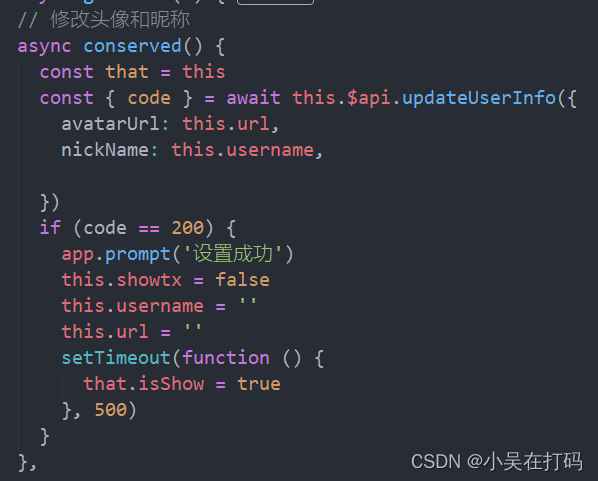
最后点击确认,发送请求,把数据传给后端,如图:
html代码: 设置头像和昵称 设置头像 设置昵称 设置js代码: // 更换头像 async onChooseAvatar(e) { console.log(e); uni.showToast({ title: '成功', duration: 1000 }) let a = uni.uploadFile({ url: 'https://', filePath: e.detail.avatarUrl, name: 'file', formData: { user: 'test' }, success: (res) => { this.url = JSON.parse(res.data).data.url console.log(this.url) } }) }, // 获取昵称 blurname(e) { console.log(e); this.username = e.detail.value }, // 修改头像和昵称 async conserved() { const that = this //发送请求 const { code } = await this.$api.updateUserInfo({ avatarUrl: this.url, nickName: this.username, }) if (code == 200) { app.prompt('设置成功') this.showtx = false this.username = '' this.url = '' setTimeout(function () { that.isShow = true }, 500) } }, |

 到这里头像就设置成功了,如图:
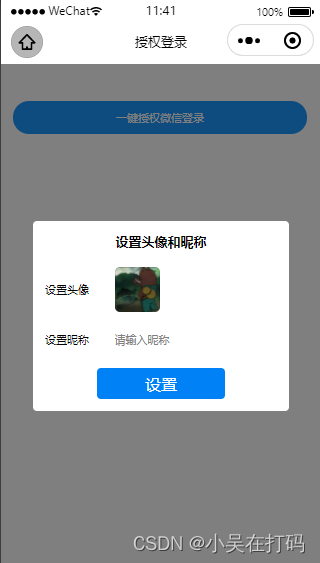


【本文地址】
公司简介
联系我们