| 手把手教你制作微信表情包专辑 | 您所在的位置:网站首页 › 小尺寸表情包怎么做 › 手把手教你制作微信表情包专辑 |
手把手教你制作微信表情包专辑
|
相信大家使用微信聊天的过程中都喜欢带上一些表情包,但是自己收藏或上传的表情包是有上限的,同时还需要手动一个个的添加,遇上想要一次性添加10多20个表情的时候,脑子:“这些表情我都好喜欢,我要把他们全部加到表情包列表里!”手:“啊......对!” 这种时候我就想起在表情包商场有一些别人制作的表情包专辑,这些专辑是不计入表情上限的,而且一个专辑里面可以放好多个表情,那么我们可以自己上传自己喜欢的表情包专辑吗?答案是可以的!这篇文章就教大家一步步制作自己的表情包专辑(包括图片处理)。 微信表情开放平台第一步,我们需要在浏览器上搜索微信表情开放平台,进入官网后,注册并绑定一个账号。(这部分没有什么坑,一步步来2分钟就能搞定,就不展开了。)
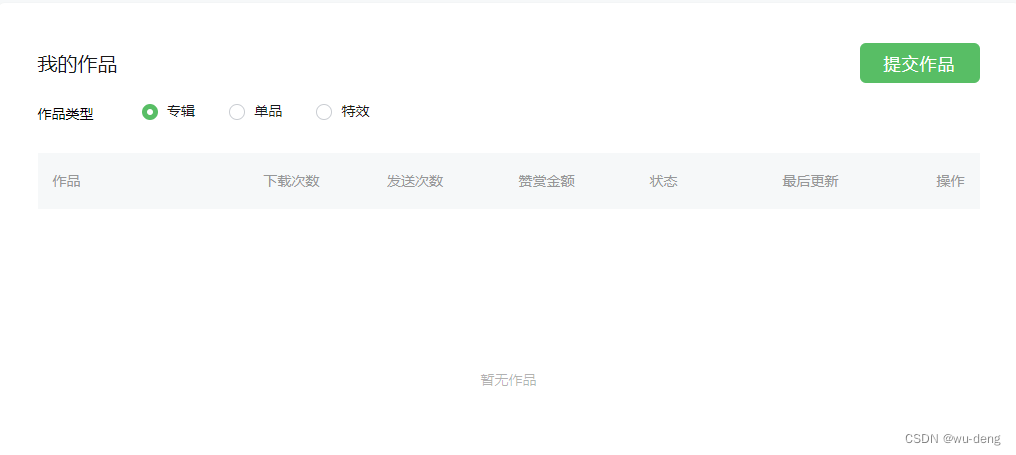
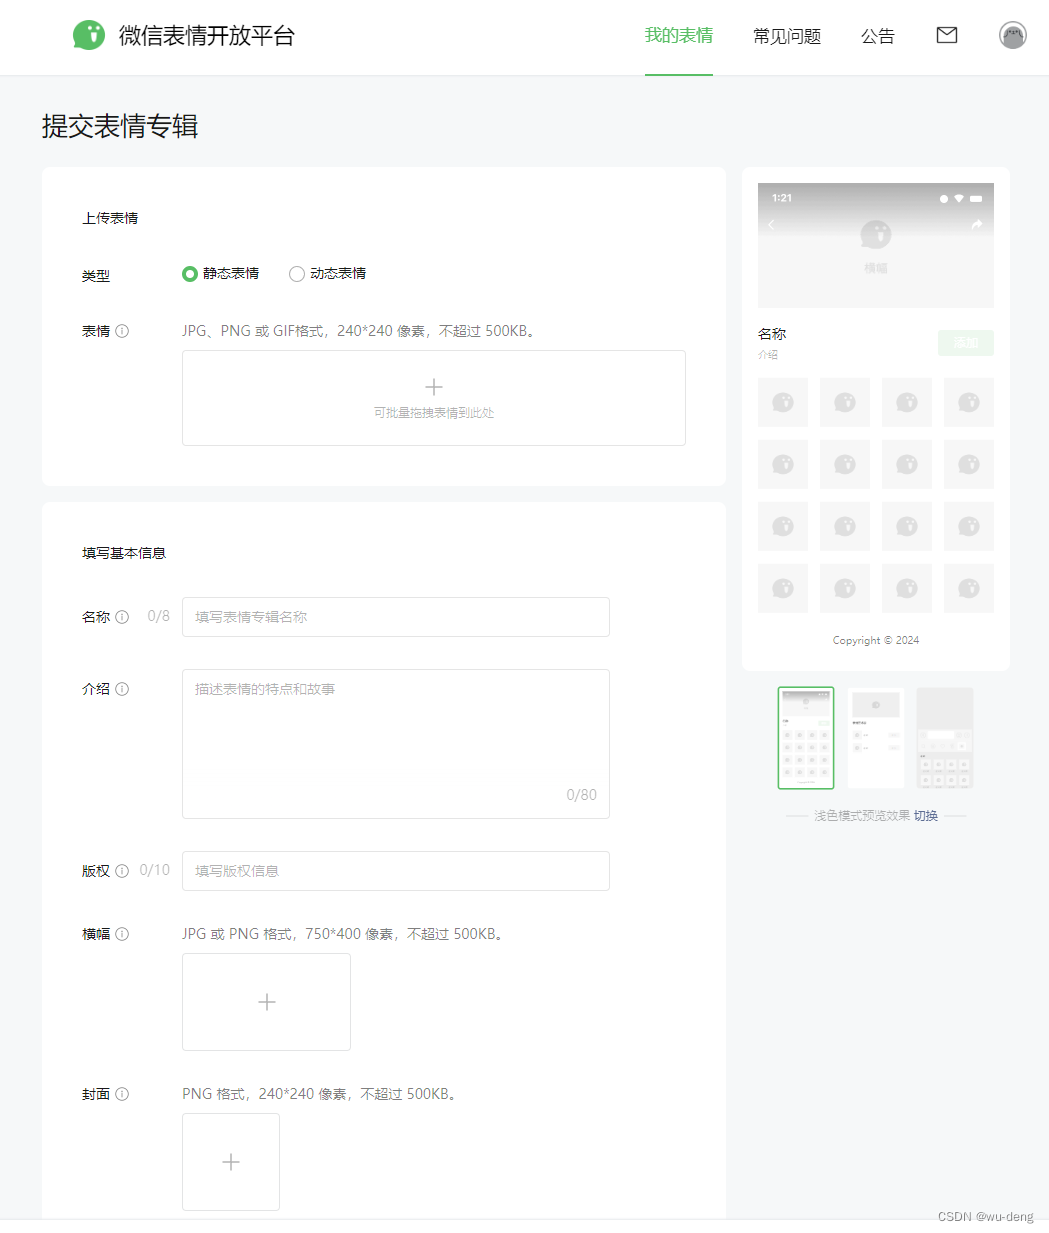
之后选择自己想要的作品类型,并点击提交作品,跳转到上传界面 将自己准备好的表情包图片拖拽到上方,填写完基本信息之后点击提交,等待审核完成就可以啦!
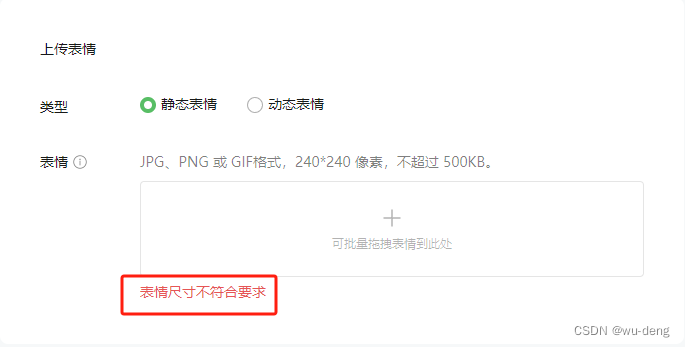
这时候可能有的小伙伴就要问了,这些谁不会啊,关键是这平台要求240*240像素,对图片大小还有要求,我这不是还得一张张处理吗,说了等于没说。别急,我们有强大的python和cv库! 这里以b站Up主“最上川下山”制作整理的“马鹿”表情包为例。 链接:最上川下山的动态 - 哔哩哔哩
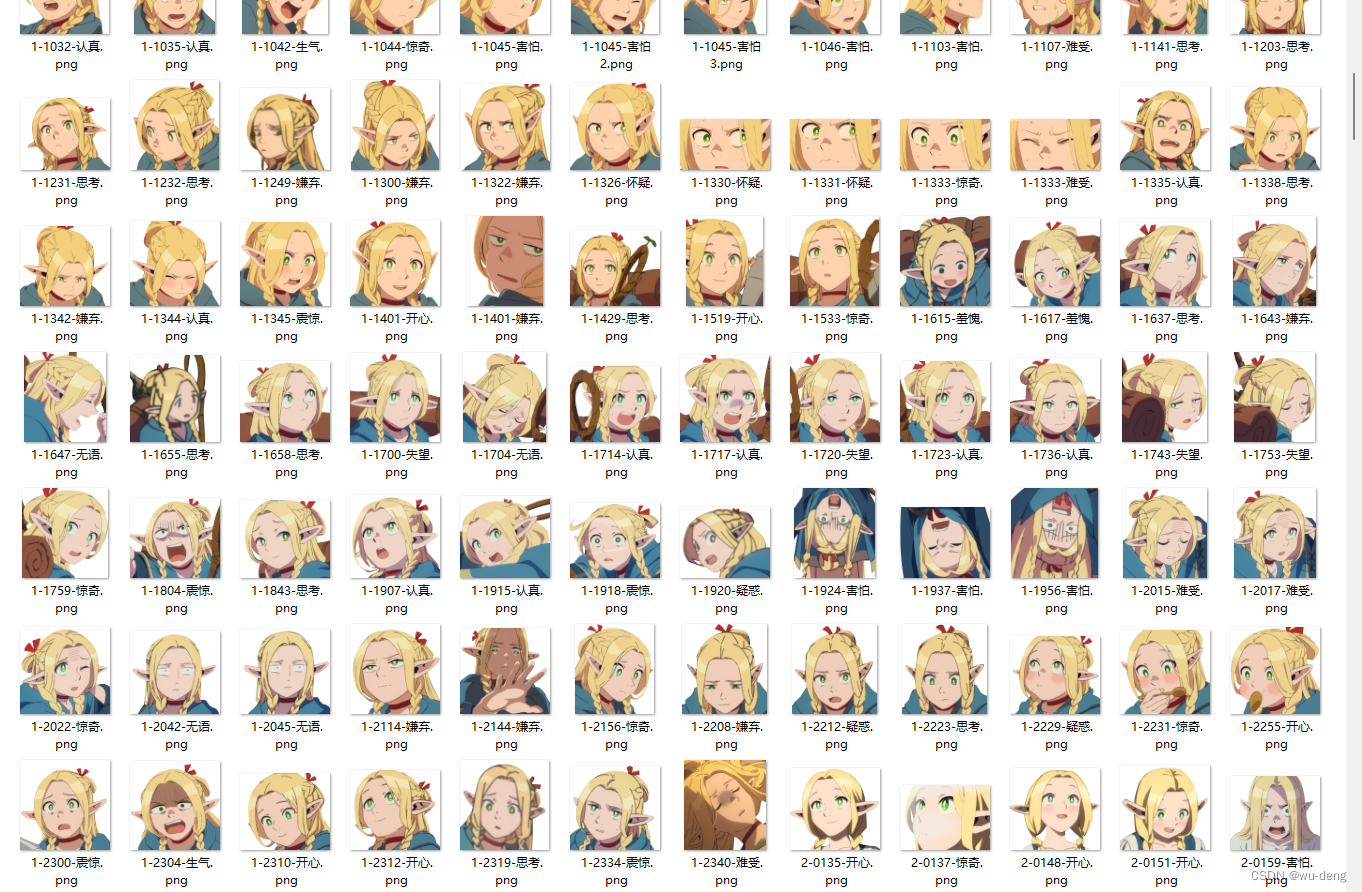
他整理的表情包全部为PNG格式,但是因为是截图,图片的大小各异,
直接拖到表情开发平台的网页中是会提示表情尺寸不符合要求的,我们需要先将这些图片resize到合适的尺寸。
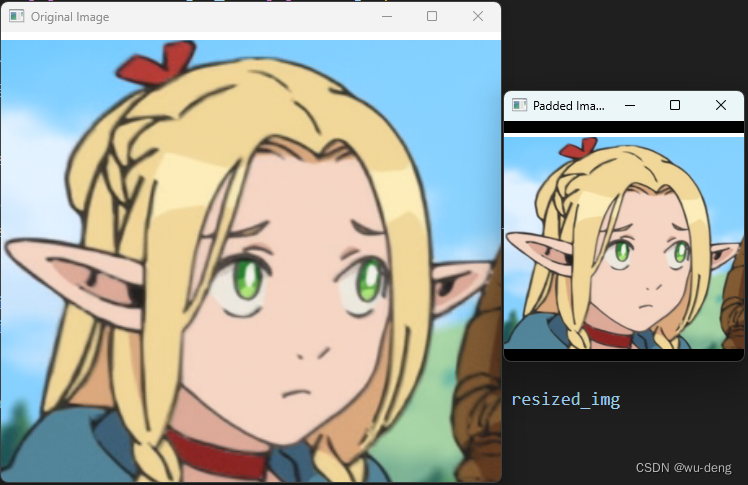
python-opencv库提供的resize函数可以非常简单地调整图像大小,在使用之前,你需要正确安装了python,并使用pip install opencv-python在你的python环境中安装opencv库。 具体代码如下,大家可以根据自己的需求,调用相应的函数就可以啦。 需要注意的是,opencv库的imread和imwrite不支持中文路径,大家自己用的时候要注意路径的编码问题。 我们先处理一张图片试试 import cv2 import os import numpy as np # 将图像缩放为240x240,并在较小的一侧填充黑色像素 def resize_and_pad(img, target_size=(240, 240)): # 获取原始图像的尺寸 height, width = img.shape[:2] # 计算缩放比例,以确保较小的一侧适应目标尺寸 scale = min(target_size[0] / width, target_size[1] / height) # 计算调整后的尺寸 new_width = int(width * scale) new_height = int(height * scale) # 缩放图像 resized_img = cv2.resize(img, (new_width, new_height)) # 创建一个空白的目标图像 padded_img = np.zeros((target_size[1], target_size[0], 4), dtype=np.uint8) # 计算填充位置 x_offset = (target_size[0] - new_width) // 2 y_offset = (target_size[1] - new_height) // 2 # 将调整后的图像复制到目标图像中央 padded_img[y_offset:y_offset+new_height, x_offset:x_offset+new_width] = resized_img return padded_img # 需要resize的图像 input_img = u"D:\\BaiduNetdiskDownload\\表情包集合\\1-0255-惊奇.png" if os.path.exists(input_img): img = cv2.imdecode(np.fromfile(input_img, dtype=np.uint8), cv2.IMREAD_UNCHANGED) pad_img = resize_and_pad(img) cv2.imshow('Original Image', img) cv2.imshow('Padded Image', pad_img) cv2.waitKey(0) cv2.destroyAllWindows() cv2.imwrite("pad_img.png", pad_img) else: print("Error: Image file not found.")
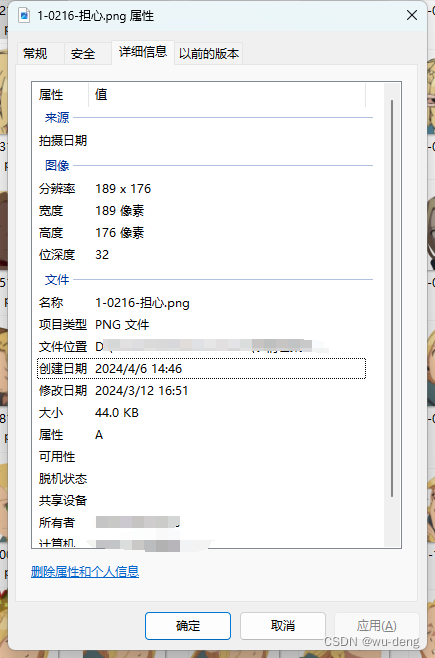
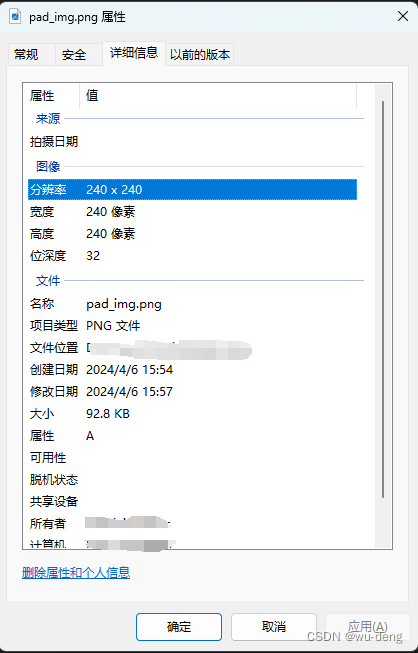
可以看到图片被缩小了,并且上下添加了用于将图片填充到240*240的正方形的黑边。 保存出来的图片和属性如下:
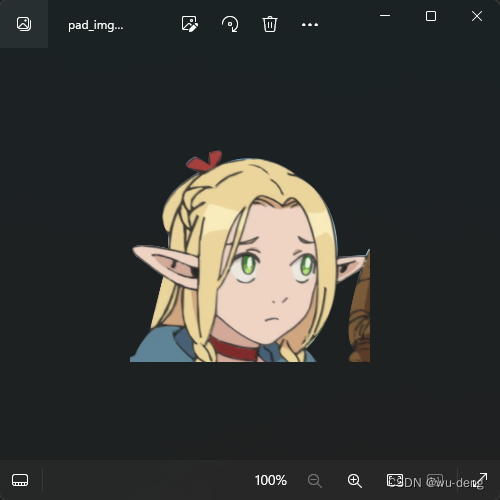
将该图片上传到微信表情开放平台,成功!
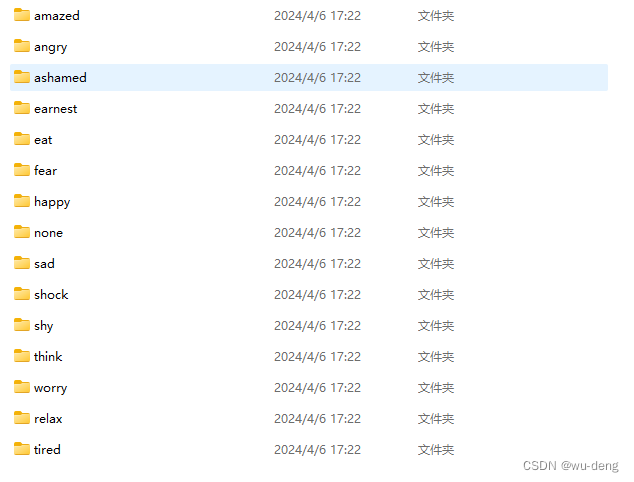
接下来就是批量处理了,稍微修改一下代码就可以实现......才怪。发现这个中文路径真的会导致挺多问题的,为了避免麻烦,还是统一改成英文好一点。然后又发现up主的命名不规范呀,有些用的空格,有些用的横杠,没办法,对中文正则匹配一下放到对应的文件吧,刚好也可以对表情筛选一下。 正则匹配 import os import re import shutil # 指定目录 source_dir = "D:\BaiduNetdiskDownload\sticker" # 目标目录 destination_dir = "D:\BaiduNetdiskDownload\sticker\emotions" # 匹配中文形容词的正则表达式 emotions = { 'fear': re.compile(r'.*害怕.*'), 'amazed': re.compile(r'.*惊奇.*'), 'worry': re.compile(r'.*(担心|不安|紧张|着急).*'), 'earnest': re.compile(r'.*认真.*'), 'think': re.compile(r'.*(思考|疑惑|怀疑).*'), 'shock': re.compile(r'.*(震惊|发呆).*'), 'sad': re.compile(r'.*(悲伤|失望|难受|难过).*'), 'happy': re.compile(r'.*开心.*'), 'shy': re.compile(r'.*(害羞|羞愧|尴尬|辣).*'), 'ashamed': re.compile(r'.*(嫌弃|无语).*'), 'angry': re.compile(r'.*生气.*'), 'tired': re.compile(r'.*疲惫.*'), 'none': re.compile(r'.*无.png'), 'eat': re.compile(r'.*吃饭.*'), 'relax': re.compile(r'.*(放松|睡觉).*') } # 创建目标目录 os.makedirs(destination_dir, exist_ok=True) # 遍历源目录中的文件 for filename in os.listdir(source_dir): filepath = os.path.join(source_dir, filename) if os.path.isfile(filepath) and filepath.endswith('.png'): matched = False # 检查文件名是否匹配任何情绪词 for emotion, regex in emotions.items(): if regex.match(filename): # 匹配到情绪词,将文件移动到相应目录 destination_subdir = os.path.join(destination_dir, emotion) os.makedirs(destination_subdir, exist_ok=True) # 移动文件并重命名 new_filename = f"{emotion}_{len(os.listdir(destination_subdir)) + 1}.png" shutil.move(filepath, os.path.join(destination_subdir, new_filename)) matched = True break # 如果文件名没有匹配到任何情绪词,将其移动到无法识别的目录 if not matched: destination_subdir = os.path.join(destination_dir, 'unknown') os.makedirs(destination_subdir, exist_ok=True) # 移动文件并重命名 # new_filename = f"unknown_{len(os.listdir(destination_subdir)) + 1}.png" shutil.move(filepath, os.path.join(destination_subdir, filepath))经过正则匹配后,我们便得到了以下文件夹:
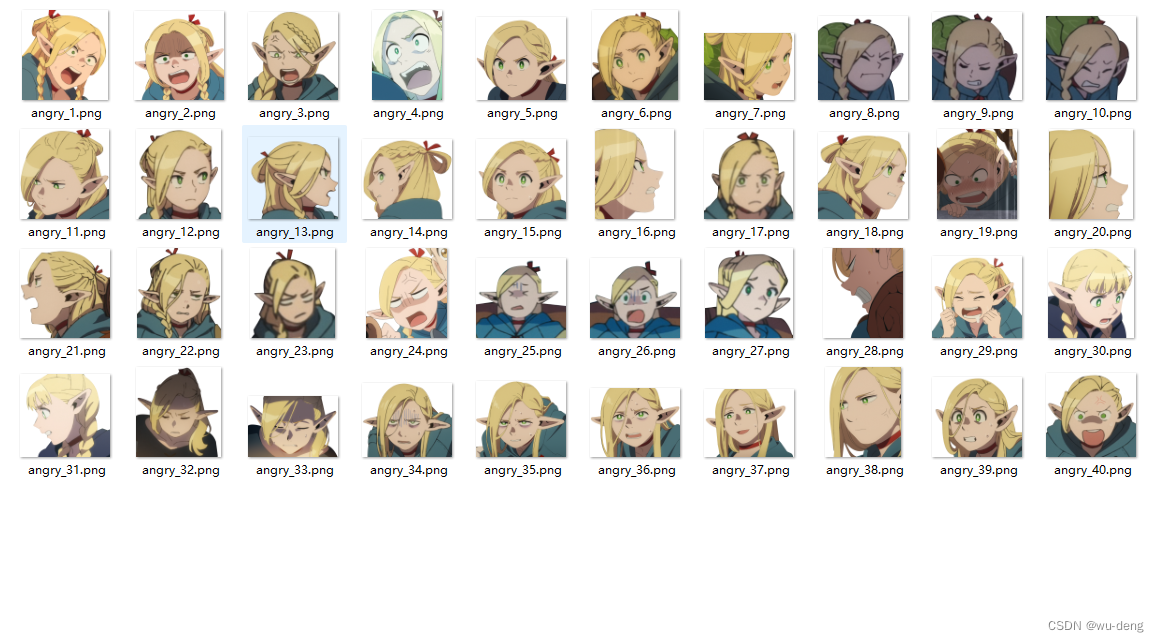
每个文件夹内是对应的情绪表情包
启动!
完成!(也可以选择修改一下保存路径,就能吧不同情绪的处理结果保存到不同文件夹啦) 上传!(每个专辑最多24个表情哦)
搞定! |


【本文地址】