| wsl编译5.10GKI内核和KernelSU并刷入pixel6 | 您所在的位置:网站首页 › 修改内核签名并刷入 › wsl编译5.10GKI内核和KernelSU并刷入pixel6 |
wsl编译5.10GKI内核和KernelSU并刷入pixel6
|
拉取源码
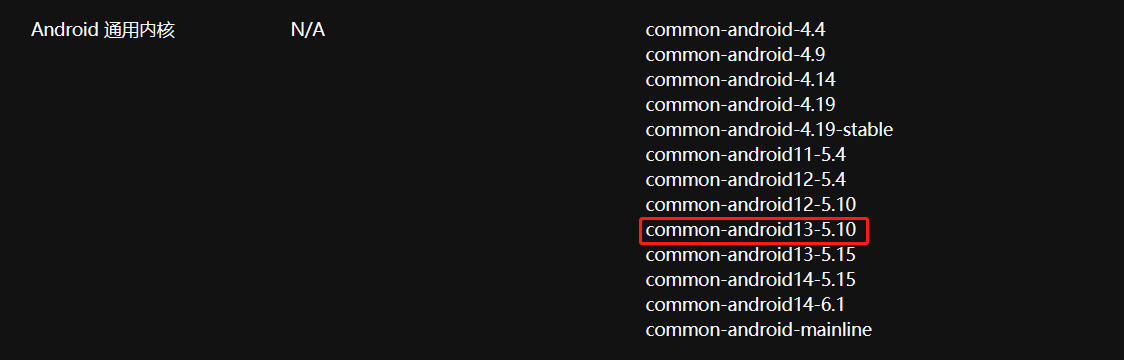
当前pixel6是android13,所以选择了common-android13-5.10分支
接着就需要拉取对应分支的内核代码 mkdir ~/bin PATH=~/bin:$PATH curl https://storage.googleapis.com/git-repo-downloads/repo > ~/bin/repo chmod a+x ~/bin/repo export HTTP_PROXY= export HTTPS_PROXY= export REPO_URL='https://gerrit-googlesource.lug.ustc.edu.cn/git-repo' repo init -u git://mirrors.ustc.edu.cn/aosp/kernel/manifest -b common-android13-5.10 # 需要设置代理 :repo init -u https://android.googlesource.com/kernel/manifest -b common-android13-5.10 repo sync进入内核根目录中拉取KernelSU的代码 cd common curl -LSs "https://raw.githubusercontent.com/tiann/KernelSU/main/kernel/setup.sh" | bash - 编译源码接着编译内核,GKI的内核编译与低版本android内核的编译略有区别。 LTO=thin BUILD_CONFIG=common/build.config.gki.aarch64 build/build.sh // bazel : tools/bazel build --config=fast //common:kernel_aarch64_dist编译完成之后在out目录中会生成Image和Image.lz4以及包含有avdtool签名工具的压缩包
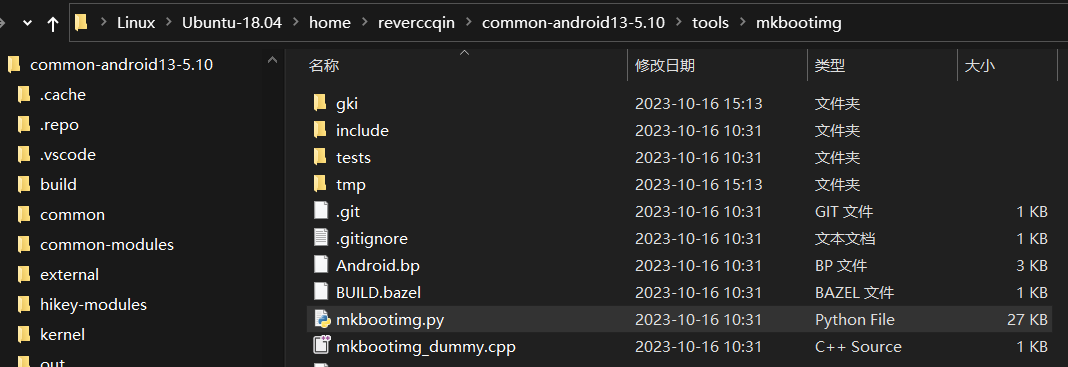
利用源码tool目录中的mkbootimg.py打包boot.img。
创建tmp目录存放打包的镜像。因为google在android13中将ramdisk从boot.img中移除放在其他镜像中,boot.img中不在包含ramdisk,但是因为mkbootimg.py需要指定ramdisk文件位置,所以可以创建一个空的ramdisk放在tmp目录中。将之前编译生成的Image.lz4重命名为kernel放在tmp目录中。将avdtool签名工具放在tmp目录中。
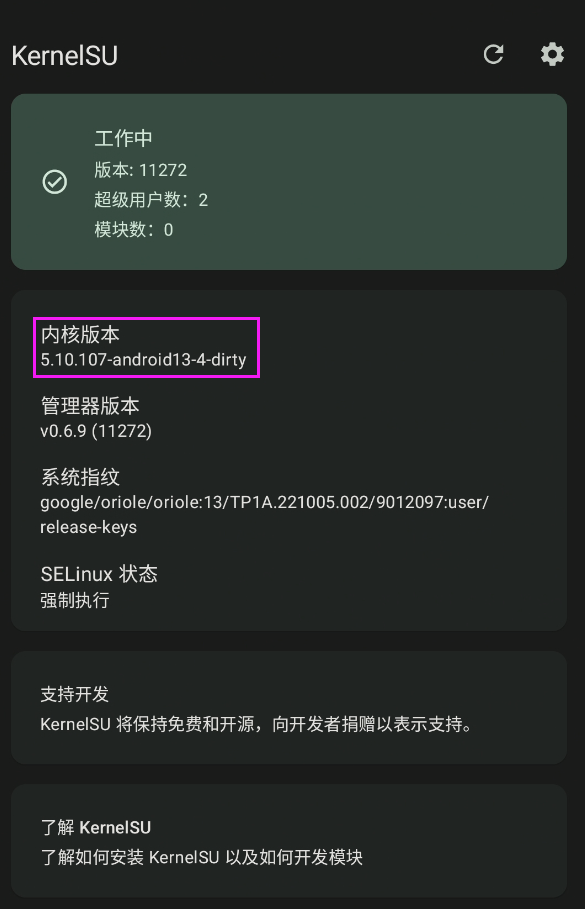
运行如下命令打包生成boot.img ./mkbootimg.py --header_version 4 --kernel ./tmp/kernel --ramdisk ./tmp/ramdisk --gki_signing_algorithm SHA256_RSA2048 --gki_signing_key ./gki/testdata/testkey_rsa2048.pem --gki_signing_signature_args '--prop foo:bar --prop gki:nice' --gki_signing_avbtool_path ./tmp/avbtool -o ./tmp/new_boot.img刷入手机后查看KernelSU中的内核版本
vscode + wsl + clangd即可进行内核开发,具体参考https://github.com/amezin/vscode-linux-kernel.git |


【本文地址】
公司简介
联系我们