| 简单本地websocket运行实例(vue3) | 您所在的位置:网站首页 › vue程序运行与调试 › 简单本地websocket运行实例(vue3) |
简单本地websocket运行实例(vue3)
|
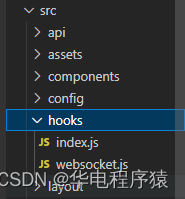
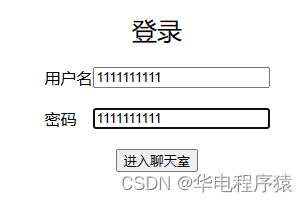
目录 1.完善一下登陆页面,方便后续使用 2.具体实现vue页面 3.hooks文件夹建立,存放websocket设置 4.建立src的同级server文件夹,用于后端启动websocket服务 5.创建index.js文件,编写websocket代码 6.在server目录下,通过npm run dev运行后端代码 7.效果展示 整体代码: 1.完善一下登陆页面,方便后续使用 登录 用户名 密码 进入聊天室 import { ref, onMounted } from 'vue' import { useRouter } from 'vue-router' const router = useRouter() const userName = ref('') const password = ref('') // 跳转页面 const goPage = () => { const _username = userName.value.trim() const _password = password.value.trim() if (_username.length < 6) { alert('用户不小于6位') return } if(_username !== _password){ alert('密码错误!') return } // 储存本地用户信息 localStorage.setItem('userName', _username) userName.value = '' password.value = '' router.push('home') } // 页面加载时检测 onMounted(() => { userName.value = localStorage.getItem('userName') if (userName.value) { router.push('/') return } }) .content { width: 1000px; margin: 100px auto; display: flex; justify-content: center; } .loginForm{ display: flex; flex-direction: column; } .form-item-title{ font-size: 25px; display: flex; justify-content: center; } .form-item{ display: flex; margin-top: 20px; } .form-item span{ flex: 1; } .form-item-btn{ display: flex; justify-content: center; } 2.具体实现vue页面 当前用户:{{ userName }} {{ item.user }} {{ new Date(item.dateTime) }} {{ item.msg }} 发送 import { onMounted, reactive, ref, watch } from 'vue'; import { useRouter } from 'vue-router'; import { useWebSocket } from '@/hooks/index'; // 引入 websocket const ws = useWebSocket(handleMessage) const router = useRouter() // 接收服务器端的 messageList function handleMessage(e) { const msgData = JSON.parse(e.data) state.msglist.push(msgData) } const state = reactive({ inputMessage: '', msglist: [] }) const userName = ref('') // 页面加载时检测是否登录,目前没有写路由守卫,后期迁移到守卫里 onMounted(() => { userName.value = localStorage.getItem('userName') if (!userName.value) { router.push('/') return } }) // 发送信息 const sendMessage = () => { const msg = state.inputMessage if (!msg.trim().length) { return } ws.send(JSON.stringify({ id: new Date().getTime(), user: userName.value, dateTime: new Date().getTime(), msg: state.inputMessage })) state.inputMessage = '' } // 检测 消息列表,将展示页面滚动条到底 watch(state.msglist,()=>{ const msgBox = document.querySelector('.msg-box'); setTimeout(() => { msgBox.scrollTop = msgBox.scrollHeight; }, 100); }) ul { list-style: none; } .content { width: 1400px; min-height: 700px; display: flex; flex-direction: column; margin: 10px auto; border: 1px solid #000; } .msg-box { height: 550px; width: 100%; overflow: auto; border-bottom: 1px solid #000; } .msg-box ul li { margin-top: 20px; } .msg-box .msg-whoSend { text-align: end; display: flex; flex-direction: column; } .msg-other{ display: flex; margin-top: 10px; } .my-send-msg-box{ justify-content: end; } .my-send-msg{ max-width: 700px; word-wrap: break-word; } .my-send-msg-bgc{ border-radius: 10px; padding: 10px; background-color: #95ec69; } .msg-send { width: 100%; height: 200px; position: relative; } .msg-send textarea { width: 100%; height: 100%; padding: 0px; margin: 0px; } .msg-send button { position: absolute; bottom: 5px; right: 10px; font-size: 20px; } 3.hooks文件夹建立,存放websocket设置页面结构如图:
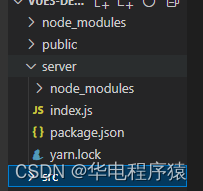
index.js import useWebSocket from './websocket' export { useWebSocket }websocket.js function useWebSocket(handleMessage){ // websocket服务路径 let url = 'ws://localhost:8000' const ws = new WebSocket(url) // 初始化 const init=()=>{ bindEvent() } // 方法绑定 见名思意 function bindEvent(){ ws.addEventListener('open',handleOpen,false) ws.addEventListener('close',handleClose,false) ws.addEventListener('error',handleError,false) ws.addEventListener('message',handleMessage,false) } function handleOpen(e){ console.log('websocket open',e) } function handleClose(e){ console.log('websocket close',e) } function handleError(e){ console.log('websocket error',e) } init() return ws } export default useWebSocket; 4.建立src的同级server文件夹,用于后端启动websocket服务先建立一个文件夹server,进入文件夹 cd server 结构如下:
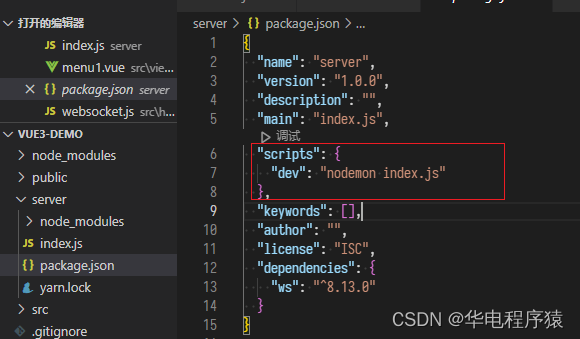
新开一个控制台:输入npm init -y 创建结构 npm init -y此时目录结构出来了:输入yarn add ws 引入websocket yarn add ws修改server文件里的package.json文件 将如下代码覆盖原来的: "dev": "nodemon index.js"
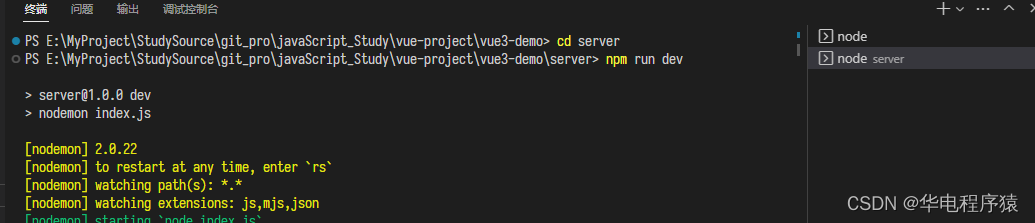
如果没有nodemon 需要引入:npm install -g nodemon npm install -g nodemon 5.创建index.js文件,编写websocket代码 const WebSocket = require('ws'); ((Ws)=>{ const server = new Ws.Server({port:8000}) const init =()=>{ bindEvent() } function bindEvent(){ server.on('open',handleOpen); server.on('close',handleClose); server.on('error',handleError); server.on('connection',handleConnection); } function handleOpen(){ console.log('websocket open') } function handleClose(){ console.log('websocket close') } function handleError(){ console.log('websocket error') } function handleConnection(ws){ console.log('websocket connection') ws.on('message',handleMessage) } // 接受的 前端传入的信息 在进行广播 function handleMessage(msg){ console.log(msg.toString()) server.clients.forEach((c)=>{ c.send(msg.toString()) }) } init() })(WebSocket); 6.在server目录下,通过npm run dev运行后端代码启动如图:
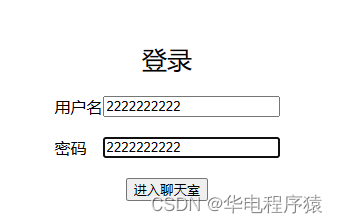
由于是本地,多用户实现不方便,所以可以复制网址,再开一个页面,重新登陆进来,此时,有两个页面,第一次登陆的不要刷新,因为此时用户信息已经是用户2的了
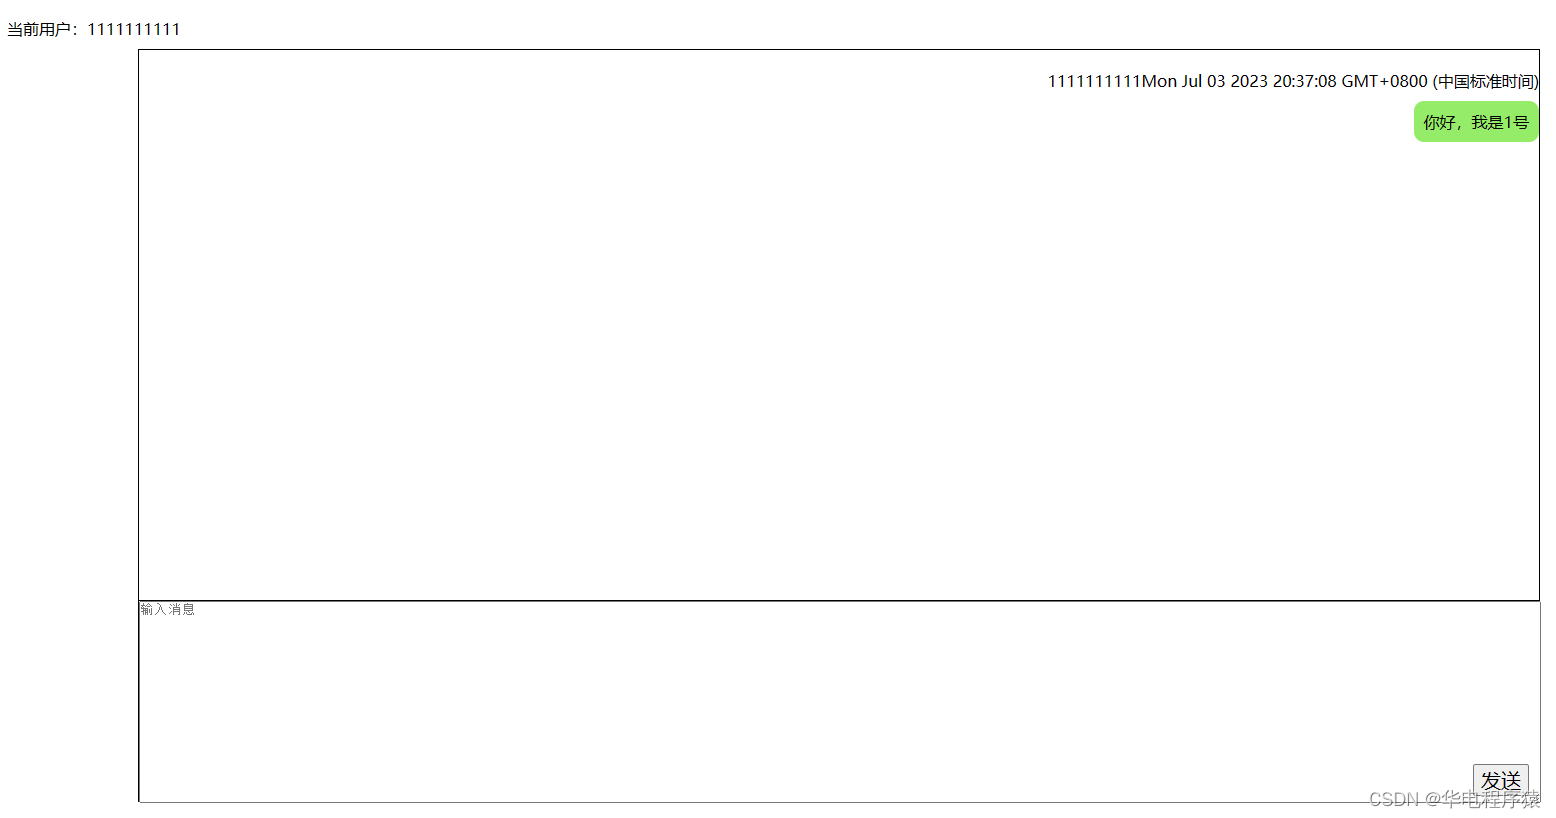
用户1发消息:
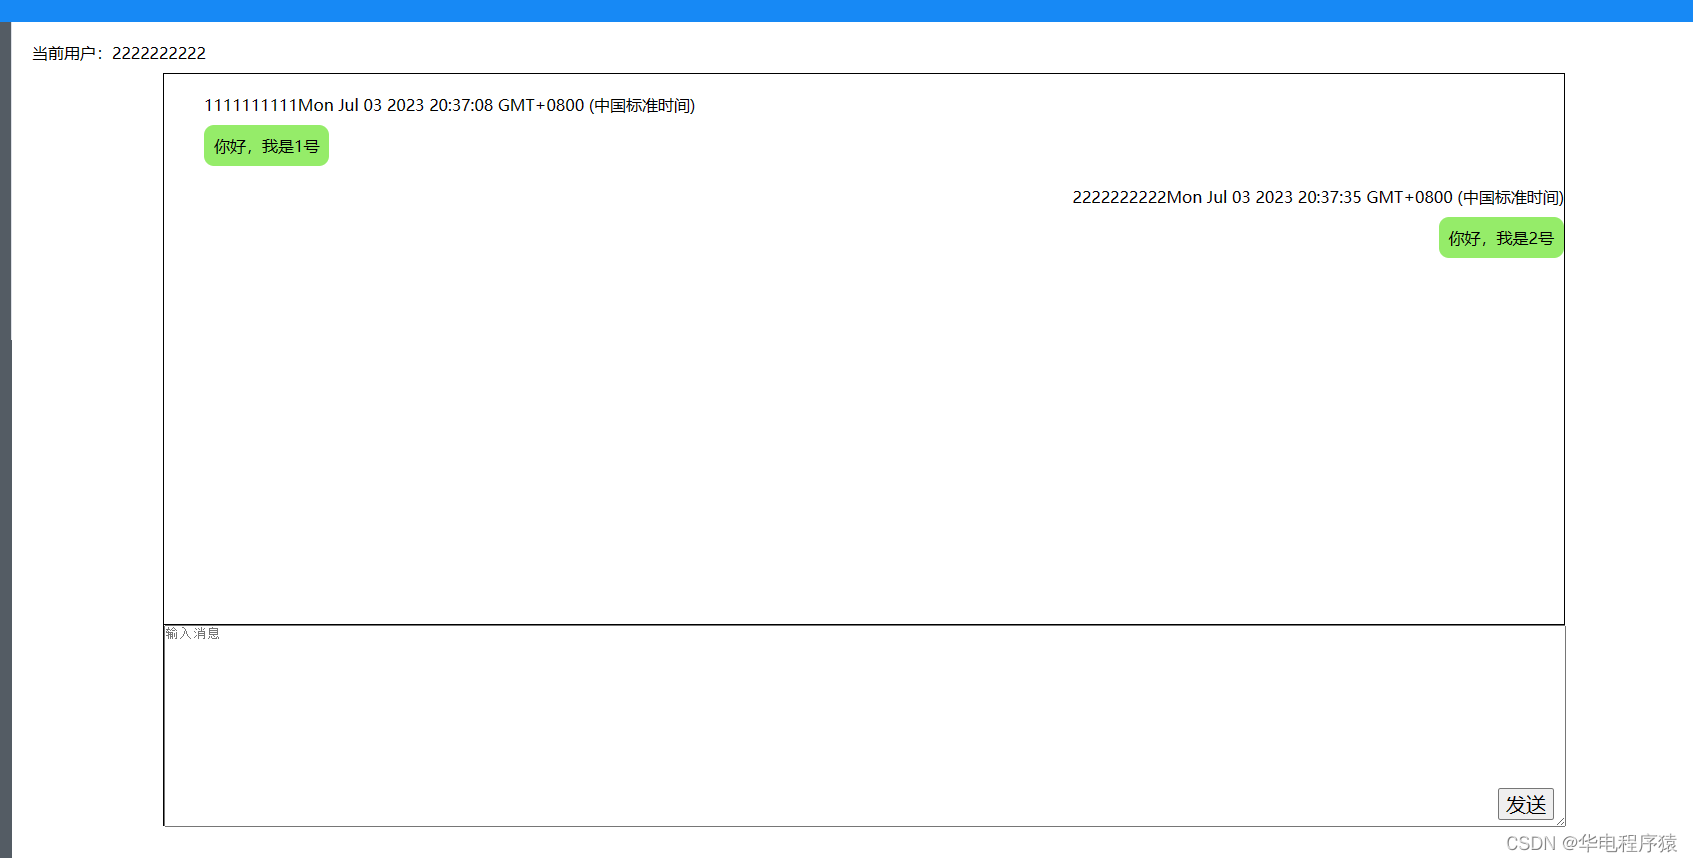
此时用户2 :收到信息,再回复
一个简单了websocket通信就完成了 |

【本文地址】
公司简介
联系我们