| Unity学习笔记 | 您所在的位置:网站首页 › unity地图编辑器开发 › Unity学习笔记 |
Unity学习笔记
|
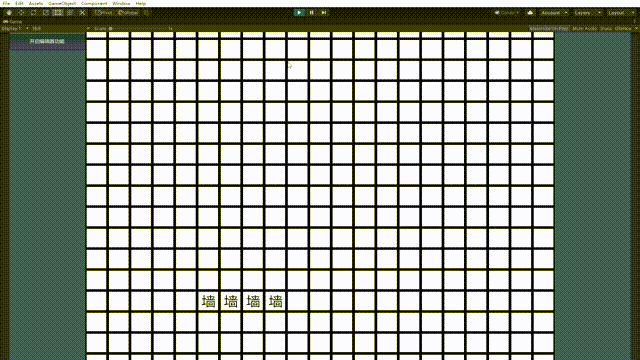
效果图
首先我们新建一个3D的项目(3D和2D都行)。 步骤二在Assets文件夹下面新建一个Picture文件夹存放我们的图片。 我把我工程的素材发出来。 墙
在Hierarchy窗口下创建一个Sprite,把我们的图片托上去。之后在Assets文件夹下面新建一个文件夹叫做Prefab,把我们的游戏物体拖进去。 在Assets文件夹下新建一个Script文件夹,在Script文件夹下面新建一个脚本,名字什么的都行,我的叫做ATest 脚本内容如下 using System.Collections; using System.Collections.Generic; using UnityEngine; public class ATest : MonoBehaviour { [SerializeField] private GameObject groundPrefab; [SerializeField] private GameObject wallPrefab; private int[,] _map; public int Length; public int Width; private float offset; private void Awake() { //之所以是64,因为我的素材大小是64*64 //如果你们的素材是128*128,那么此处改成128就行了 offset = 64 / groundPrefab.GetComponent().sprite.pixelsPerUnit; _map = new int[Length, Width]; } private void Start() { InitialMap(); } //初始化地图 private void InitialMap() { _map[1, 1] = -1; _map[1, 2] = -1; for (int i = 0; i GameObject go = null; Vector3 position = new Vector3((i - (Length >> 1) + 1) * offset, (j - (Width >> 1) + 1) * offset); switch (_map[i, j]) { case -1: go = Instantiate(wallPrefab, position, Quaternion.identity); break; case 0: go = Instantiate(groundPrefab, position, Quaternion.identity); break; } } } } }将预制体拖入到对应变量上。 到此为止,我们运行游戏,可以看到如下效果 在Script文件夹下新建一个脚本,代码如下 using System.Collections; using System.Collections.Generic; using UnityEngine; public class ATest1 : MonoBehaviour { [SerializeField] private GameObject wallPrefab; // Update is called once per frame void Update() { // 获取屏幕到3D空间的坐标 Ray ray = Camera.main.ScreenPointToRay(Input.mousePosition); // 检测触碰到3D空间的射线 if (Physics.Raycast(ray, out RaycastHit hit)) { if (Input.GetMouseButtonDown(0)) { if (hit.transform.CompareTag("Wall")) Destroy(hit.transform.gameObject); else Instantiate(wallPrefab).transform.position = new Vector3(hit.transform.position.x , hit.transform.position.y, -1); } } } }把墙的预制体添加一个Tag:Wall。将预制体拖到变量上(此处是墙的预制体) 之后把墙和地面的预制体加上BoxCollider(注意一定不能是BoxCollider2D),因为需要检测碰撞,也就是点击的位置。 |

 之后把素材拖入到Picture文件夹下面。
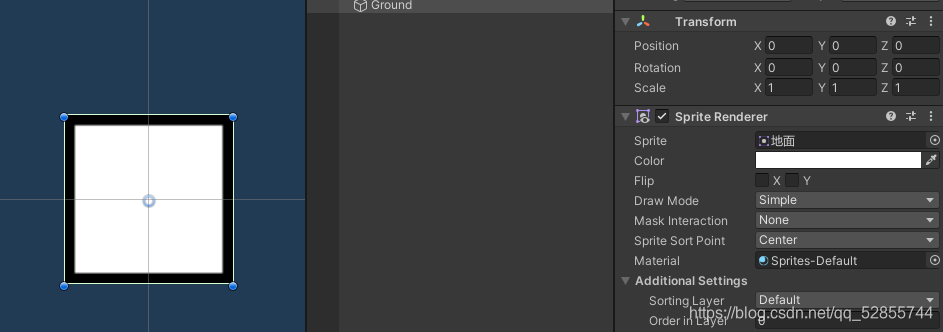 现在我们的Prefab文件夹下面应该有两个预制体了,一个地面一个墙。
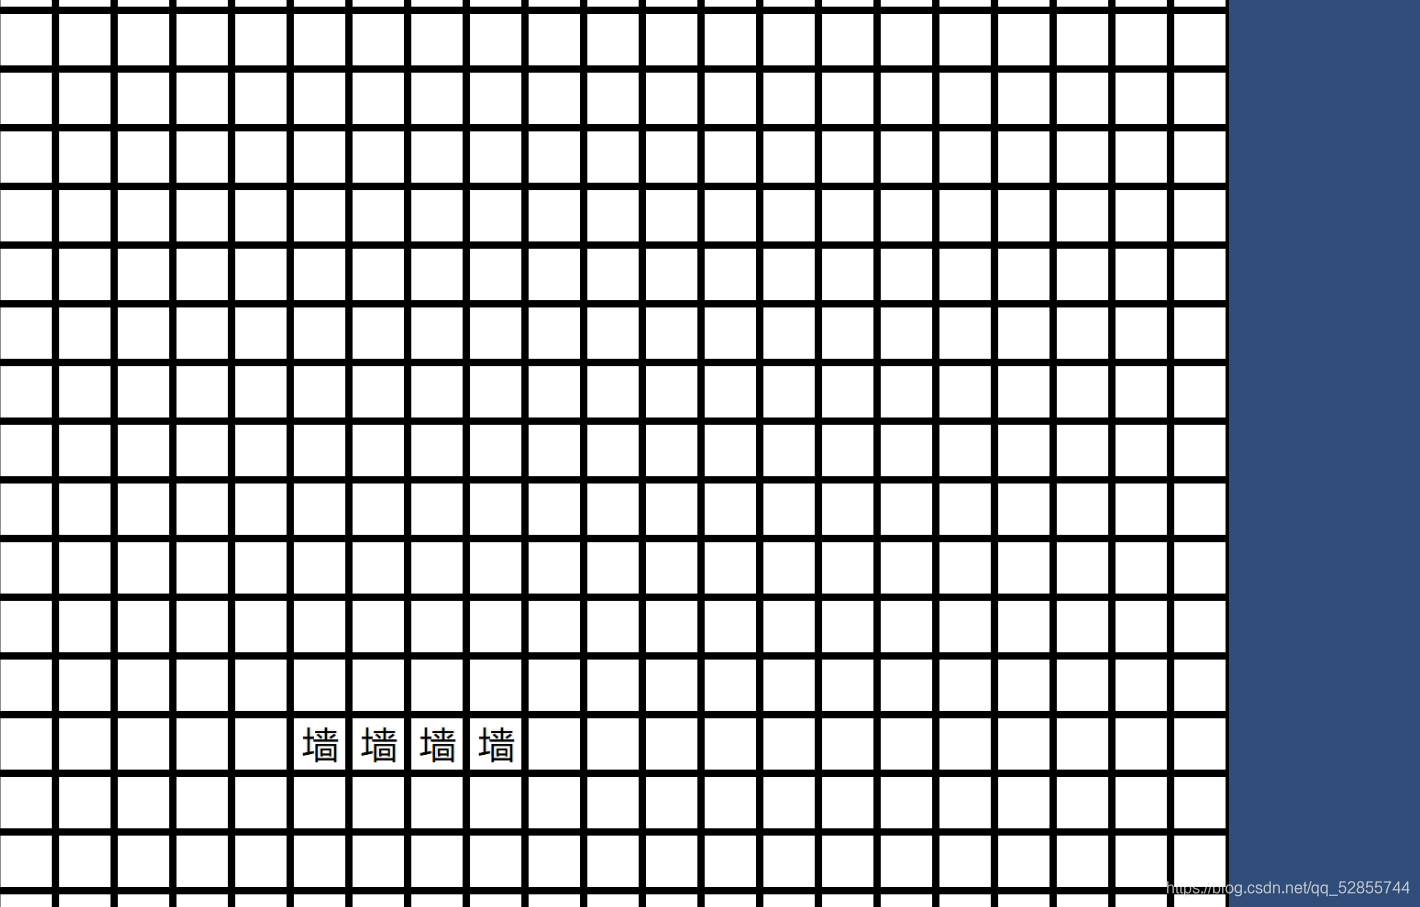 最基本的地图生成好了,那么我们该怎么编辑地图呢,难道手动改二维数组的值吗,这样的话有点麻烦,我们想只用鼠标点击来编辑地图。
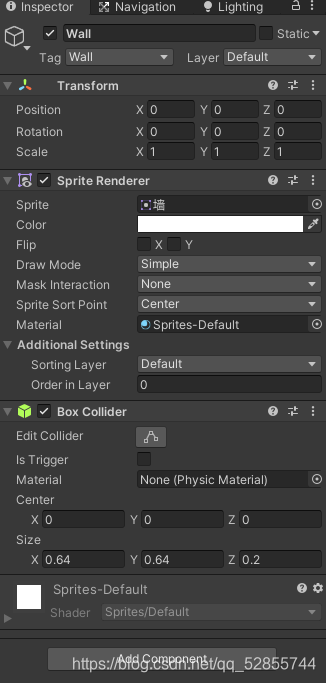 之后运行Unity就可以看到我们是可以编辑地图的了。
【本文地址】
公司简介
联系我们