| uniapp中设置轮播图 | 您所在的位置:网站首页 › uniapp添加图片 › uniapp中设置轮播图 |
uniapp中设置轮播图
|
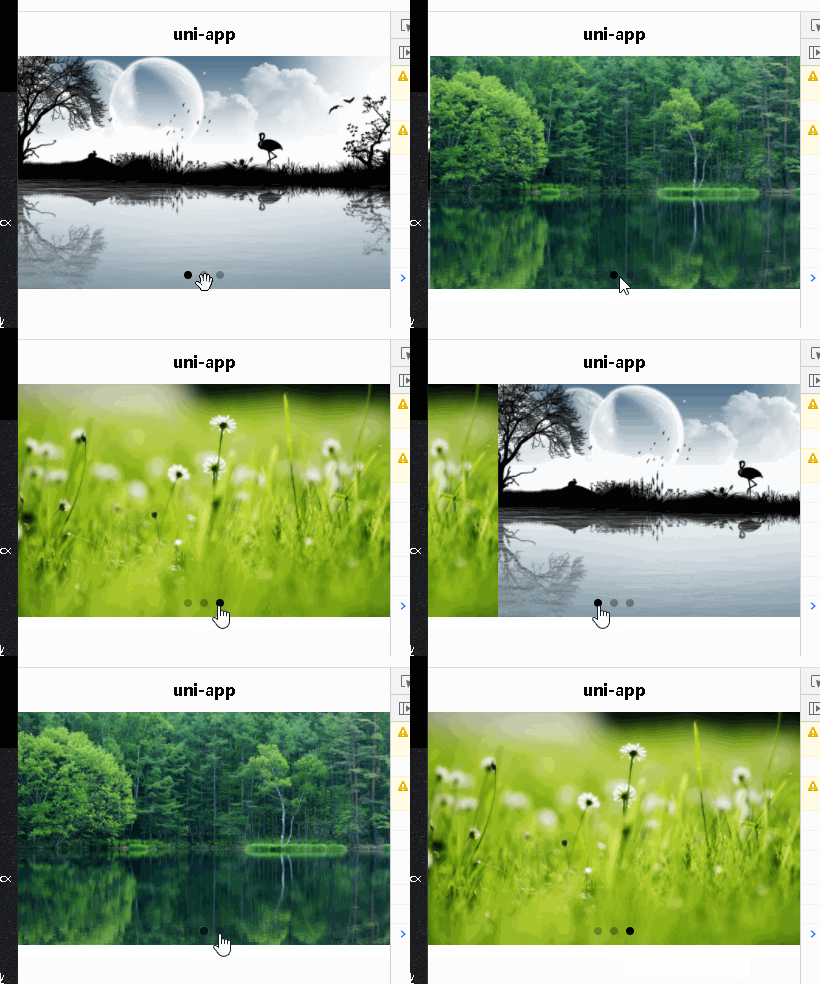
实现:在uniapp中设置轮播图 先看效果图
找不到现成的接口,先在网上找几张图片,为了防链接失效,直接把图片传到文章里,文章在图就在
https://img-blog.csdnimg.cn/img_convert/ec13b1d884b422ad6ac1746504fa0454.png
https://img-blog.csdnimg.cn/img_convert/462ba175388a6005201d8a73f186c527.png
https://img-blog.csdnimg.cn/img_convert/213a362a143bd47b8b4e3dad5138d53d.png 帅气的图片就是这么超大张 用的是HBuilder X 3.1.7 建项目可以随便建,也可以参考这篇文章 https://blog.csdn.net/yougcave/article/details/116666640 建好后先复制上面三张大图的链接保存到index.vue的data数组swipers里 export default { data() { return { swipers:[ 'https://img-blog.csdnimg.cn/img_convert/ec13b1d884b422ad6ac1746504fa0454.png', 'https://img-blog.csdnimg.cn/img_convert/462ba175388a6005201d8a73f186c527.png', 'https://img-blog.csdnimg.cn/img_convert/213a362a143bd47b8b4e3dad5138d53d.png', ] } }, }然后在index.vue里开始写代码 uniapp有个现成的轮播图组件 swiper 而且自带了不少属性,查表就能写 最后在CSS里改下图片大小就完事了 .home{ swiper{ width: 750rpx; height: 470rpx; image{ width: 100%; height: 100%; } } }这个挺简单,完事,记住uniapp里有个swiper组件就好了
|
【本文地址】
公司简介
联系我们


