| Android | 您所在的位置:网站首页 › ai如何将正方形图裁剪成圆形图案 › Android |
Android
|
文章目录
一、圆角图形二、按钮圆角2.1主要属性2.1.1shape属性2.1.2shape属性下的属性
2.2使用方法
三、总结
一、圆角图形
ps:相信大家在开发过程中需要用的imageview组件,但是该组件是正方形用来当头像不太美观,下面我来教大家一种方法,简单上手! 代码如下: import android.annotation.SuppressLint; import android.content.Context; import android.graphics.Bitmap; import android.graphics.BitmapShader; import android.graphics.Canvas; import android.graphics.Matrix; import android.graphics.Paint; import android.graphics.Shader; import android.graphics.drawable.BitmapDrawable; import android.graphics.drawable.Drawable; import android.util.AttributeSet; import androidx.annotation.Nullable; public class CircleImageView extends androidx.appcompat.widget.AppCompatImageView { //画笔 private Paint mPaint; //圆形图片的半径 private int mRadius; //图片的宿放比例 private float mScale; public CircleImageView(Context context) { super(context); } public CircleImageView(Context context, @Nullable AttributeSet attrs) { super(context, attrs); } public CircleImageView(Context context, @Nullable AttributeSet attrs, int defStyleAttr) { super(context, attrs, defStyleAttr); } @Override protected void onMeasure(int widthMeasureSpec, int heightMeasureSpec) { super.onMeasure(widthMeasureSpec, heightMeasureSpec); //由于是圆形,宽高应保持一致 int size = Math.min(getMeasuredWidth(), getMeasuredHeight()); mRadius = size / 2; setMeasuredDimension(size, size); } @SuppressLint("DrawAllocation") @Override protected void onDraw(Canvas canvas) { mPaint = new Paint(); Drawable drawable = getDrawable(); if (null != drawable) { Bitmap bitmap = ((BitmapDrawable) drawable).getBitmap(); //初始化BitmapShader,传入bitmap对象 BitmapShader bitmapShader = new BitmapShader(bitmap, Shader.TileMode.CLAMP, Shader.TileMode.CLAMP); //计算缩放比例 mScale = (mRadius * 2.0f) / Math.min(bitmap.getHeight(), bitmap.getWidth()); Matrix matrix = new Matrix(); matrix.setScale(mScale, mScale); bitmapShader.setLocalMatrix(matrix); mPaint.setShader(bitmapShader); //画圆形,指定好坐标,半径,画笔 canvas.drawCircle(mRadius, mRadius, mRadius, mPaint); } else { super.onDraw(canvas); } } }1.创建java代码 shape可取值: 矩形(rectangle)、椭圆(oval)、线(line)、圆环(ring)四种图形
corners(圆角)、gradient(渐变) padding(间隔)、size(大小) solid(填充)、stroke(描边) solid(填充) //填充颜色corners(圆角) //圆角弧度为50dp android:bottomLeftRadius="" //底部左下角 android:bottomRightRadius="" //底部右下角 android:topLeftRadius="" //顶部左上角 android:topRightRadius="" //顶部右上角stroke(描边) 其中 dashGap dashWidth 两个属性彼此一起存在才生效。例子: gradient(渐变) android:startColor="" //起始颜色 android:centerColor="" //中间颜色 android:endColor="" //末尾颜色 android:angle="" //代表渐变颜色的角度, 必须是45的整数倍. android:type="" android:centerX="" //相对X的渐变位置 android:centerY="" //相对Y的渐变位置 android:gradientRadius="" //渐变颜色的半径,单位应该是像素点. 需要 android:type="radial". android:useLevel="" //如果当做是LevelListDrawable使用时值为true,否则为false.例子: size(大小) android:width="50dp" //宽度 android:height="50dp" //高度padding(间隔) android:left="2dp" android:top="2dp" android:right="2dp" android:bottom="2dp" //上下左右的间隔 2.2使用方法1.创建资源文件(drawable下) 日后一些好用的属性也会更新给大家,创作不易搬运请标明出处,谢谢! |
 2.创建ImageView组件
  3.修改ImageView,将刚刚写好的代码引用


 2.选择shape类型
 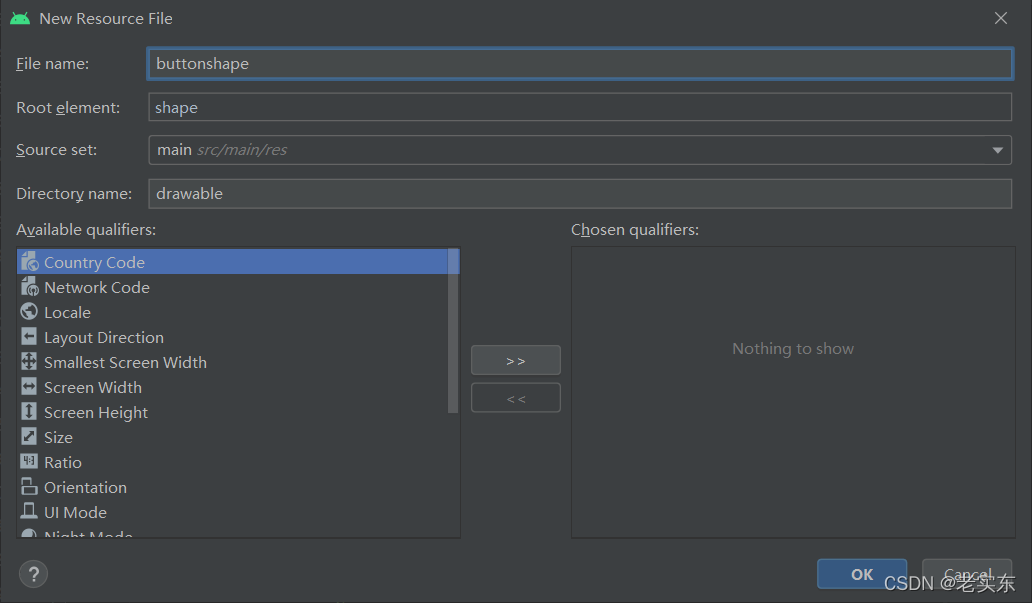 3.选择所需属性
 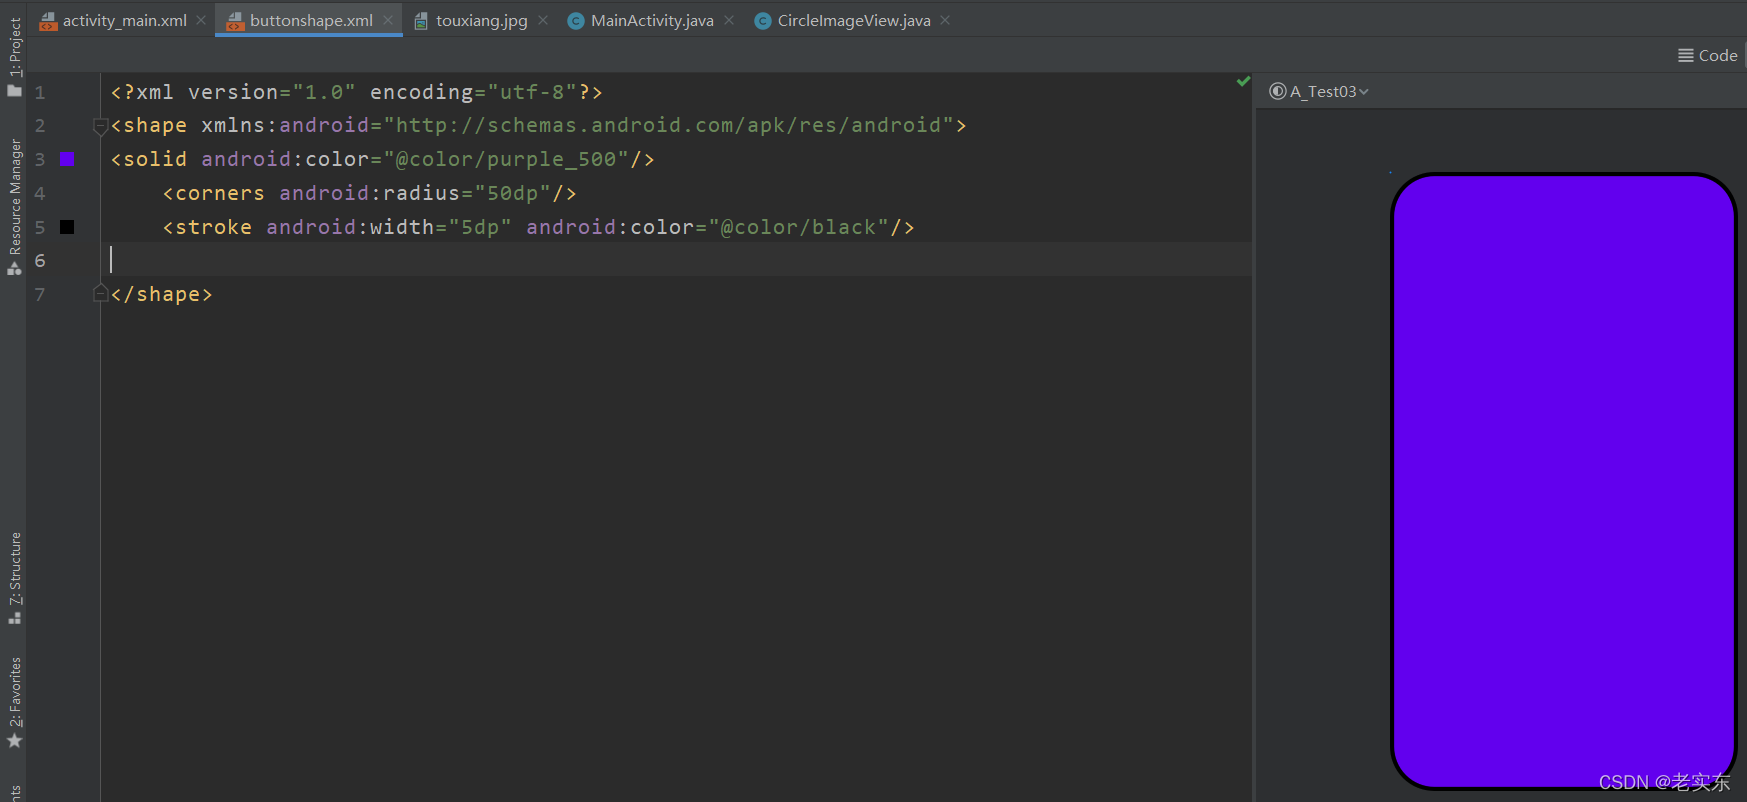 4.运行结果
【本文地址】
公司简介
联系我们
| 今日新闻 |
| 推荐新闻 |
| 专题文章 |